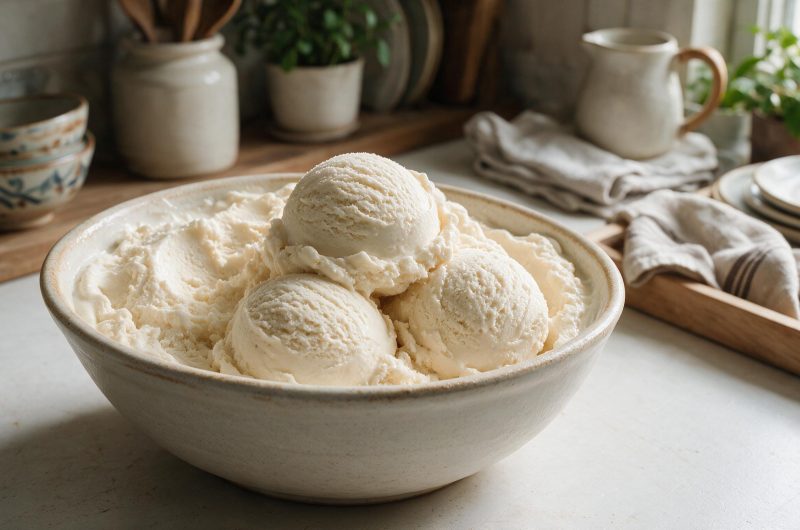
If you are searching for the best homemade vanilla ice cream without dairy or added sugar, this recipe delivers everything you want in a frozen dessert. It is ultra-creamy, naturally sugar-free, high in protein, and suitable for keto, low-carb, and carnivore lifestyles. Made with only a handful of clean ingredients, this dairy-free vanilla ice cream achieves a smooth, scoopable texture without cream, milk, or an ice cream machine.
Unlike traditional ice cream recipes that rely on heavy cream and sugar, this version uses eggs and beef gelatin to create richness and structure. The result is a silky dessert that feels indulgent but aligns with modern dietary goals. Whether you want a healthier treat, a high-protein dessert, or a freezer-friendly option for meal prep, this recipe fits beautifully into your routine.
Why This Sugar-Free Vanilla Ice Cream Stands Out
Many homemade ice cream recipes either require specialty equipment or contain hidden sugars. This one keeps things simple and wholesome. It is completely dairy-free, making it ideal for individuals with lactose intolerance or dairy sensitivity. It uses allulose as a low-glycemic sweetener, which helps maintain a soft texture even after freezing.
Additionally, it is high in protein thanks to whole eggs and gelatin. Each serving provides a satisfying balance of nutrients without the sugar crash associated with traditional desserts.
The Role of Eggs in Creating Creaminess
Eggs form the foundation of this ice cream’s creamy texture. The yolks provide richness and depth, while the whipped egg whites introduce airiness and light structure. Separating the eggs and treating each component differently is essential for achieving a smooth and fluffy consistency.
When whipped properly, egg whites create soft peaks that help the ice cream feel light rather than dense. The yolk mixture, combined with sweetener and flavoring, contributes to body and mouthfeel.
Why Allulose Is Important
Allulose is a low-carb sweetener that behaves similarly to sugar in frozen desserts. It not only provides sweetness but also helps prevent ice crystal formation. This means your ice cream remains soft and scoopable straight from the freezer.
Unlike some sugar substitutes that create grainy texture, allulose blends smoothly into the egg mixture, resulting in a creamy consistency.
The Function of Beef Gelatin
Beef gelatin plays a critical role in thickening and stabilizing the mixture. It enhances smoothness without requiring dairy or starch-based thickeners. Gelatin also contributes additional protein, making the dessert more nutrient-dense.
Using a small amount ensures the ice cream holds structure without becoming overly firm.
Step 1 – Separating the Eggs
Carefully separate two large eggs, placing the yolks in one bowl and the whites in another. Ensure no yolk enters the whites, as this can interfere with whipping.
Proper separation ensures that the egg whites whip to the correct consistency and contribute to the final texture.
Step 2 – Whipping the Yolks
Combine egg yolks with allulose, vanilla extract, gelatin powder, and optional vanilla pod seeds. Beat until pale and slightly thickened. This step dissolves the sweetener and integrates flavor evenly.
The mixture should appear smooth and glossy before proceeding.
Step 3 – Whipping the Egg Whites
Using clean beaters, whip the egg whites until soft peaks form. The peaks should hold shape but still appear moist.
Overwhipping can cause stiffness, while underwhipping prevents adequate aeration. Soft peaks create the best balance of structure and fluffiness.
Step 4 – Folding the Mixtures Together
Gently fold the whipped yolk mixture into the egg whites. Use slow, deliberate movements to preserve air.
Avoid vigorous stirring, as this may deflate the mixture and reduce creaminess.
Step 5 – Freezing and Setting
Transfer the mixture into a freezer-safe container. Freeze for 4 to 6 hours, stirring every 30 minutes during the first two hours if not using an ice cream maker.
Alternatively, churn in an ice cream machine for improved texture before freezing.
Notes for Best Results
Use fresh, room-temperature eggs. Chill mixing bowls beforehand for better whipping. Avoid overmixing when combining egg components. Freeze in a shallow container for faster setting.
These practices ensure smooth, creamy results every time.
Flavor Variations
Although vanilla is classic, this base can be customized. Add cocoa powder for chocolate flavor. Mix in crushed nuts for texture. Swirl in sugar-free caramel or peanut butter for added richness.
These variations allow creativity without altering the core structure.
Storage and Shelf Life
Store the ice cream in an airtight container in the freezer for up to two weeks. It is best enjoyed within the first 7 to 10 days for optimal texture.
Scoop directly from the freezer without thawing, thanks to the stabilizing effect of allulose and gelatin.
Nutritional Highlights
This recipe is low in net carbohydrates, free from refined sugar, and high in protein. It supports energy stability and muscle recovery while satisfying sweet cravings.
It is suitable for keto, carnivore (without plant-based extracts), and gluten-free diets.
Why This Recipe Is Trending
Searches for “dairy-free ice cream,” “keto vanilla ice cream,” and “high-protein frozen dessert” continue to rise. People are seeking healthier alternatives that do not sacrifice flavor or texture.
This recipe meets those needs with minimal ingredients and reliable results.
A Creamy Dessert Without Compromise
This dairy-free sugar-free vanilla ice cream proves that indulgence and nutrition can coexist. With only eggs, allulose, vanilla, and gelatin, you can create a dessert that feels luxurious yet aligns with modern dietary preferences.
Its smooth texture and balanced sweetness make it a dependable addition to your dessert rotation.
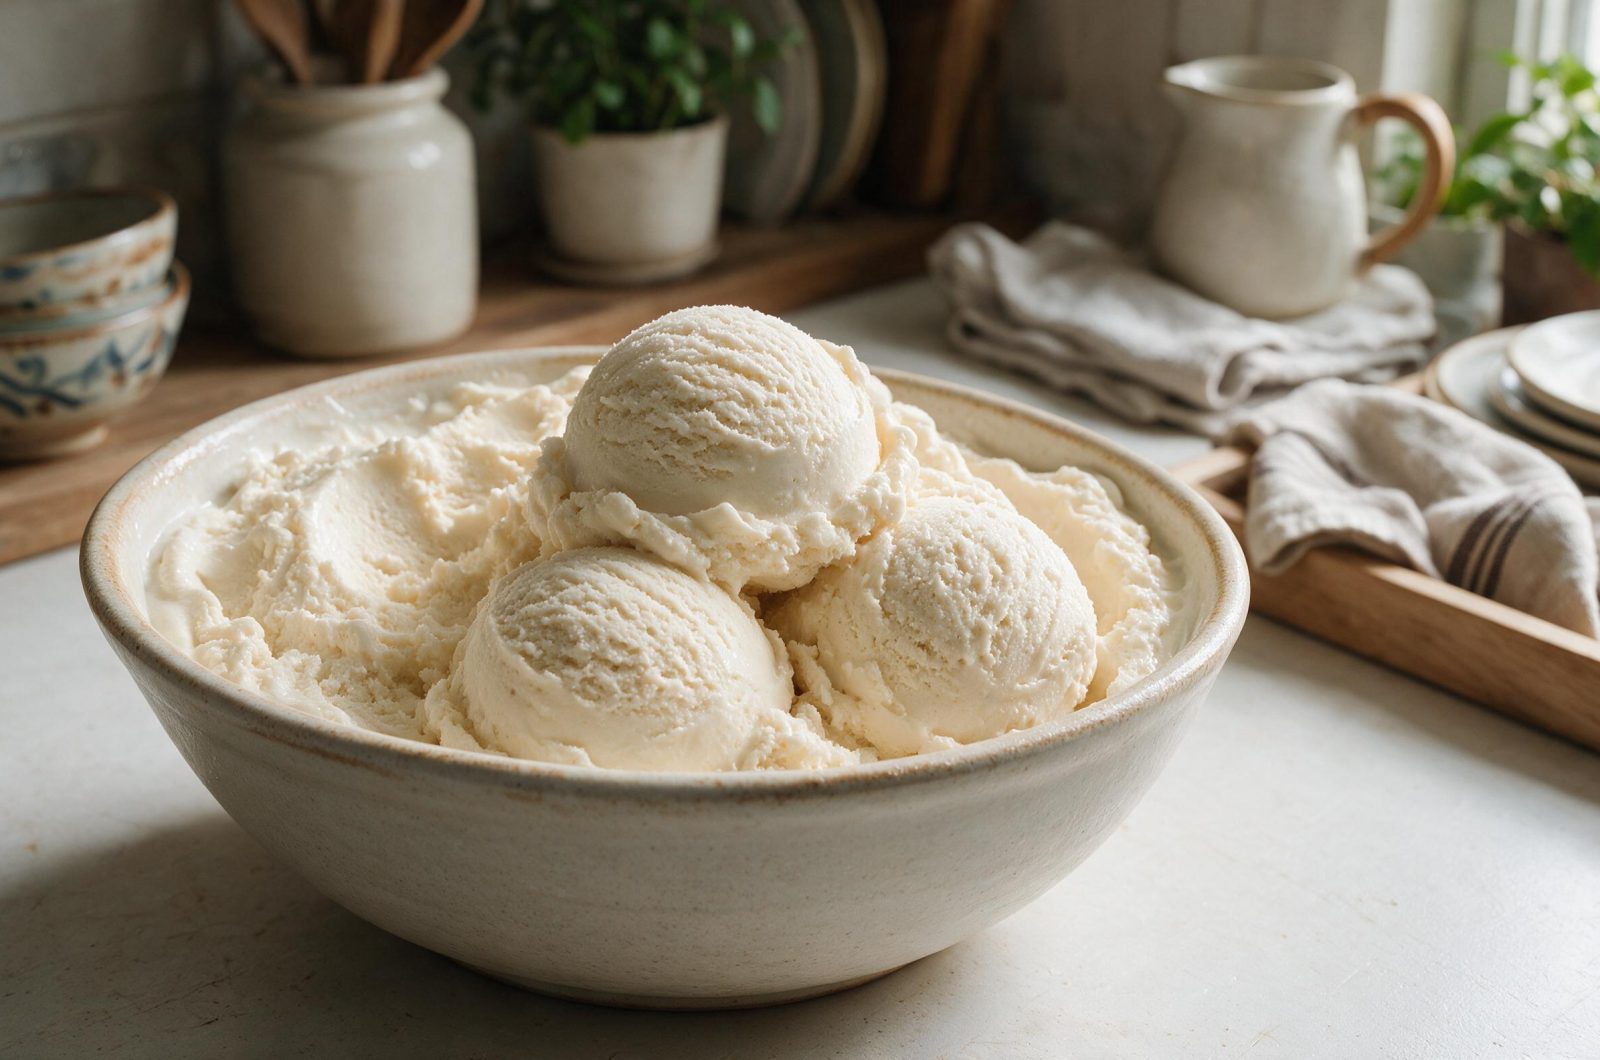
Vanilla Ice Cream
This delicious ice cream is packed with protein, silky in texture, and made using only clean, wholesome ingredients.
2
servings5
minutes5
minutes95
kcal10
minutesIngredients
2 large eggs (140g, in shell)
20g allulose (or keto sweetener)
1 tsp vanilla extract
Seeds from ½ vanilla pod (optional)
½ tsp beef gelatin powder
Directions
- Place yolks in a small bowl, whites in a large bowl.
- Add allulose, vanilla, and gelatin to yolks. Whip until fluffy and pale.
- Beat egg whites to soft peaks.
- Gently combine yolk mixture with egg whites.
- Pour into a freezer-safe dish.
(Optional: Churn in ice cream maker.) - Freeze until firm. Scoop and enjoy straight from the freezer.
Notes
- No thawing needed: Soft texture straight from freezer.
Want a sorbet feel? Add 50ml water to yolk mixture before combining.
Churn or Stir: For extra smooth texture, churn or stir during first 2 hours.