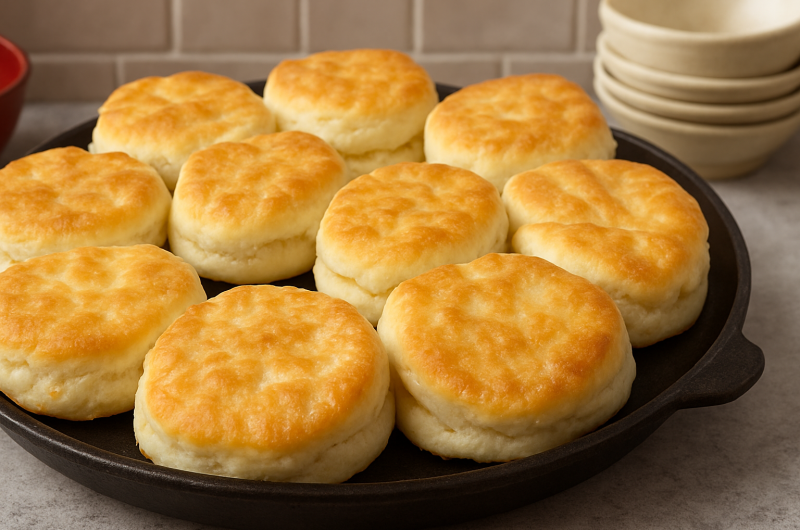
Finding a gluten-free biscuit that doesn’t turn out dry or crumbly can feel like a real challenge, but this recipe solves that problem. These biscuits rise tall in the oven, develop crisp golden edges, and stay tender and soft on the inside. Whether you’re serving them alongside a hearty breakfast, at a weekend brunch, or as a side for dinner, they hold their own against any traditional wheat-based biscuit. Best of all, the ingredients are simple enough that you probably already have most of them sitting in your kitchen.
The Growing Demand for Gluten-Free Baking
More people than ever are seeking out wheat-free options that don’t sacrifice taste or texture, and biscuits are one of the trickiest things to get right without gluten. Regular biscuits depend on gluten development to create those signature flaky layers and sturdy structure. Without the right flour blend and technique, gluten-free versions often end up flat or gummy. This recipe gets around that problem by using a gluten-free flour blend that includes xanthan gum, which does a remarkable job of standing in for gluten’s stretch and structure.
What Sets These Biscuits Apart from Other Recipes
A lot of gluten-free baked goods suffer from being either too dense or falling apart the moment you pick them up. These biscuits avoid both problems by relying on a combination of cold butter, eggs, and buttermilk to build a flaky, layered texture from the inside out. Baking powder and baking soda work together to give the dough the lift it needs, while the flour blend keeps everything stable enough to hold its shape. What you end up with is a biscuit that’s fluffy on the inside, slightly crisp around the edges, and smells wonderfully buttery as it bakes.
Breaking Down What Each Ingredient Contributes
It helps to understand why each ingredient is included, since gluten-free baking often requires more precision than traditional recipes. The gluten-free flour blend with xanthan gum is responsible for giving the biscuits proper structure and preventing them from crumbling apart. Baking powder and baking soda act as the leavening team, pushing the dough upward as it bakes so the biscuits rise evenly rather than staying flat. Salt rounds out the flavor, butter builds those flaky layers, eggs add moisture and hold everything together, and buttermilk brings a gentle tang along with extra tenderness.
Why Cold Ingredients Make Such a Difference
If there’s one detail that can make or break this recipe, it’s the temperature of your ingredients going into the dough. Cold butter is key here, since it creates small pockets throughout the dough that turn into steam once they hit the oven’s heat, and that steam is exactly what pushes the layers apart to create flakiness. Keeping your eggs and buttermilk cold as well helps maintain the overall temperature of the dough, preventing the butter from softening too early and melting into the mixture before it even reaches the oven.
Mixing the Dough Step by Step
Start by whisking together your gluten-free flour blend, baking powder, salt, and baking soda in a large mixing bowl until everything is evenly distributed. Next, cut the cold butter into this dry mixture using a pastry cutter or your fingertips, working until it resembles coarse, pea-sized crumbs. In a separate bowl, whisk together the eggs and buttermilk, then slowly pour this wet mixture into the dry ingredients. Stir just until a soft dough comes together, being careful not to overwork it, since too much mixing can leave you with tough, dense biscuits instead of light, tender ones.
Why Chilling the Dough Matters
Once your dough has come together, it’s worth taking the extra time to chill it briefly in the refrigerator before shaping. This resting period lets the butter firm back up after being handled, which plays a big role in how flaky the finished biscuits turn out. After chilling, gently knead the dough just enough to make sure the butter is evenly distributed throughout, but avoid overdoing it. Handling the dough too much at this stage can warm the butter again and lead to flatter, tougher biscuits.
Cutting and Shaping Your Biscuits Properly
Roll the chilled dough out onto a lightly floured surface to an even thickness, then use a biscuit cutter to cut out rounds. When cutting, press straight down firmly rather than twisting the cutter, since twisting can seal the edges of the dough and prevent the biscuits from rising to their full height in the oven. Arrange the cut biscuits on a parchment-lined baking sheet, and if you have a few extra minutes, pop them back in the refrigerator briefly before baking. This helps them hold their shape and rise more evenly once they hit the oven’s heat.
Getting That Golden, Baked Finish
Make sure your oven is fully preheated before sliding the tray of biscuits inside, since starting in a properly heated oven helps them rise correctly right from the start. Bake until the tops turn a rich golden brown and the edges look crisp and set. A good way to check for doneness is to lift one gently; it should feel light in your hand and sound slightly hollow when you tap the bottom. Let the biscuits cool for a few minutes before serving so the inside has time to finish setting properly.
Best Ways to Serve These Biscuits
These biscuits are delicious enough to eat plain, but they really shine when paired with something extra. Ladling warm sausage gravy over a split biscuit turns them into a hearty, comforting breakfast that feels indulgent without much extra effort. If you’re in the mood for something sweeter, a smear of butter with a drizzle of honey or a spoonful of jam works beautifully too. They also make a great side for scrambled eggs, turning a simple breakfast plate into something a little more special.
Keeping Your Biscuits Fresh After Baking
Leftover biscuits can be stored in an airtight container at room temperature, where they’ll stay fresh for up to two days. If you want them to last a bit longer, transferring them to the refrigerator is a good option, though you’ll want to reheat them in the oven afterward to bring back that crisp exterior. For even longer storage, these biscuits freeze well for up to two months. When you’re ready to eat one, you can bake it straight from frozen without needing to thaw it first, which makes them a convenient make-ahead option.
Getting Consistent Results Every Time You Bake
A few small habits go a long way toward making sure these biscuits turn out well each time you make them. Always choose a gluten-free flour blend that already contains xanthan gum, since this ingredient is what gives the dough its structure. Keep your butter, eggs, and buttermilk cold right up until the moment you mix them in, and resist the urge to twist your biscuit cutter when shaping the dough. Chilling the shaped biscuits briefly before baking and avoiding overmixing the dough are two more small steps that make a noticeable difference in the final texture.
What Makes This Recipe So Reliable
This recipe works consistently because it leans on a handful of dependable techniques rather than any complicated tricks. Focusing on cold ingredients throughout the process, handling the dough gently, and giving it a short rest in the refrigerator all work together to produce biscuits that rise properly and bake up soft and flaky. The balance of baking powder and baking soda provides enough lift on its own, meaning you don’t need traditional wheat flour to get a biscuit with real height and a tender, satisfying crumb.
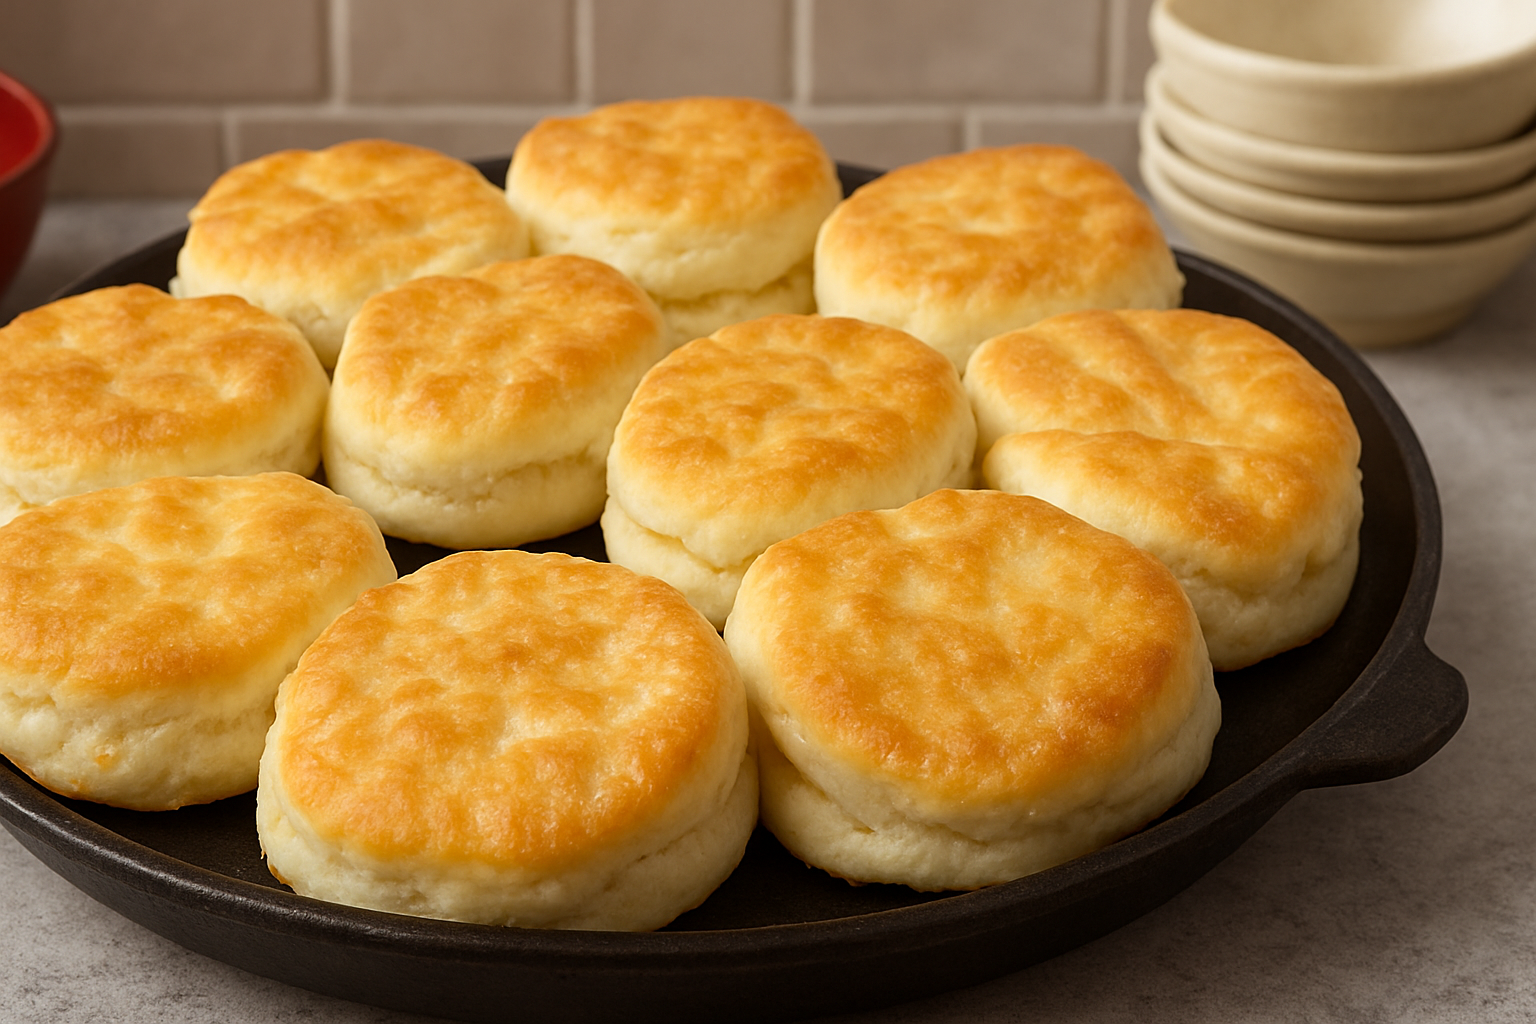
Gluten Free Buttermilk Biscuits
These gluten-free biscuits are soft, buttery, and flaky with crisp golden edges. Made with a gluten-free flour blend, cold butter, and buttermilk, they rise beautifully in the oven and work well for breakfast, brunch, or dinner.
12
biscuits20
minutes30
minutes45
minutes1
hour35
minutesIngredients
4 cups (560 g) gluten-free flour blend (preferably with xanthan gum)
¼ cup (45 g) baking powder
1 teaspoon salt
1 teaspoon baking soda
3 sticks (¾ lb or 339 g) cold butter, sliced into ¼-inch pieces
2 large eggs, cold
1¾ cups (420 ml) cold buttermilk (full fat for best results)
2 tablespoons melted butter
Directions
- In a large bowl, whisk together the gluten-free flour blend, baking powder, salt, and baking soda.
- Add the cold butter slices to the dry ingredients. Using a pastry cutter or your hands, incorporate the butter until pea-sized pieces remain.
- In a separate bowl, mix together the cold buttermilk and eggs.
- Pour the buttermilk mixture into the flour mixture and stir with a wooden spoon until just combined. The dough should be slightly wet; if needed, add 1-2 teaspoons of buttermilk at a time until the dough comes together.
- Cover the bowl and refrigerate the dough for at least 30 minutes, or overnight for even better results.
- Preheat the oven to 400°F (200°C).
- Remove the chilled dough from the refrigerator. On a lightly floured surface, gently knead the dough and roll or pat it out to 1½-2 inches thickness.
- Using a biscuit cutter, cut out biscuits and place them side by side in a large round baking pan or any suitable bakeware.
- Chill the biscuits in the refrigerator for an additional 15-30 minutes while preheating the oven.
- Brush the tops of the biscuits with melted butter.
- Bake for 30-35 minutes, or until lightly browned and well risen.
- Allow the biscuits to cool for 5-10 minutes before serving.
Notes
- These gluten-free biscuits freeze beautifully. Simply wrap them individually or store them in a freezer bag, removing excess air before sealing. They can be stored in the freezer for up to 3 months, ready to be enjoyed whenever the craving strikes!


If someone cannot have xanthan gum, how much psyllium husk should be used in place of it?