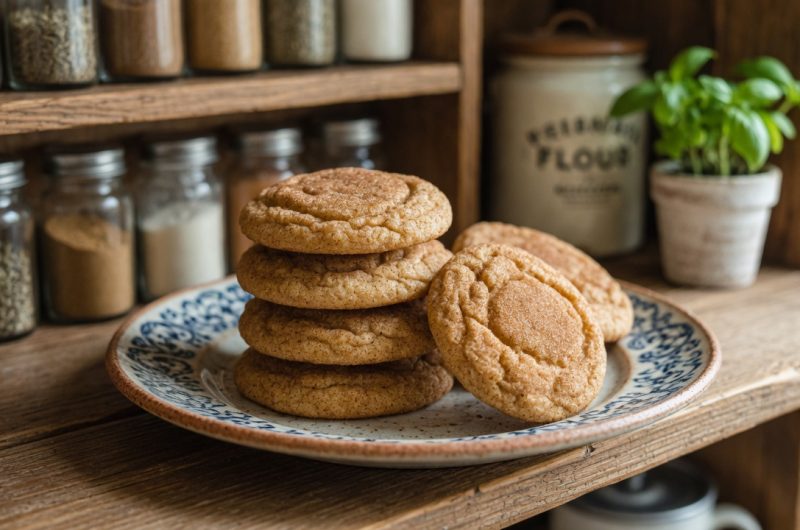
Snickerdoodles have long been a beloved cookie thanks to their soft centers, slightly crisp edges, and that unmistakable cinnamon-sugar coating. Adding sourdough discard into the mix takes this familiar treat and gives it something extra: a subtle tang that plays beautifully against the sweetness of the sugar coating. If you’ve been searching for a creative way to use up leftover sourdough starter, this cookie recipe turns what would normally go to waste into something genuinely delicious and worth baking again and again.
Why Sourdough Discard Belongs in Cookie Dough
Many home bakers who maintain a sourdough starter end up with extra discard every time they feed it, and finding uses beyond bread can feel like a challenge. Cookies are actually one of the best applications for discard, since you don’t need it to be active or bubbly for leavening purposes. Here, it functions more like a flavor enhancer and moisture booster, adding a slight sourness that rounds out the sweetness of the sugar and cinnamon without overpowering the cookie’s classic taste.
Gathering the Ingredients You’ll Need
Before you start mixing, take a moment to gather everything the recipe calls for so the process goes smoothly. You’ll need unfed sourdough starter, unsalted butter, vanilla extract, cane sugar, one egg, all-purpose flour, cream of tartar, baking soda, salt, and ground cinnamon. Each of these plays a specific role in the final texture and flavor of the cookie, so it’s worth having them all measured and ready before you begin combining anything together.
Understanding the Role of Cream of Tartar
Cream of tartar is what gives snickerdoodles their distinctive chewy texture and slightly tangy edge, separate from the flavor added by the sourdough discard. Without it, you’d essentially end up with a plain sugar cookie rather than a true snickerdoodle. This ingredient works alongside the baking soda to help the cookies rise slightly while baking, giving them that classic puffed-up appearance before they settle into their signature crackled tops as they cool.
Whisking Together the Dry Ingredients
Start by combining your all-purpose flour, salt, cream of tartar, baking soda, and ground cinnamon in a large mixing bowl. Whisking these dry ingredients together thoroughly before adding anything wet ensures that the leavening agents and spices are evenly distributed throughout the flour. Skipping this step or rushing through it can lead to cookies with uneven flavor, where some bites taste heavily of cinnamon while others taste bland, so take the extra minute to whisk everything together properly.
Creaming the Butter and Sugar Correctly
In a separate bowl, cream together your softened butter and cane sugar until the mixture turns pale and the sugar begins to dissolve into the butter. This step matters more than people often realize, since properly creamed butter and sugar trap tiny air pockets that help give the finished cookies a lighter texture. If your butter is too cold, it won’t cream properly, so make sure it has softened at room temperature before you start, or use melted butter as a convenient alternative if you’re short on time.
Adding the Wet Ingredients to the Mixture
Once your butter and sugar are creamed together, add the sourdough starter discard, egg, and vanilla extract directly into that same bowl. Mix everything until it becomes smooth and creamy, with no streaks of egg or discard remaining visible. This wet mixture forms the base of your dough’s flavor, carrying both the richness from the butter and egg along with the subtle tang from the sourdough discard throughout every bite of the finished cookie.
Bringing the Dough Together
Pour your wet ingredient mixture into the bowl containing the whisked dry ingredients. Mix everything together just until combined, being careful not to overwork the dough, since too much mixing can lead to tougher, denser cookies rather than the soft, tender texture you’re aiming for. Scrape down the sides of the bowl with a spatula as you go to make sure no pockets of dry flour get left behind unmixed at the bottom or edges of the bowl.
Getting the Dough Consistency Right
The finished dough should feel soft but not sticky to the touch, holding its shape well when rolled into balls. If your dough feels too wet or sticky to work with, lightly dust in a small amount of extra flour while mixing until it reaches a more manageable consistency. Every batch of sourdough discard can vary slightly in moisture content, so don’t be surprised if you need to make small adjustments from one baking session to the next.
Rolling the Dough in Cinnamon Sugar
Prepare your cinnamon-sugar coating by mixing granulated sugar with ground cinnamon in a small, shallow bowl. Using a cookie scoop, portion out the dough into evenly sized balls, then roll each one in the cinnamon-sugar mixture until it’s fully coated on all sides. This coating step is what gives snickerdoodles their signature sparkly, spiced exterior, so make sure each ball gets a generous, even coating before placing it on your baking sheet.
Baking the Cookies to Golden Perfection
Preheat your oven to 375°F (190°C) and line a baking sheet with parchment paper to prevent sticking. Arrange your coated dough balls on the sheet, leaving enough space between each one to allow for spreading as they bake. Bake for 11 to 12 minutes, watching for the cookies to puff up and turn lightly golden brown around the edges while still looking slightly soft in the center, since they’ll continue to firm up as they cool.
Cooling the Cookies Properly
Once your cookies come out of the oven, resist the urge to move them immediately, since they’re quite delicate while still hot. Let them rest on the baking sheet for a couple of minutes to firm up slightly, then transfer them to a wire cooling rack to finish cooling completely. This cooling period allows the centers to set properly, giving you that soft, chewy texture snickerdoodles are known for rather than a cookie that falls apart when you pick it up.
The Benefit of Chilling Your Dough
While chilling this dough isn’t a required step, letting it rest in the refrigerator for a day or two before baking can noticeably deepen the sourdough flavor throughout the cookies. The extra time allows the flour to fully hydrate and gives the discard more opportunity to develop its characteristic tang. If you’re in a hurry, you can absolutely bake the dough right away with good results, but patient bakers will notice a more complex flavor with a bit of chilling time built in.
Preparing Dough Ahead of Time
If you’d like to get a head start on baking day, you can shape the dough into balls in advance and store them in the refrigerator for up to three days before baking. This makes it easy to prepare the dough one evening and bake fresh cookies whenever you’re ready, without having to go through the entire mixing process again. Just remember to roll the chilled dough balls in the cinnamon-sugar coating right before baking rather than in advance.
Storing Your Finished Cookies
Once baked and cooled, these cookies keep well in an airtight container at room temperature for up to a week, making them a great option for packing lunches or having on hand for unexpected guests. The flavor tends to mellow slightly over the first day or two, allowing the sourdough tang to blend even more smoothly with the cinnamon-sugar coating, so don’t be surprised if they taste even better on day two than they did fresh out of the oven.
Freezing Dough and Baked Cookies
Both the raw dough and the fully baked cookies freeze well, giving you flexibility depending on how far ahead you want to plan. To freeze unbaked dough, shape it into balls but skip the cinnamon-sugar coating until you’re ready to bake, then thaw the dough in the refrigerator before rolling and baking as usual. Baked cookies can also be frozen in a freezer-safe container for up to three months, ready to thaw at room temperature whenever a craving strikes.
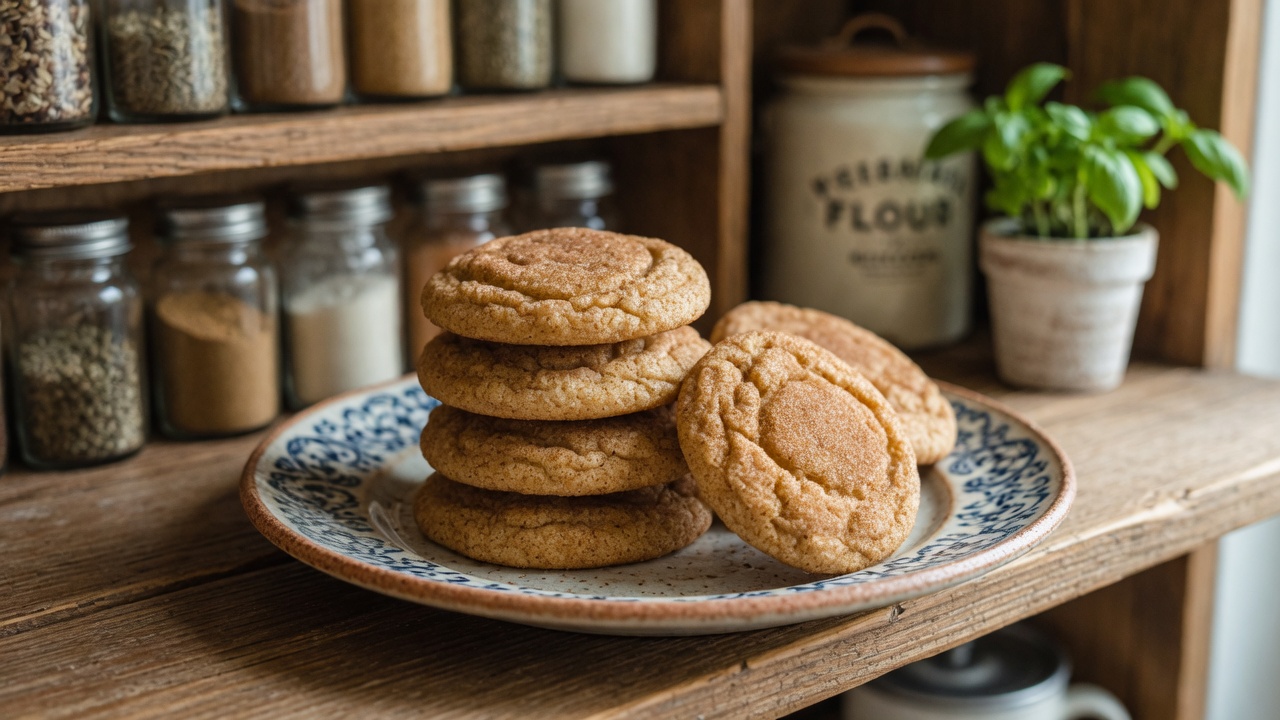
Sourdough Snickerdoodles
These sourdough snickerdoodle cookies combine the tangy flavor of sourdough discard with the classic cinnamon-sugar coating everyone loves. Soft in the center with a slightly crisp edge, they’re a great way to put leftover starter to good use.
32
cookies10
minutes12
minutes104
kcal22
minutesIngredients
2 ½ cups (300 g) all-purpose flour
2 teaspoons cream of tartar
1 teaspoon baking soda
1 teaspoon (5 g) sea salt
2 teaspoons cinnamon
½ cup (113 g) unsalted butter (softened to room temperature)
1 ¼ cups (250 g) sugar
⅓ cup (100 g) sourdough discard
1 egg
2 teaspoons (8 g) vanilla extract
- Cinnamon Sugar Coating:
¼ cup (50 g) sugar
1 tablespoon cinnamon
Directions
- Preheat: Set oven to 375°F (190°C) and line a baking sheet with parchment paper or a silicone mat.
- Mix Dry Ingredients: In a large bowl, whisk together flour, salt, cream of tartar, baking soda, and cinnamon.
- Cream Butter and Sugar: In a separate bowl, beat softened butter and sugar until sugar nearly dissolves. Add sourdough discard, egg, and vanilla, mixing until smooth.
- Combine Wet and Dry: Pour wet ingredients into dry ingredients, stirring until just mixed.
- Coat Dough Balls: Combine sugar and cinnamon. Use a cookie scoop to make 32 dough balls. Roll each in cinnamon sugar until coated.
- Bake: Place dough balls on the baking sheet, spaced evenly. Bake for 11-12 minutes until puffy and lightly golden brown.
- Cool: Transfer baked cookies to a wire rack and let cool before serving.
Notes
- Prepare dough ahead and refrigerate for up to three days before baking for enhanced flavor.
Nutrition Facts
- Calories: 104kcal
- Fat: 3g
- Carbohydrates: 18g
- Protein: 1g