Creating warm, tender gluten-free scones that rival traditional wheat-based versions has challenged home bakers for years, but this straightforward recipe eliminates complexity by relying on simple ingredients and proven techniques. Unlike many gluten-free baking recipes that depend on xanthan gum for structure, this version uses a single egg as the binding agent, creating light and fluffy scones that satisfy even experienced bakers. The beauty of this approach lies in its simplicity: most ingredients are everyday pantry staples, with only a quality gluten-free flour blend being the specialty item. These scones emerge from the oven with golden exteriors and tender interiors, perfect for serving with jam and clotted cream or enjoying plain with butter and honey. The entire process takes just thirty minutes from mixing to serving, making this recipe ideal for last-minute cravings or surprising family with fresh-baked treats. Whether you follow a gluten-free diet by necessity or choice, this recipe proves that dietary restrictions need not limit your ability to enjoy classic baked goods. The combination of proper technique, quality ingredients, and understanding why each component matters creates scones that become household favorites.
Understanding Gluten-Free Flour Blends and Their Composition
Quality gluten-free flour blends form the foundation of successful gluten-free baking, combining multiple grain and starch flours to approximate wheat flour’s performance in various applications. A blend mixing rice flour, potato starch, tapioca starch, and maize flour provides balanced texture and structure that single-flour alternatives cannot achieve. Each component serves a specific purpose: rice flour provides structure, potato starch adds lightness, tapioca starch creates chewiness, and maize flour contributes subtle sweetness. Plain gluten-free flour blends, without added leavening agents, work best for this recipe because you control the baking powder amount precisely. Self-raising gluten-free flour contains added baking powder and salt, requiring recipe adjustments to avoid over-leavening. Reading flour blend packaging identifies whether additional baking powder is already included, preventing mistakes that compromise scone texture. Different brands vary slightly in composition and how they absorb liquid, so consistency matters: using the same flour blend across multiple batches produces reliable results.
The Critical Role of Baking Powder in Gluten-Free Baking
Baking powder serves as the primary leavening agent in these scones, releasing carbon dioxide bubbles during mixing and baking that create rise and lightness. Three teaspoons of baking powder for two hundred grams of flour represents the standard ratio for quick breads and scones. Checking that baking powder is certified gluten-free ensures no cross-contamination from wheat or other gluten-containing grains during processing. Fresh baking powder is essential because aged powder loses potency, resulting in insufficient rise and dense scones. Testing baking powder freshness by adding a teaspoon to water; if it fizzes vigorously, it remains active. Double-acting baking powder, the most common variety, releases gas in two stages: once when mixed with liquid and again during baking, providing reliable leavening throughout the baking process. Understanding baking powder’s importance explains why rushed or omitted mixing affects results.
Why Butter Must Remain Cold During Preparation
Cold butter plays a crucial role in creating the characteristic flaky texture that distinguishes quality scones from dense alternatives. When cold butter pieces are worked into the flour, they remain separate from the flour rather than blending completely. During baking, these butter pieces melt and create small gaps that develop into the light, airy structure prized in scones. Warm or softened butter blends completely into the flour, resulting in denser, cake-like texture. Keeping butter chilled until the moment of use, then quickly rubbing it into flour, ensures maximum texture benefit. Some bakers chill flour and mixing bowl to maintain optimal temperature. Salted and unsalted butter both work acceptably, with personal preference guiding selection. For dairy-free versions, solid dairy-free butter alternatives that contain similar fat content perform equivalently to traditional butter.
The Egg as Binding Agent and Structure Provider
A single medium egg replaces xanthan gum in this recipe, providing binding action and structure without the gluey texture that excessive xanthan gum can create. The egg protein unfolds during mixing and heating, creating a network that holds the dry ingredients together. The fat in egg yolk contributes richness and helps create browning during baking. Beating the egg before adding ensures it incorporates evenly throughout the dough without creating separated pockets. Room temperature eggs combine more smoothly than cold eggs, which resist mixing. The egg also provides moisture that helps activate baking powder. This approach avoids xanthan gum, which some people prefer to avoid due to digestive sensitivity or simple personal preference.
Castor Sugar and Optional Sweetness Adjustments
Castor sugar adds just a touch of sweetness without overwhelming the subtle scone flavor, with one tablespoon providing barely perceptible sweetness suitable for serving with jam or clotted cream. The fine granules of castor sugar dissolve easily into the dough without creating gritty texture. Honey can replace castor sugar for natural sweetness with slightly different flavor notes. Those preferring unsweetened scones can omit sugar entirely for savory variations with herbs or cheese. The sugar amount is carefully calibrated to enhance rather than dominate, allowing the scone’s natural texture and flavor to shine.
Milk Selection and Dough Hydration Balance
Seventy-five milliliters of milk binds the dough together while keeping it workable without excessive stickiness. Regular cow’s milk and plant-based alternatives including almond, oat, and coconut milk all work acceptably, with minimal impact on final texture. Gluten-free flours vary in how much liquid they absorb, so the milk amount serves as a starting point rather than an absolute requirement. Reserving a small amount of milk for adjustment allows customization to specific flour absorption: if the dough seems too dry, additional milk is added gradually until proper consistency is achieved. The finished dough should hold together when gently squeezed but not feel sticky or wet. Finding this balance prevents both crumbly dough that cannot be shaped and overly wet dough that produces dense scones.
Creating Flaky Texture Through Proper Butter Rubbing Technique
Rubbing cold butter into flour using fingertips represents the most critical technique for achieving flaky scones. The goal is creating a breadcrumb-like mixture with visible small butter pieces distributed throughout, not a smooth, uniform paste. Using fingertips provides optimal control and allows you to feel when the mixture reaches proper texture. Working quickly prevents the butter from warming and blending completely into the flour. The breadcrumb-like texture indicates that butter pieces will remain separate during initial mixing, creating the foundation for flakiness. Rushing or using a mixer can blend the butter completely, eliminating the texture advantage.
Gentle Mixing and Minimal Handling for Optimal Texture
Overworking gluten-free dough develops excessive structure that results in dense, tough scones rather than light, tender ones. Mixing just until ingredients combine, then handling the dough minimally during shaping, prevents this problem. A knife works better than hands for initial mixing, stirring just until the dough barely comes together. Once milk is added, gentle kneading for a few seconds ensures the dough holds together without overdeveloping. The dough should appear slightly rough and shaggy rather than smooth and polished. Understanding that less handling produces better results contradicts instincts developed from working with wheat-based doughs, which benefit from more mixing.
Rolling and Shaping for Proper Rise and Height
Flattening the dough to about one inch thickness by hand provides the ideal starting height for proper rise during baking. Rolling too thin creates scones that brown excessively on top before the interior finishes cooking. Rolling too thick creates scones that remain doughy inside. Avoiding rolling pins in favor of hand-flattening reduces dough compression that interferes with rise. Using a two-inch diameter cookie cutter produces appropriately sized scones; larger cutters create scones that take longer to bake through, while smaller cutters produce scones that dry out more easily. Re-rolling dough scraps gently without excessive handling uses all the dough without waste.
Baking at the Correct Temperature and Timing
Preheating the oven to two hundred ten degrees Celsius (one hundred ninety degrees Celsius for fan ovens) ensures the oven reaches proper temperature before scones are placed inside. The higher temperature creates rapid browning while the interior bakes through. Baking for twelve to fifteen minutes produces golden-brown tops and fully cooked interiors; the exact time depends on oven characteristics and scone size. Rotating the baking tray halfway through baking ensures even browning across all scones, preventing some from browning excessively while others remain pale. Scones are done when the tops are golden brown and a toothpick inserted into the center comes out clean or with just a few moist crumbs.
Cooling Process and Serving Recommendations
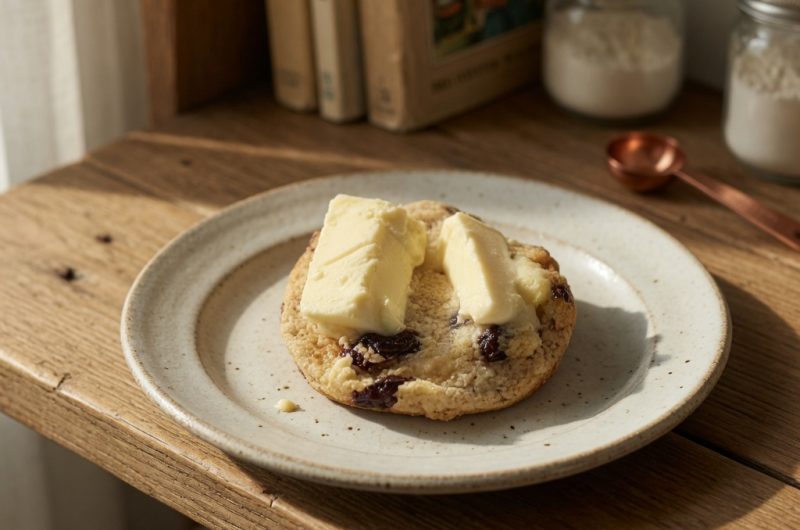
Transferring baked scones to a wire rack allows air circulation underneath, preventing the bottoms from becoming soggy from contact with the hot baking sheet. Cooling slightly before serving allows the structure to set, making scones easier to handle without breaking apart. Scones taste best served warm, within an hour of baking, when texture is most tender. Traditional serving includes jam and clotted cream, though butter and honey provide equally delicious alternatives. Savory variations topped with smoked salmon and cream cheese or avocado create modern presentations suitable for brunch or lunch.
Storage and Make-Ahead Strategies
Gluten-free bakes dry out faster than wheat-based versions, making same-day consumption ideal. Day-old scones can be warmed in a low oven for five minutes to restore warmth and tenderness. Freezing cooled scones in airtight containers preserves quality for up to three months; thawing at room temperature and reheating restores texture better than microwaving. This make-ahead option proves convenient for busy schedules, allowing batch baking and enjoying fresh scones across multiple days.
Troubleshooting Common Gluten-Free Scone Problems
If scones fail to rise properly, expired baking powder is often responsible; testing freshness prevents this issue. Insufficient oven preheating results in inadequate rise, so allowing adequate preheating time is essential. Overmixing creates dense scones, so minimal handling is crucial. If dough is too sticky, adding flour gradually corrects consistency. If dough is too dry and crumbly, adding milk gradually until proper consistency is achieved prevents this problem. Understanding these common issues helps troubleshoot difficulties and improve results.
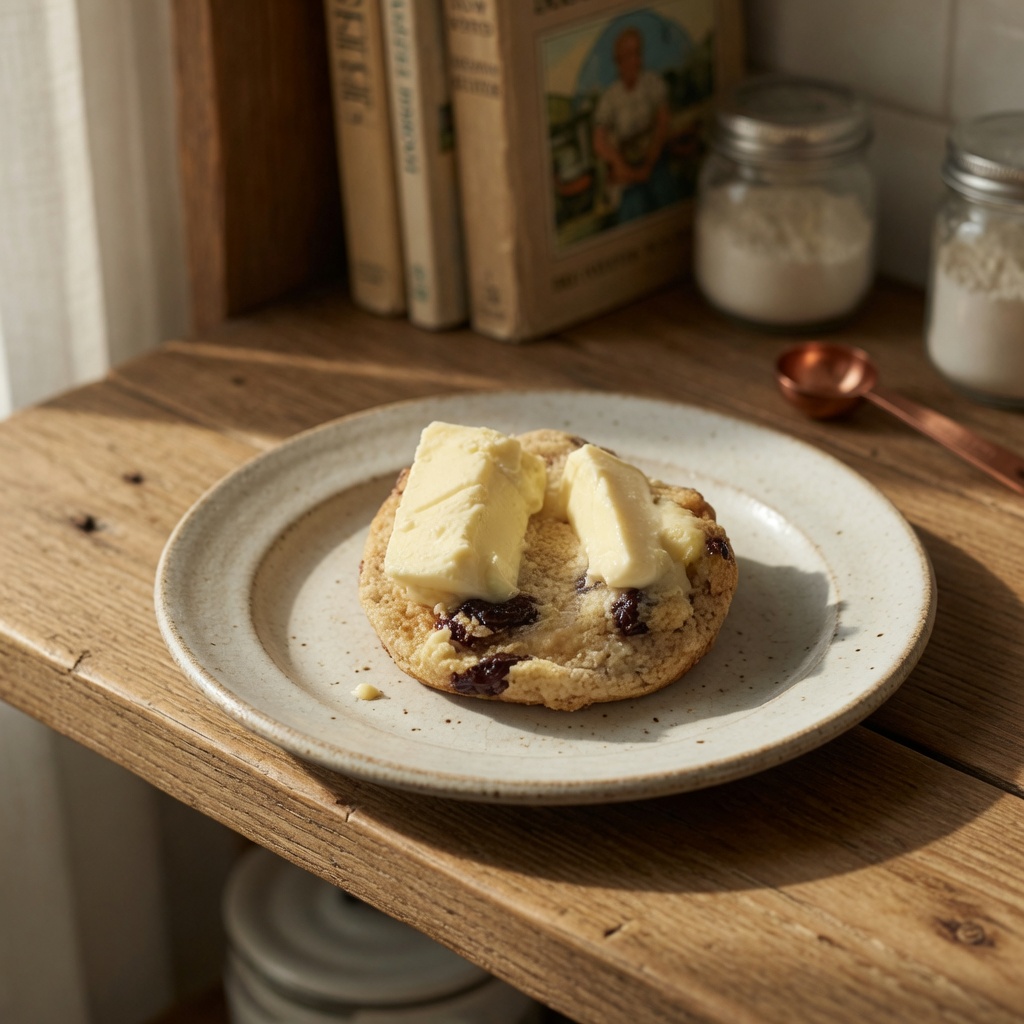
Gluten-Free Fruit Scones
These gluten free scones are light and delicious, without being dry or crumbly. There’s no xanthan gum in the recipe, instead there is egg which helps to provide extra lightness and structure.
6
servings15
minutes15
minutes260
kcal30
minutesIngredients
200g gluten-free plain flour
3 tsp gluten-free baking powder
50g butter, cubed
1 tbsp castor sugar
1 medium egg, beaten
75ml milk
Directions
- Preheat oven to 210°C (190°C fan). Prepare a baking tray.
- Mix flour and baking powder in a bowl. Rub in butter until the mixture resembles breadcrumbs.
- Stir in sugar. Add beaten egg and most of the milk, mixing until a dough forms.
- On a floured surface, flatten dough to 1 inch thick. Cut into rounds or triangles.
- Bake on a lined tray for 12-15 minutes until golden. Cool on a wire rack and serve warm.
Nutrition Facts
- Total number of serves: 6
- Calories: 207kcal
- Fat: 78g
- Carbohydrates: 29.7g
- Fiber: 1g
- Sugar: 2.8g
- Protein: 4.9g