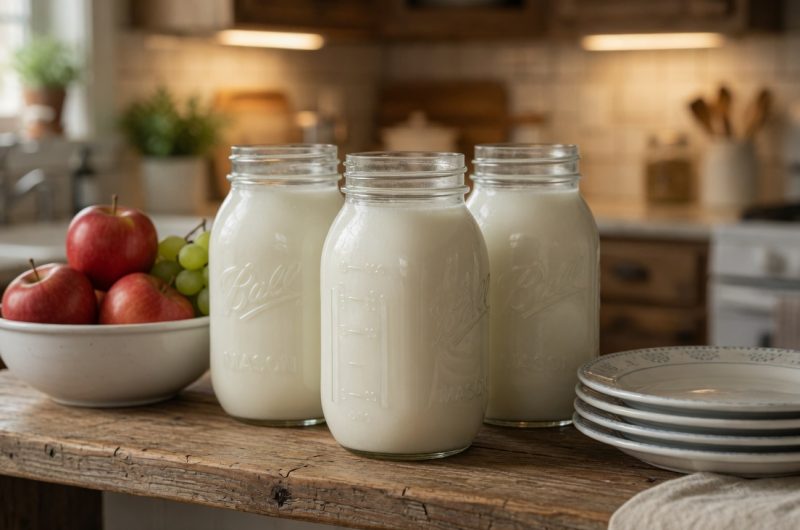
Canning milk at home gives you a shelf-stable dairy product that lasts for months without refrigeration. This method is useful for people who want to stock their pantry for emergencies or those who live far from grocery stores. Home-canned milk works in any recipe that calls for regular milk including baking, cooking, and beverages. The canning process uses high heat and pressure to kill bacteria and create a vacuum seal. While the appearance and texture might change slightly, the nutritional value remains intact. Having canned milk on hand means you always have dairy available even during power outages when refrigeration is not possible.
Understanding Pressure Canning Requirements
Milk must be canned using a pressure canner, never a water bath canner, because it is a low-acid food. Low-acid foods require higher temperatures than boiling water can reach to safely kill harmful bacteria. A pressure canner creates an environment where temperatures exceed two hundred twelve degrees Fahrenheit. This high heat is necessary to eliminate the risk of botulism, a serious foodborne illness. Water bath canners only reach boiling temperature, which is not hot enough for dairy products. Investing in a quality pressure canner is essential if you plan to can milk or other low-acid foods safely at home.
Selecting the Right Milk
Any type of milk can be used for home canning including whole milk, two percent, one percent, or skim milk. Whole milk will have a richer flavor and creamier texture after canning. Lower fat milk varieties work just as well but may appear thinner. Use fresh milk that has not reached its expiration date for the best quality. Pasteurized milk from the grocery store works perfectly for this process. Raw milk can also be canned using this same method. The fresher your milk, the better the final product will taste after storage.
Preparing Your Jars Properly
Clean jars are critical for successful canning and preventing contamination. Wash your canning jars thoroughly with hot soapy water before starting. Quart-sized jars are the most common choice for canning milk. Place the clean jars on a baking sheet that will fit in your oven. This method of sanitizing jars in the oven is convenient and effective. The dry heat kills any bacteria remaining after washing. Make sure your jars do not have any chips or cracks that could cause breakage during processing.
Sanitizing Jars in the Oven
Preheat your oven to three hundred twenty degrees Fahrenheit before placing jars inside. Arrange the clean jars on the baking sheet with the openings facing up. Put the baking sheet with jars in the preheated oven. Leave the jars in the oven for fifteen minutes to fully sanitize them. This oven method is easier than boiling jars in a large pot. The heat sterilizes the glass and prepares it for the milk. Remove the jars from the oven using jar lifters or oven mitts to avoid burns.
Preparing Lids and Bands
While the jars sanitize in the oven, prepare your lids and metal bands. Place all the lids and bands in a small saucepan. Fill the pan with enough water to cover the lids and bands completely. Set the pan on the stovetop and turn the heat to high. Bring the water to a full rolling boil. Let the water boil for five minutes to kill any bacteria on the metal pieces. The boiling water also softens the rubber sealing compound on the lids. Keep the lids in the hot water until you are ready to use them on the filled jars.
Warming the Milk
Take your milk out of the refrigerator and let it sit at room temperature. Cold milk straight from the fridge can cause jars to crack when filled. Allowing the milk to warm slightly reduces the temperature difference between the milk and jars. Let the milk sit on the counter for about thirty minutes before filling jars. The milk does not need to be hot, just not ice cold. Room temperature milk also processes more evenly in the pressure canner. Never heat the milk on the stove before canning as this can affect texture.
Filling Jars with Milk
Set up your filling station with the warm jars on a cutting board or thick kitchen towel. Use a canning funnel placed in the mouth of each jar. A ladle works well for transferring milk from the container into the jars. Pour the milk carefully to avoid spilling on the jar rims. Leave about one-half inch of empty space at the top of each jar. This space is called headspace and is necessary for proper sealing. Too much headspace or too little can prevent jars from sealing correctly.
Cleaning Jar Rims
After filling each jar, check the rim carefully for any milk residue. Even a small amount of milk on the rim can prevent proper sealing. Use a clean paper towel dampened with water to wipe the rim. Run the damp paper towel around the entire rim in a circular motion. Check again to make sure the rim is completely clean and dry. This step is crucial for achieving a good vacuum seal. Never touch the rim with your fingers after cleaning it.
Applying Lids and Bands
Remove a lid from the hot water using tongs or a magnetic lid lifter. Center the lid carefully on top of the clean jar rim. The rubber sealing compound should face down toward the glass. Place a metal band over the lid and screw it on by hand. Tighten the band until it is fingertip tight, which means snug but not overly tight. Over-tightening can prevent air from escaping during processing. The band only needs to be tight enough to hold the lid in place. Repeat this process for all filled jars.
Preparing the Pressure Canner
Place your pressure canner on the stovetop burner before adding any jars. Add three quarts of water to the bottom of the canner. This equals about two and a half inches of water depth. Check your specific canner manual as some models require different water amounts. The water creates the steam needed to build pressure inside the canner. Too little water can cause the canner to run dry during processing. Place the metal rack in the bottom of the canner to keep jars off the direct heat.
Loading Jars into Canner
Use a jar lifter to carefully pick up each filled jar. Lower the jars onto the rack inside the pressure canner. Space the jars so they do not touch each other or the sides of the canner. You can stack jars if your canner is tall enough, using a second rack between layers. Make sure all jars are stable and will not tip during processing. The water level should not reach the tops of the jars. Once all jars are loaded, put the canner lid on following manufacturer instructions.
Venting the Canner
Place the pressure canner on the burner and turn the heat to high. Do not put the weight on the vent pipe yet at this stage. Watch the vent pipe for steam to start coming out. Once you see steady steam, set a timer for ten minutes. Allow the canner to vent steam for the full ten minutes. This venting process removes all air from inside the canner. Air trapped inside can interfere with reaching the correct pressure. Never skip the venting step as it is essential for safe processing.
Processing at Pressure
After venting for ten minutes, place the weighted gauge on the vent pipe. Watch the pressure dial as it begins to climb. When the dial reaches eleven pounds of pressure, turn the heat down. Adjust the heat as needed to maintain eleven pounds steadily. At sea level, eleven pounds of pressure is correct for canning milk. The high pressure and temperature kill harmful bacteria in the milk. Once you turn off the heat, let the canner cool naturally without moving it.
Cooling the Canner
Allow the pressure canner to cool completely on its own without interference. This cooling process can take two to three hours depending on your canner size. Never try to speed up cooling by running water over the canner. Rapid cooling can cause jars to break or lose their seals. Do not remove the weight or open the vent until the pressure reads zero. The dial must show zero pressure before it is safe to open the canner. Be patient during this cooling stage as rushing can ruin your canned milk.
Removing Jars from Canner
Once the pressure gauge reads zero, carefully remove the weight from the vent. Wait a few more minutes before attempting to open the canner lid. Lift the canner lid away from you to avoid steam burns. Let the jars sit in the open canner for five to ten minutes. This resting time allows the jars to adjust to room temperature gradually. Use a jar lifter to remove each jar from the canner. Place the hot jars on a kitchen towel or wooden cutting board, not directly on cold countertops.
Checking Seals
Let the jars cool completely at room temperature for twelve to twenty-four hours. After cooling, check each jar to make sure it sealed properly. Press down on the center of each lid with your finger. A properly sealed lid will not move or make a clicking sound. You can also look at the lid from the side to see if it curves downward slightly. Unsealed jars will have lids that pop up and down when pressed. Any jars that did not seal must be refrigerated and used within a week.
Understanding Milk Appearance Changes
Canned milk often looks different from fresh milk, which is completely normal. The cream naturally separates and rises to the top of the jar during storage. You may notice a yellowish or brownish tint to the milk after canning. This color change happens because of the high heat during processing. The milk might also look slightly thicker than fresh milk. These appearance changes do not mean the milk is spoiled. Simply shake the jar before opening to remix the separated cream with the milk.
Altitude Adjustments
Processing pressure must be adjusted if you live at higher elevations. At altitudes between one thousand and two thousand feet, process at eleven pounds of pressure. From two thousand to four thousand feet, increase to twelve pounds of pressure. At four thousand to six thousand feet, use thirteen pounds of pressure. Above six thousand feet, process at fourteen pounds of pressure. These adjustments account for the lower boiling point at higher altitudes. Always check a reliable canning guide for your specific elevation.
Storage and Shelf Life
Store sealed jars of canned milk in a cool, dark place like a pantry or basement. Remove the metal bands before storing to prevent rust. Wipe each jar clean with a damp cloth before putting it away. Label jars with the date so you know when they were canned. Properly canned milk stays good for up to one year when stored correctly. Check jars periodically for any signs of spoilage like bulging lids or leaks. Use your oldest jars first to rotate your stock effectively.
Using Canned Milk
Canned milk works in most recipes that call for regular milk. Shake the jar well before opening to mix the separated cream back in. The milk can be used in baking recipes like cakes, muffins, and breads. It works fine for making sauces, soups, and casseroles. Some people enjoy drinking canned milk straight, though the texture is slightly different from fresh. The milk can also be used in coffee, tea, or hot chocolate. Once opened, treat canned milk like fresh milk and refrigerate any unused portion.
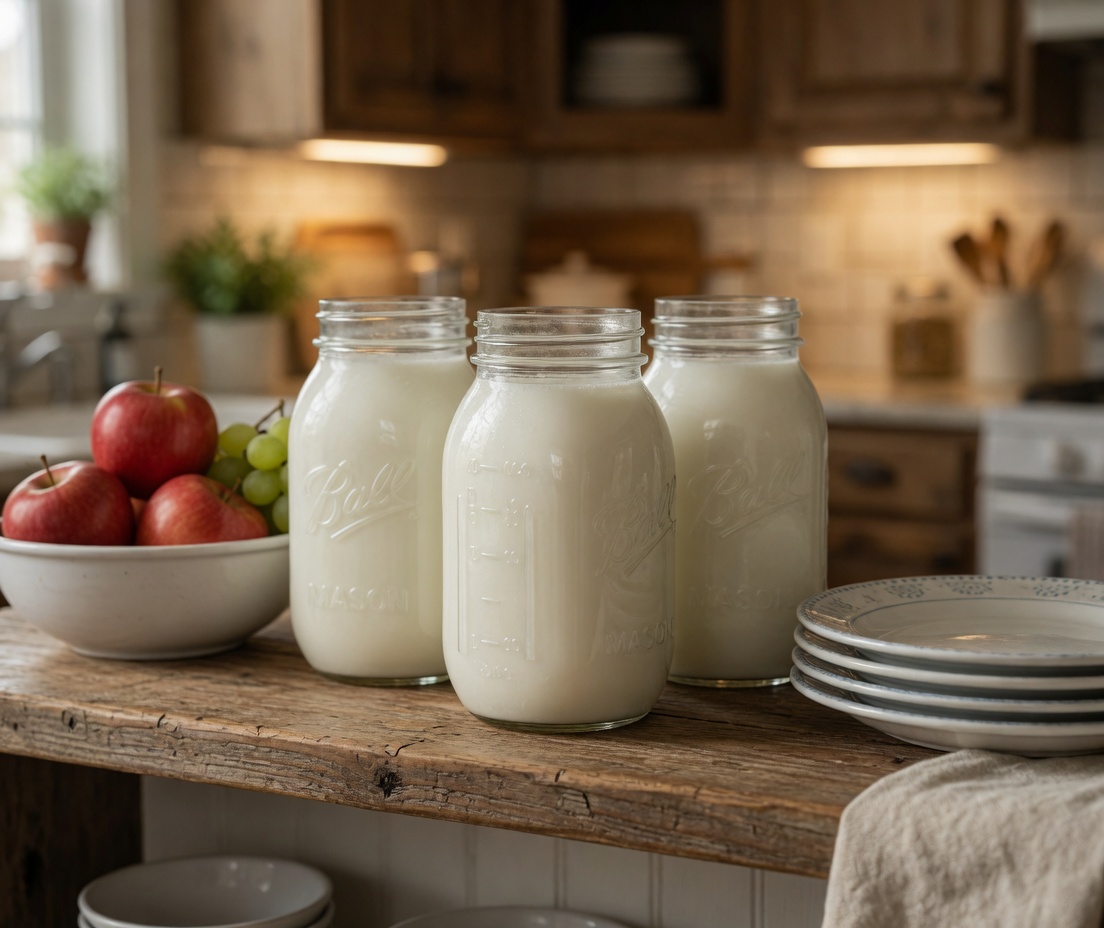
How to Can Milk
Shelf-stable canned milk processed in a pressure canner for long-term pantry storage without refrigeration.
10
minutes25
minutes125
kcal2
hours2
hours35
minutesIngredients
Fresh milk (whole, 2%, 1%, or skim), enough to fill 3 quart jars
Directions
- Let refrigerated milk warm to room temperature for 30 minutes. Meanwhile, wash 3 quart jars with hot soapy water, place on baking sheet, and sanitize in 320°F oven for 15 minutes. Boil lids and bands in water for 5 minutes.
- Remove jars from oven and place on kitchen towel. Add 3 quarts of water to pressure canner and set on stovetop. Fill each jar with milk using funnel and ladle, leaving 1/2 inch headspace. Wipe rims clean with damp paper towel.
- Place lids on jars and screw bands on fingertip tight. Load jars onto rack in pressure canner and close lid without weight on vent.
- Turn heat to high and when steam appears from vent, let it vent for 10 minutes. Place weight on vent and watch dial until it reaches 11 psi (adjust for altitude). Turn off heat.
- Let canner cool completely without moving it until pressure dial reads zero (2-3 hours). Remove weight, open lid away from you, and let jars rest in open canner for 5-10 minutes.
- Remove jars with jar lifter and place on kitchen towel to cool completely for 12-24 hours. Check seals by pressing center of lids – properly sealed lids will not pop.
- Remove bands, wipe jars clean, label with date, and store sealed jars in cool, dark pantry for up to 1 year.
Equipment
- 3 quart-sized canning jars
- 3 canning lids
- 3 canning bands
- Pressure canner
- Jar lifter
- Canning funnel
- Ladle
- Baking sheet
- Kitchen towel or cutting board
Notes
- Must use pressure canner, never water bath canner. Process at 11 psi at sea level. Adjust pressure for altitude: 1,000-2,000 ft use 11 psi, 2,000-4,000 ft use 12 psi, 4,000-6,000 ft use 13 psi, above 6,000 ft use 14 psi. Any milk type works (whole, 2%, 1%, skim). Use fresh milk before expiration date. Warm refrigerated milk to room temperature before filling jars to prevent breakage. Leave 1/2 inch headspace in jars. Clean rims thoroughly before lidding. Tighten bands fingertip tight only. Vent canner for full 10 minutes before adding weight. Never skip venting. Let canner cool naturally 2-3 hours without interference. Cream separation is normal. Milk may turn yellowish from heat processing, which is normal. Shake jar before opening to remix separated cream. Unsealed jars must be refrigerated and used within one week. Remove bands before storage to prevent rust. Label with canning date. Use within 1 year. Once opened, refrigerate and use within one week. Works in all recipes calling for milk. Pint or half-pint jars use same process and pressure.
Nutrition Facts
- Calories: 125kcal
- Fat: 5g
- Carbohydrates: 12g
- Fiber: 0g
- Sugar: 12g
- Protein: 9g