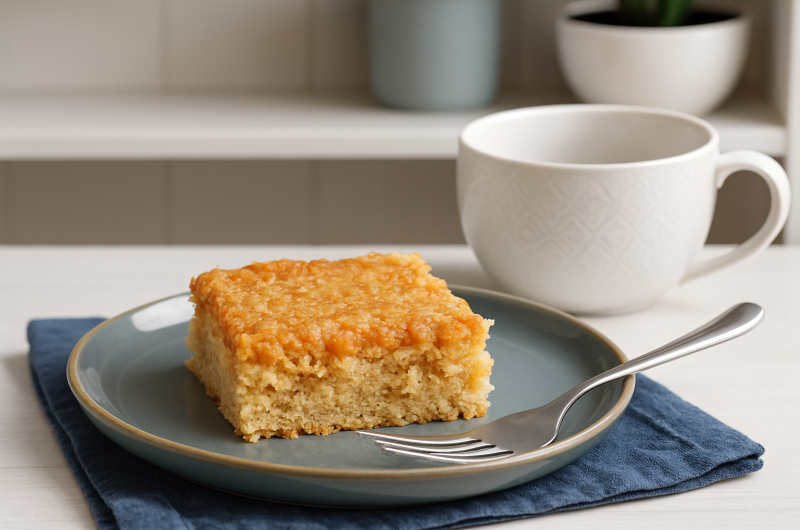
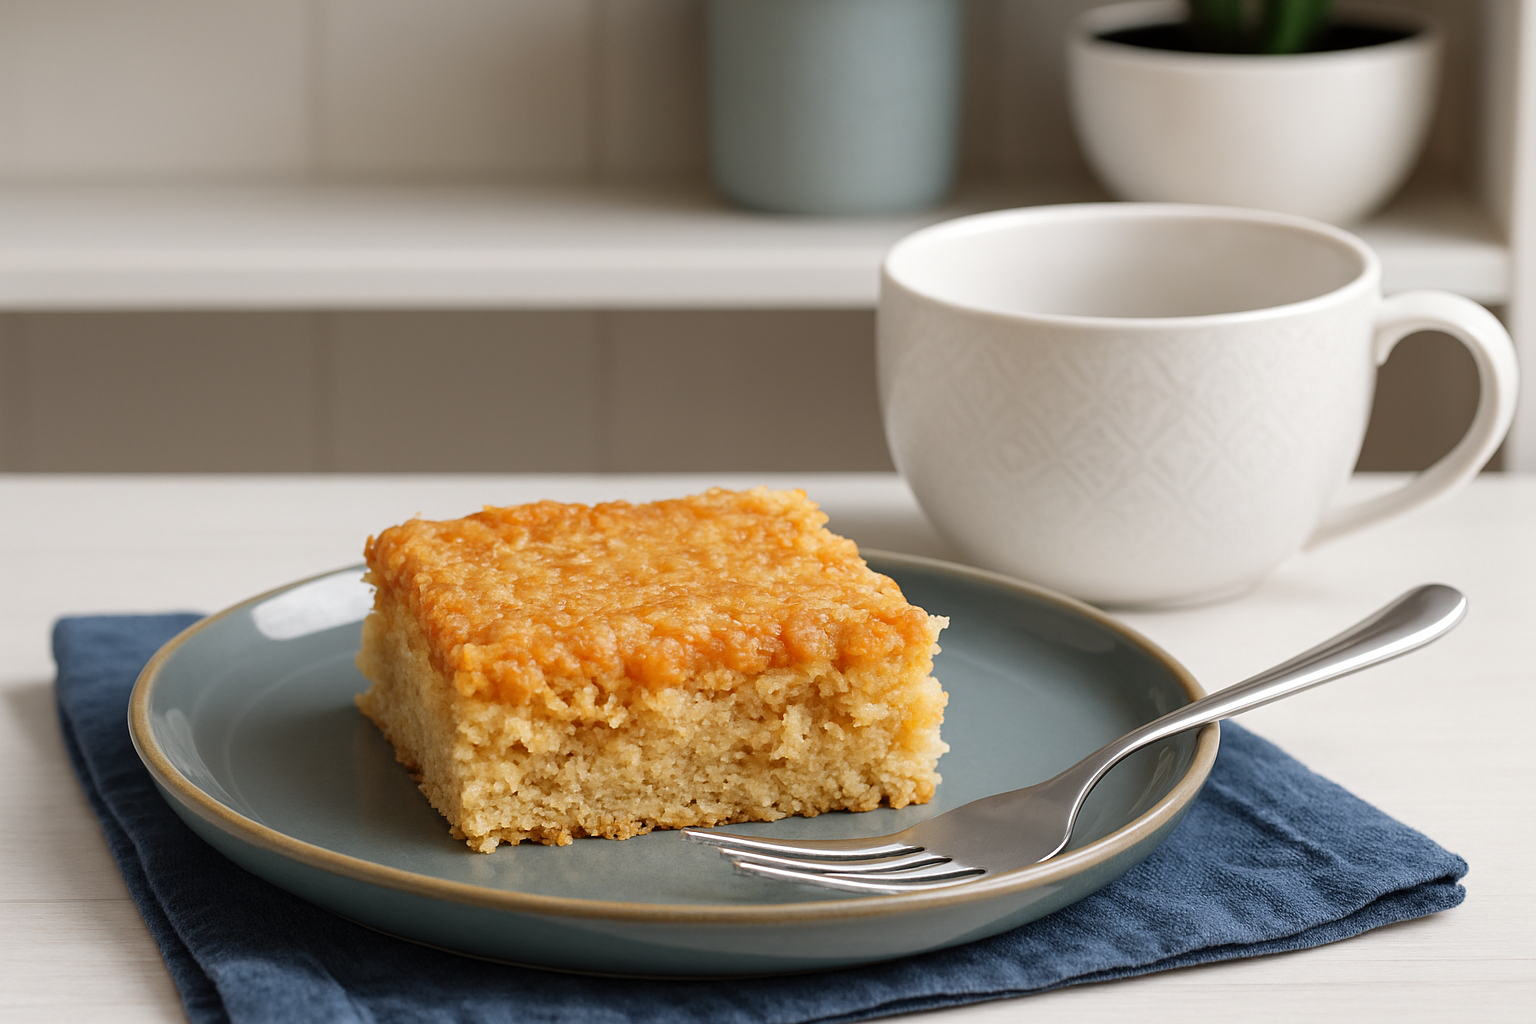
Keto Dream Cake is a low-carb, sugar-free version of the classic cake known for its rich coconut caramel topping. The soft almond flour cake is baked first, then covered with a buttery coconut topping and returned to the oven until golden brown. The result is a simple keto dessert with a moist cake base and a sweet, lightly caramelized finish.
This easy keto cake recipe uses almond flour instead of regular flour and low-carb sweeteners instead of traditional sugar. Whey protein powder adds support to the cake texture, while eggs, butter, and almond milk bring the batter together. The topping combines butter, Swerve Brown, allulose, heavy cream, and shredded coconut for the familiar flavor that makes this Danish-inspired cake special. The recipe makes 16 servings, making it useful for sharing with family or preparing ahead for several desserts.
Why This Cake Fits a Low-Carb Diet
Traditional Danish Dream Cake usually contains regular flour and sugar, both of which are replaced in this recipe. Almond flour creates the base of the cake, while Swerve Granular or another granulated sweetener provides sweetness without using regular sugar. The topping also uses low-carb sweeteners to create its caramel-style flavor.
The combination of fat from butter and heavy cream, protein from eggs and whey protein powder, and lower-carbohydrate ingredients gives the recipe its keto-friendly style.
Because ingredient labels and brands can vary, nutritional values may change when different products are used. For the recipe as provided, however, the cake is designed around low-carb ingredients and is best placed in the Keto Recipes category.
The Soft Almond Flour Cake Base
The base of this Keto Danish Dream Cake starts with three large eggs, granulated sweetener, and vanilla powder or vanilla extract. These ingredients are whisked together first to create a smooth wet mixture before the dry ingredients are added.
Almond flour is the main flour in the recipe and provides a mild, slightly nutty taste. It also creates a different texture from regular wheat flour. The 2¼ cups of almond flour form most of the cake batter, while the whey protein powder or egg white protein powder helps provide additional structure.
Baking powder helps the cake rise during baking, and the small amount of salt balances the sweetness. Melted butter adds richness and moisture, while almond milk or water helps loosen the batter to the right consistency.
The finished batter is spread into a 9×9-inch baking pan. It should be distributed evenly so the cake bakes at a similar rate across the pan. The first bake partially cooks the cake before the coconut caramel topping is added.
Eggs and Sweetener in the Batter
The eggs provide important structure for this low-carb cake. Since the recipe does not contain regular wheat flour, the eggs help bind the ingredients and support the cake as it bakes. Whisking them with the sweetener and vanilla until well combined creates a smooth starting point.
The original ingredient list calls for Swerve Granular or another granulated sweetener. Keeping the sweetener in granulated form helps maintain the intended texture of the cake batter. The exact sweetness of alternative products can vary, so using the listed ingredient is the most reliable way to follow the recipe.
Vanilla powder adds a warm flavor to the cake, although the original recipe also allows vanilla extract. Either listed option can be used according to the original measurements. The vanilla works with the almond flour and caramelized coconut topping without overpowering them.
Once the eggs, sweetener, and vanilla are mixed, the dry ingredients can be stirred in. This gradual method keeps the preparation simple and helps create a batter that is evenly combined before the butter and almond milk are added.
Almond Flour and Protein Powder
Almond flour is one of the main ingredients responsible for the texture of this keto cake. It provides more richness than many other alternative flours and works well with butter, eggs, and low-carb sweeteners. For best results, use the exact amount of 2¼ cups listed in the original ingredients.
The recipe also includes ¼ cup of unflavored whey protein powder, with egg white protein powder listed as an alternative. The protein powder helps support the structure of the cake and works alongside the eggs and almond flour.
Unflavored protein powder is important because the cake already contains vanilla and a sweet coconut topping. A flavored powder could change the intended taste. Using the listed unflavored option keeps the main flavor focused on vanilla, almond, butter, and coconut caramel.
Stir the almond flour, protein powder, baking powder, and salt into the egg mixture before adding the melted butter and almond milk. Mixing the dry ingredients evenly helps prevent pockets of baking powder or protein powder in the finished cake.
Preparing the Baking Pan
Preheat the oven to 350°F before starting the final baking steps. A properly heated oven helps the cake begin baking at the correct temperature and supports more even cooking throughout the batter.
The recipe uses a 9×9-inch metal baking pan. Grease the pan, then line it with parchment paper so the paper extends over the sides. The overhanging edges act as handles and make it easier to lift the cooled cake from the pan.
Grease the parchment paper as well. This additional step helps prevent the cake and coconut topping from sticking when the dessert is removed after cooling. Prepare the pan before transferring the finished batter so it is ready to use.
Spread the batter evenly after pouring it into the pan. A level surface helps the cake bake consistently and also provides an even base for the coconut caramel topping that is added after the first baking stage.
Baking the Cake Before Adding the Topping
The cake is baked in two stages. First, bake the almond flour batter for 20 to 25 minutes. At this point, the cake should be just barely firm rather than completely finished.
This first stage is important because the coconut caramel topping needs a partially baked surface underneath it. Adding the topping before the cake has started to set could affect how the layers bake together.
While the cake is in the oven, prepare the coconut topping. This helps keep the recipe moving smoothly and allows the topping to be ready when the first baking stage is complete.
Begin checking the cake near the 20-minute mark. Oven temperatures can vary, so the goal is to remove the cake when it is lightly set and ready for the topping rather than leaving it in the oven until fully browned.
Making the Coconut Caramel Topping
The coconut caramel topping is the main feature of this Keto Danish Dream Cake. It uses butter, Swerve Brown, allulose, heavy cream, shredded coconut, and a pinch of salt.
Start by placing the butter and both sweeteners in a medium saucepan over medium heat. Bring the mixture to a boil, then reduce the heat so it cooks at a gentle simmer.
Allow the mixture to simmer for 4 to 5 minutes, following the original method, until the color becomes deeper. This heating stage develops the caramel-style character of the topping before the remaining ingredients are added.
Keep an eye on the saucepan while the mixture cooks. The sweeteners and butter become very hot, so follow the heating instructions carefully before moving to the next step.
Adding Cream and Shredded Coconut
After the butter and sweetener mixture has simmered, remove the saucepan from the heat. Add the heavy cream carefully, as the hot mixture may bubble when the cooler cream is introduced.
Wait for the bubbling to settle, then stir in the shredded coconut. The coconut gives the topping its distinctive texture and creates the golden, slightly crisp surface after the cake returns to the oven.
The pinch of salt helps balance the sweetness of the topping. Although only a small amount is used, it works with the butter, cream, and sweeteners to create a fuller flavor.
Stir the topping until the ingredients are evenly combined. It should be ready to spread over the cake as soon as the first baking stage is complete.
Adding the Topping to the Cake
Once the partially baked cake comes out of the oven, pour the coconut topping evenly across the surface. Spread it gently if needed so the butter, caramel mixture, and shredded coconut cover the entire cake.
An even layer helps every square receive the same combination of soft cake and coconut topping. Work carefully because both the cake and topping will be hot at this stage.
Return the pan to the oven after the topping has been added. The cake then bakes for another 10 to 15 minutes, allowing the topping to become golden brown.
The second baking stage also finishes cooking the cake underneath. The topping should look golden and set when the cake is ready to come out of the oven.
How to Avoid Overbaking
The cake is baked for two separate periods, so it is important to consider the total time spent in the oven. The first stage should only bake the cake until it is barely firm, while the second stage finishes the cake and browns the coconut topping.
Leaving the cake in the oven too long can dry the almond flour base and make the topping overly dark. Begin checking the topping as it approaches the lower end of the 10-minute second baking period.
The desired finish is a golden brown topping rather than a very dark surface. Once the coconut has developed color and the cake has finished baking, remove the pan from the oven.
Allowing the cake to cool after baking is also part of the process. The topping becomes more stable as it cools, which makes the dessert easier to cut into clean squares.
Cooling and Cutting the Cake
Let the Keto Danish Dream Cake cool completely before removing it from the baking pan. Cooling gives the cake and topping time to firm up after the final baking stage.
The parchment paper overhang makes removal easier. Once the cake has cooled, carefully lift it from the pan using the parchment edges rather than trying to turn the cake upside down.
Place the cake on a suitable surface and cut it into 16 portions. Since the recipe makes 16 servings, cutting the cake into equal squares helps keep the portion size consistent with the provided nutrition information.
Use a sharp knife and clean it between cuts if needed. This can help create neater squares, particularly because the topping contains shredded coconut and has a caramel-like texture.
Helpful Preparation Notes
Use a 9×9-inch metal baking pan and prepare it with parchment paper as directed. The size of the pan affects the thickness of the cake, so changing it substantially may alter the baking time and final texture.
The cake should be baked only until barely firm during the first oven stage. The coconut topping is then added, and the cake returns to the oven for 10 to 15 minutes until the surface becomes golden brown.
When making the topping, allow the butter and sweeteners to simmer for the listed 4 to 5 minutes before adding the cream. Remove the pan from the heat before stirring in the heavy cream and wait for bubbling to settle.
Keep the ingredient quantities unchanged, particularly the combination of Swerve Brown and allulose in the topping. The ingredients work together to provide the intended sweetness and caramel-style texture.
Storing Keto Danish Dream Cake
The storage instructions make this cake suitable for preparing in advance. Keep the finished cake in a covered container on the counter for up to 4 days.
For longer storage, place the cake in the refrigerator, where it can be kept for up to 10 days. Keeping the dessert covered helps protect the texture and prevents it from drying out.
The cake can also be frozen for several months. For easier serving later, cut it into portions before freezing so individual squares can be removed when needed.
Allow frozen portions to thaw before serving. These storage options make the recipe practical for meal planning, special occasions, or keeping a keto-friendly dessert available for later.
Serving This Low-Carb Danish Cake
This Keto Danish Dream Cake can be served once it has cooled completely and been cut into 16 squares. Each piece combines the soft almond flour cake with a buttery coconut caramel topping.
The recipe works well as a dessert for a family meal, gathering, or special occasion. Because it is prepared in one square pan, serving is straightforward and does not require extra frosting or decoration.
Keto Dream Cake
A low-carb and sugar-free Danish-inspired cake with a soft almond flour base and a buttery coconut caramel topping. The cake is baked in two stages, giving the base time to set before the rich coconut layer turns golden in the oven.
16
servings25
minutes45
minutes237
kcal1
hour10
minutesIngredients
- Cake
3 large eggs
3/4 cup (136.5 g) Swerve Granular, (or other granulated sweetener)
1 tsp vanilla powder, (or 2 tsp vanilla extract)
2 1/4 cup (236 g) almond flour
1/4 cup (27 g) unflavored whey protein powder, (or egg white protein powder)
2 tsp baking powder
1/4 tsp (0.25 tsp) salt
6 tbsp (6.09 tbsp) butter, melted
1/4 cup (59.15 ml) almond milk, (or water)
- Coconut Caramel Topping
6 tbsp (6.0 tbsp) butter
1/3 cup (60.67 g) Swerve Brown
1/3 cup (66.67 g) allulose
1/4 cup (59.15 ml) heavy cream
1 cup (80 g) shredded coconut
Pinch salt
Directions
- Preheat the oven to 350°F. Grease a 9×9-inch metal baking pan, line it with parchment paper allowing the sides to overhang, and grease the parchment.
- Whisk the eggs, Swerve Granular, and vanilla powder until well combined. Stir in the almond flour, protein powder, baking powder, and salt, then mix in the melted butter and almond milk until the batter is smooth.
- Spread the batter evenly in the prepared pan. Bake for 20 to 25 minutes, until the cake is just barely firm. Prepare the coconut topping while the cake is baking.
- For the topping, heat the butter, Swerve Brown, and allulose in a medium saucepan over medium heat. Bring to a boil, reduce to a simmer, and cook for 4 to 5 minutes until the mixture deepens in color. Remove from the heat, carefully stir in the heavy cream, then add the shredded coconut and pinch of salt.
- Pour the coconut topping evenly over the partially baked cake. Return the pan to the oven and bake for another 10 to 15 minutes, until the topping is golden brown.
- Remove the cake from the oven and allow it to cool completely. Lift it from the pan using the parchment paper and cut into 16 squares before serving.
Notes
- Prepare the 9×9-inch pan before mixing the final batter so the cake can go into the oven without delay. Spread the batter evenly to support more consistent baking.
- During the first baking stage, cook the cake only until it is barely firm. The second baking stage completes the cake while allowing the coconut caramel topping to become golden.
- Store the finished cake in a covered container on the counter for up to 4 days or in the refrigerator for up to 10 days. It can also be frozen for several months.
Nutrition Facts
- Calories: 237kcal
- Fat: 21.4g
- Carbohydrates: 5.1g
- Fiber: 2.4g
- Protein: 6.4g