Sourdough berry sweet rolls combine the distinctive tang of fermented sourdough with the bright sweetness of fresh or frozen berries, creating a dessert that’s both sophisticated and comforting. These rolls appeal to people seeking homemade baked goods that deliver impressive flavor while showcasing baking skill without requiring extensive experience. The fermentation from sourdough starter creates complexity that standard sweet rolls cannot achieve, while the berries provide natural sweetness and appealing color. The combination of tangy sourdough, sweet berries, and rich glaze creates multiple flavor dimensions that make each bite interesting. These rolls work beautifully for special breakfasts, weekend brunches, or as gifts for sourdough-loving friends and family. Understanding how sourdough fermentation affects dough development helps you appreciate why these rolls deliver superior results compared to versions made with commercial yeast alone.
Why Sourdough Fermentation Creates Superior Flavor
Sourdough starter contains wild yeast and bacteria that ferment the dough over extended periods, developing complex flavors impossible to achieve with commercial yeast. The fermentation process creates lactic acid that develops subtle tangy notes complementing the berries beautifully. The extended fermentation allows gluten to develop naturally without aggressive kneading, creating tender crumb structure. The enzymes in sourdough break down flour components, making them more digestible and easier on the stomach. The flavor compounds that develop during fermentation cannot be rushed—this is why overnight rising produces noticeably better results than quick-rise methods. Using an active sourdough starter means you’re harnessing beneficial microorganisms that have been cultivated over time. The investment in maintaining a healthy starter pays dividends through superior flavor in all your sourdough creations.
Preparing and Activating Sourdough Starter
Activating your sourdough starter correctly ensures it contains sufficient active yeast and bacteria for proper fermentation. Combining starter with flour and water in a clean jar creates the ideal environment for microbial activity. The ten to twelve-hour sitting period allows yeast and bacteria to multiply and become sufficiently active. The starter should roughly double in size, indicating vibrant fermentation activity. A properly activated starter should show visible bubbles and have a pleasant sour smell. If the starter doesn’t double within twelve hours, it may need additional feeding time or warmer conditions. Using a starter at peak activity—right when it’s doubled in size—produces the best results in sweet rolls. Some people prefer feeding starter more frequently in the days before baking to ensure maximum vigor.
Creating Tender Dough with Cold Butter Technique
Grating cold butter directly into the flour creates a unique texture where butter pieces distribute evenly throughout the dough. This technique prevents the butter from becoming overly soft while mixing, which would cause it to blend with flour rather than remaining as distinct pieces. The butter pieces create pockets that steam during baking, producing tender, slightly flaky texture. Tossing the grated butter with flour coats each piece with flour, preventing clumping. This method is gentler than cutting butter with a pastry cutter, as it avoids breaking the butter into pieces too small. The cold butter should remain cold throughout the process, so working quickly and keeping ingredients chilled is important. Some people refrigerate the mixing bowl before adding ingredients to maintain cold temperatures.
Understanding Extended Bulk Fermentation
The eight to ten-hour bulk fermentation at room temperature allows sourdough starter to work its magic, developing flavor while creating proper gluten structure. The extended rising time means the dough roughly doubles in size, indicating adequate fermentation and gas production. Room temperature fermentation is preferable to refrigeration because it allows faster fermentation and flavor development. The slower fermentation creates more complex flavors than quick-rise methods can achieve. During fermentation, the dough becomes noticeably softer and more extensible, making rolling easier without tearing. The gluten develops naturally through this extended period without requiring aggressive kneading. Some people prefer cooler kitchen temperatures that create even longer fermentation, developing even more complex flavors.
Preparing the Cinnamon-Sugar Filling
The filling combines sugar, flour, and ground cinnamon into a simple yet flavorful mixture. The flour in the filling helps absorb moisture from the berries, preventing the rolls from becoming excessively wet. The cinnamon provides warmth and spice that complements berry flavors beautifully. Using freshly ground cinnamon rather than pre-ground variety provides superior flavor and aroma. The amount of cinnamon can be adjusted based on personal preference—more creates pronounced spice while less creates subtle warmth. The filling should be prepared shortly before assembly to ensure the sugar remains dry and easy to distribute. Some people prefer adding lemon zest to the filling for brightness that prevents the rolls from tasting one-dimensional.
Selecting and Preparing Berries for Maximum Flavor
Fresh berries provide the brightest flavor, though frozen berries work equally well and are convenient year-round. The berries should be distributed evenly across the dough to ensure every roll contains flavorful fruit. Using a combination of berry types—perhaps mixing cherries with raspberries or blueberries—creates more complex flavor than using a single variety. Some people toss the berries lightly in cornstarch to help absorb excess moisture released during baking. The berries should be relatively dry before distributing to prevent the dough from becoming soggy. If using frozen berries, there’s no need to thaw them—adding frozen berries to the dough works beautifully.
Rolling and Shaping Dough for Uniform Rolls
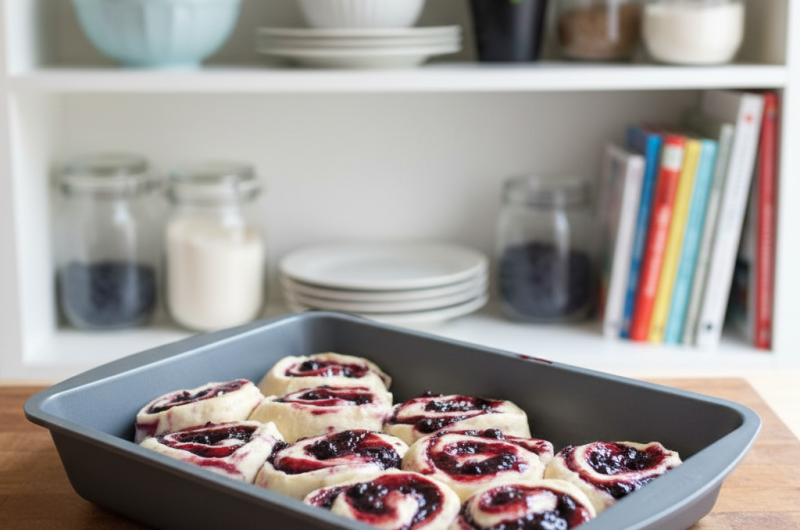
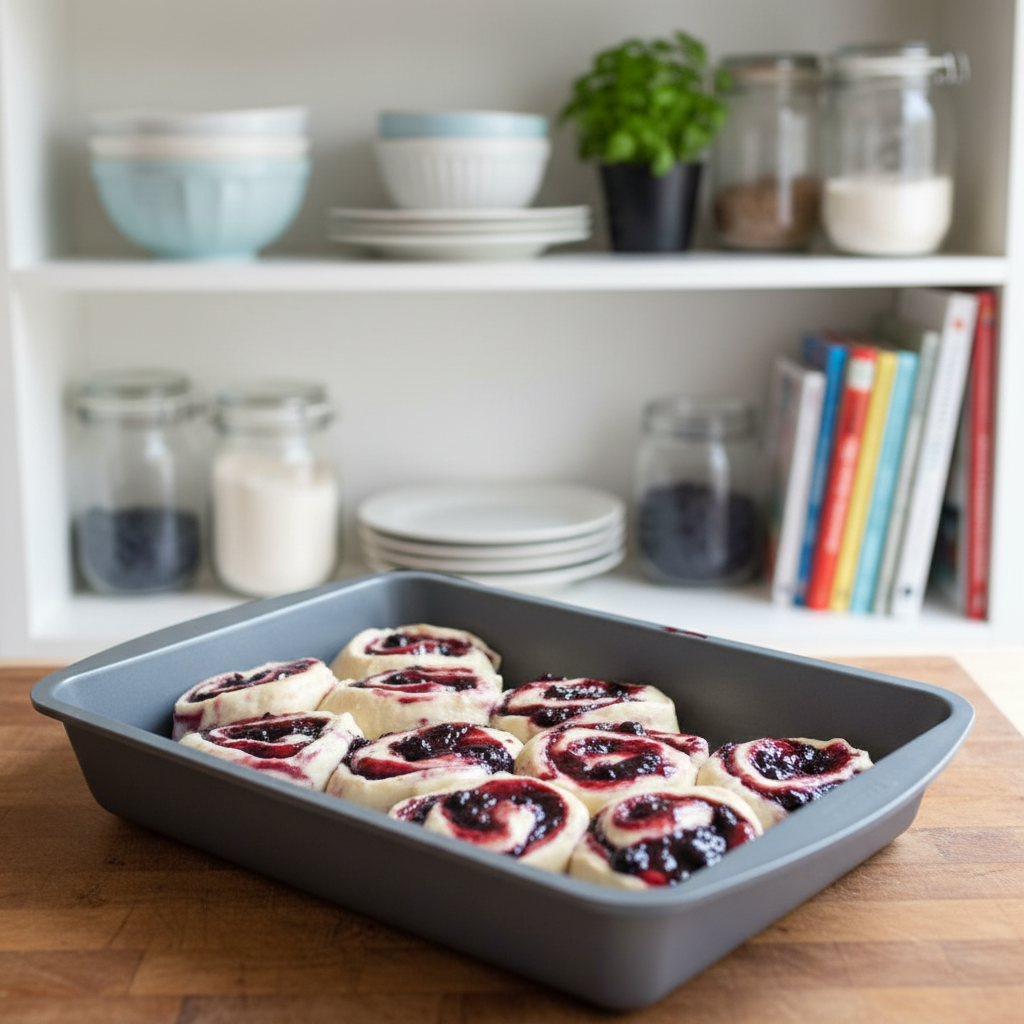
Rolling the dough into a twelve-by-eighteen-inch rectangle creates the proper size for twelve rolls. The dough should be rolled to approximately one-quarter inch thickness—thin enough to provide multiple layers but thick enough to maintain structural integrity. Rolling from one long edge creates a long log that’s easier to cut into uniform portions than rolling from short edges. Using a sharp knife or bench scraper creates clean cuts without compressing the dough. Each roll should be approximately the same size to ensure uniform baking time and appearance. Some people prefer cutting with unflavored dental floss which creates cleaner cuts than knives. The cut rolls should be arranged in the prepared pan with slight space between them.
Second Rise for Optimal Texture
The two-hour room temperature rise allows the shaped rolls to puff and develop additional flavor. The rise time depends on kitchen temperature—warm kitchens require less time while cool ones need longer. The rolls should appear noticeably puffed but shouldn’t have risen so much that they’re touching the pan sides. Finger poke test—pressing gently with your finger should create an indentation that springs back slowly—indicates readiness for baking. Over-risen rolls may collapse during baking or create dense texture. Under-risen rolls bake into denser, less fluffy results. The goal is rolls that have risen noticeably but still have room to expand further during baking.
Baking at Proper Temperature for Golden Results
Baking at four hundred degrees Fahrenheit creates golden-brown exteriors while cooking the interior completely. The thirty-minute baking time is approximate because oven temperatures vary. The finished rolls should be golden brown on top with bubbly berry juices visible at the edges. The filling should be hot and the dough cooked through when a toothpick inserted into the center emerges clean or with just moist crumbs. Ovens that run hotter may require slightly less time while cooler ovens need additional minutes. Using an oven thermometer occasionally verifies actual oven temperature since many home ovens run hotter or cooler than indicated. Some bakers tent the rolls loosely with foil if they’re browning too quickly before the interior finishes baking.
Creating Perfect Glaze for Finishing
The glaze combines powdered sugar, lemon juice, melted butter, and milk into a smooth, pourable consistency. The lemon juice adds brightness that prevents the glaze from tasting one-dimensional. The butter provides richness while the milk creates proper consistency for drizzling. Whisking the glaze thoroughly ensures powdered sugar dissolves completely without grittiness. The glaze consistency should be thick enough to coat the rolls but thin enough to drizzle evenly. If too thick, adding milk one tablespoon at a time thins it. If too thin, adding more powdered sugar thickens it. Applying glaze to warm rolls allows it to soften slightly while setting into an appealing coating.
Storage and Make-Ahead Options
Properly stored rolls remain fresh at room temperature for two to three days when covered with plastic wrap or aluminum foil. Refrigerating extends shelf life to approximately one week, though rolls may become slightly denser as they age. Freezing works well for longer storage—wrap cooled rolls individually in plastic wrap and freeze in an airtight container for up to three months. Thawing at room temperature and reheating in the oven restores quality remarkably well. Individual slices can be frozen and reheated as needed for convenient grab-and-go breakfast. The flexibility of storage options means you can prepare rolls in advance for entertaining or ensure fresh-baked breakfast available whenever desired.
Sourdough Berry Sweet Rolls
Perfect for special breakfasts, weekend brunches, or as impressive gifts, these rolls showcase the art of sourdough baking. The combination of tangy dough, sweet berries, and bright glaze creates multiple flavor dimensions that make every bite memorable.
12
rolls10
minutes35
minutes298
kcal10
hours45
minutesIngredients
½ cup (100 g) active sourdough starter
8 tablespoons (113 g) unsalted butter (cold)
4 cups (480 g) all-purpose flour
1 cup (240 g) milk
2 tablespoons (25 g) sugar
1 teaspoon (5 g) salt
- Berry Fillings:
2 ½ cups (387.5 g) frozen or fresh berries (chop larger pieces)
½ cup (100 g) granulated sugar
2 teaspoons all-purpose flour
Zest of one lemon
½ teaspoon ground cinnamon
- Glaze:
1 cup (120 g) powdered sugar
1 tablespoon (14 g) melted butter
1 teaspoon (5 g) vanilla extract
1 tablespoon lemon juice
1 tablespoon (30 g) milk
Directions
- Activate your sourdough starter 12 hours before mixing the dough.
- Prepare the dough, let it rest, and undergo the first rise.
- Mix the filling ingredients and set them aside.
- Roll out the dough, add the filling, and shape the rolls.
- Allow the rolls to rise again before baking.
- Bake the rolls until golden brown.
- Make the glaze and drizzle it over the warm rolls before serving.
Notes
- Dough can be made in advance and refrigerated.
- Cut larger berries for easier rolling and slicing.
- Store leftovers in the fridge for up to 3 days or freeze for later enjoyment.
Nutrition Facts
- Calories: 298kcal
- Fat: 7g
- Cholesterol: 19mg
- Sodium: 248mg
- Potassium: 124mg
- Carbohydrates: 52g
- Fiber: 2g
- Sugar: 21g
- Protein: 5g
- Calcium: 47mg
- Iron: 2mg