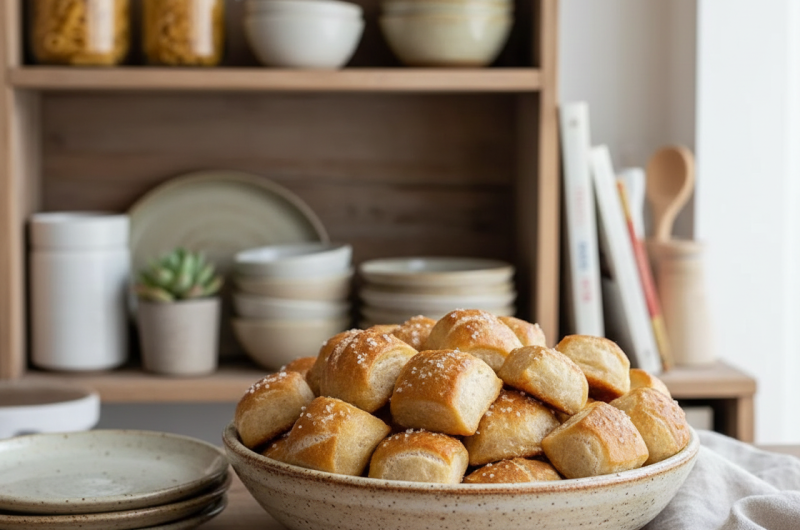
Sourdough pretzel bites represent a delightful combination of soft, chewy pretzel interiors with crispy, seasoned exteriors, all infused with the distinctive tangy flavor of sourdough fermentation. These bite-sized snacks appeal to people seeking homemade alternatives to store-bought pretzels while enjoying the creative satisfaction of making something from scratch. The process of making pretzel bites eliminates the complicated twisting and shaping required for traditional pretzels, making them accessible to bakers of all skill levels. The tangy character of sourdough adds depth and complexity that standard pretzel recipes cannot achieve. These versatile bites work equally well as party snacks, lunch box additions, or casual snacking options. The combination of crispy exterior, chewy interior, and savory toppings creates an eating experience that satisfies cravings while feeling indulgent.
Why Sourdough Discard Creates Superior Pretzel Flavor
Sourdough discard, the byproduct of maintaining a sourdough starter, contains active yeast and bacteria that contribute fermentation benefits to baked goods. Using discard transforms what would otherwise be wasted ingredients into something delicious while contributing to the pretzel bites’ distinctive flavor. The fermentation process creates lactic acid that develops subtle tangy notes complementing the savory pretzel character. The yeast in sourdough discard promotes rise and development of gluten, creating proper texture without requiring commercial yeast. Incorporating sourdough discard into pretzel bites demonstrates resourceful cooking that minimizes food waste while creating superior flavor compared to versions made without fermentation. The fermented flour in discard has improved digestibility compared to unfermented flour, making these pretzel bites potentially easier to digest. Understanding how fermentation enhances flavor helps you appreciate why sourdough pretzel bites taste noticeably better than traditional versions.
Selecting Active Sourdough Starter for Success
The sourdough starter you use directly impacts the pretzel bites’ fermentation and final flavor, making starter quality important. An active starter should show visible bubbles and rise noticeably within four to twelve hours of feeding, indicating thriving yeast and bacteria populations. The starter should have a pleasant sour smell without any off-odors suggesting contamination. Using starter at peak activity—right after it’s become bubbly and risen—produces the best rise in the pretzel dough. If your starter seems sluggish, feeding it more frequently for a few days revives it. A healthy starter maintained regularly produces more reliable results than one neglected for extended periods. Some bakers use younger starter while others prefer older, more established starters—both can work equally well for this recipe.
Understanding the Role of Baking Soda in Boiling
Baking soda added to the boiling water creates an alkaline environment that transforms the pretzel dough’s surface, creating the characteristic chewy exterior and dark brown color associated with quality pretzels. The alkalinity allows the exterior to develop texture and color that cannot be achieved without this crucial step. The baking soda reacts with the dough’s proteins and starches, creating the signature pretzel crust texture. The amount of baking soda matters—too little fails to create proper texture while too much creates an unpleasant flavor. Most recipes use one-quarter cup of baking soda per pot of water, though this can be adjusted based on personal preference. The boiling water with baking soda should not be excessively hot or it can cook the exterior too quickly. Understanding the chemical transformation that baking soda creates helps you appreciate why this step is non-negotiable for authentic pretzel bites.
Choosing Flour for Optimal Pretzel Texture
The flour choice affects the finished pretzel bites’ texture and chewiness, with different options producing slightly different results. All-purpose flour creates tender pretzel bites with relatively soft interior texture. Bread flour, with higher protein content, creates chewier pretzel bites with more pronounced texture. Many bakers prefer bread flour for pretzels because it develops better gluten structure that creates the desired chewy texture. Whole wheat flour can partially substitute for all-purpose or bread flour, though this creates denser, more substantial pretzel bites. The hydration level of the dough affects gluten development and texture—properly hydrated dough creates better results than overly dry dough. Regardless of flour choice, proper kneading develops the gluten structure that allows the dough to trap gas and create desired texture.
The Importance of Proper Rising Time
Allowing the dough to rise for eight to ten hours develops flavor through fermentation while creating proper dough strength for shaping. The extended rise time means the yeast ferments the dough completely, creating the tangy flavor characteristic of sourdough. Shorter rising times result in less flavor development and potentially weaker gluten structure. The dough should roughly double in size during proper rising, indicating adequate fermentation and gas production. Rising at room temperature is preferable to refrigeration because it allows faster fermentation and flavor development. Some bakers prefer cold fermentation in the refrigerator for overnight rising, which develops even more complex flavor while making the dough easier to handle. The rise continues until the dough appears puffy and light, indicating it’s ready for shaping.
Shaping Dough into Uniform Pretzel Bites
Dividing the dough into equal portions ensures uniform bites that cook evenly and have consistent texture. Weighing the dough and dividing by the number of portions provides the most precise method. Rolling each portion into a twelve-inch log creates the right size for bite-shaped pieces—shorter logs create smaller bites while longer logs create larger pieces. The logs should be relatively uniform in thickness to ensure even cooking. Some people prefer rolling logs between their hands while others use a work surface—both methods work equally well. The dough should be slightly sticky but manageable—if too sticky, dusting with flour helps. If too dry, dampening hands slightly helps. The finished logs should feel smooth and be ready for the brief rest period before boiling.
Preparing for the Boiling and Baking Process
Lining baking sheets with parchment paper prevents sticking while making cleanup easier. Silicone baking mats also work well for this purpose. Preheating the oven to four hundred fifty degrees Fahrenheit ensures proper temperature for creating golden, crispy exteriors. The baking temperature is crucial—too low creates pale, soft pretzel bites while too high creates overly dark exteriors before the interior cooks. Having all equipment prepared and oven preheated before boiling ensures smooth workflow from boiling directly to baking.
Understanding the Boiling Process
Brief boiling for approximately ten seconds per side creates the characteristic pretzel texture and appearance. Extended boiling beyond twenty seconds per side creates overly thick, chewy crusts that some people find unpleasant. The water should be at a rolling boil when pretzel bites are added. Carefully immersing bites prevents splashing while ensuring even boiling. As bites emerge, they should be briefly drained before being returned to the parchment paper. Boiling changes the dough’s exterior chemistry, creating the pretzel crust that distinguishes pretzels from other breads. The alkaline environment created by baking soda allows better browning and crust development.
Seasoning Options and Application
Classic coarse salt provides traditional pretzel flavor that appeals universally. Everything bagel seasoning creates more complex, savory flavor with garlic, onion, and sesame notes. Cinnamon sugar creates sweet pretzel bites suitable for breakfast or dessert. Rosemary and sea salt create herb-infused variations. Garlic powder mixed with salt creates savory variations. The seasoning should be applied to the boiled, still-damp pretzel bites so it adheres properly. Applying seasonings to dry pretzel bites results in seasoning falling off as you eat. The variety of seasoning options allows different family members to customize their pretzel bites.
Baking for Golden Perfection
Rotating the baking sheets halfway through baking ensures even browning and consistent texture across all bites. The finished pretzel bites should be golden brown on top with crispy exteriors. The baking time of fifteen minutes is approximate—ovens vary, so visual assessment matters more than time alone. The finished bites should feel crispy on the outside and chewy on the inside when gently squeezed. Some bakers prefer slightly darker browning while others prefer lighter color—adjust baking time based on personal preference.
Cooling and Storage Recommendations
Allowing pretzel bites to cool on the baking sheet briefly prevents them from becoming excessively brittle from rapid cooling. Cooling on a wire rack after brief sheet cooling prevents steam from creating soggy bottoms. Storing cooled pretzel bites in airtight containers at room temperature maintains freshness for two to three days. Reheating in the oven for five to ten minutes at three hundred fifty degrees restores crispiness better than microwave reheating. Freezing works well for longer storage—cooled, seasoned bites freeze for up to three months. Thawing at room temperature and reheating restores quality remarkably well.
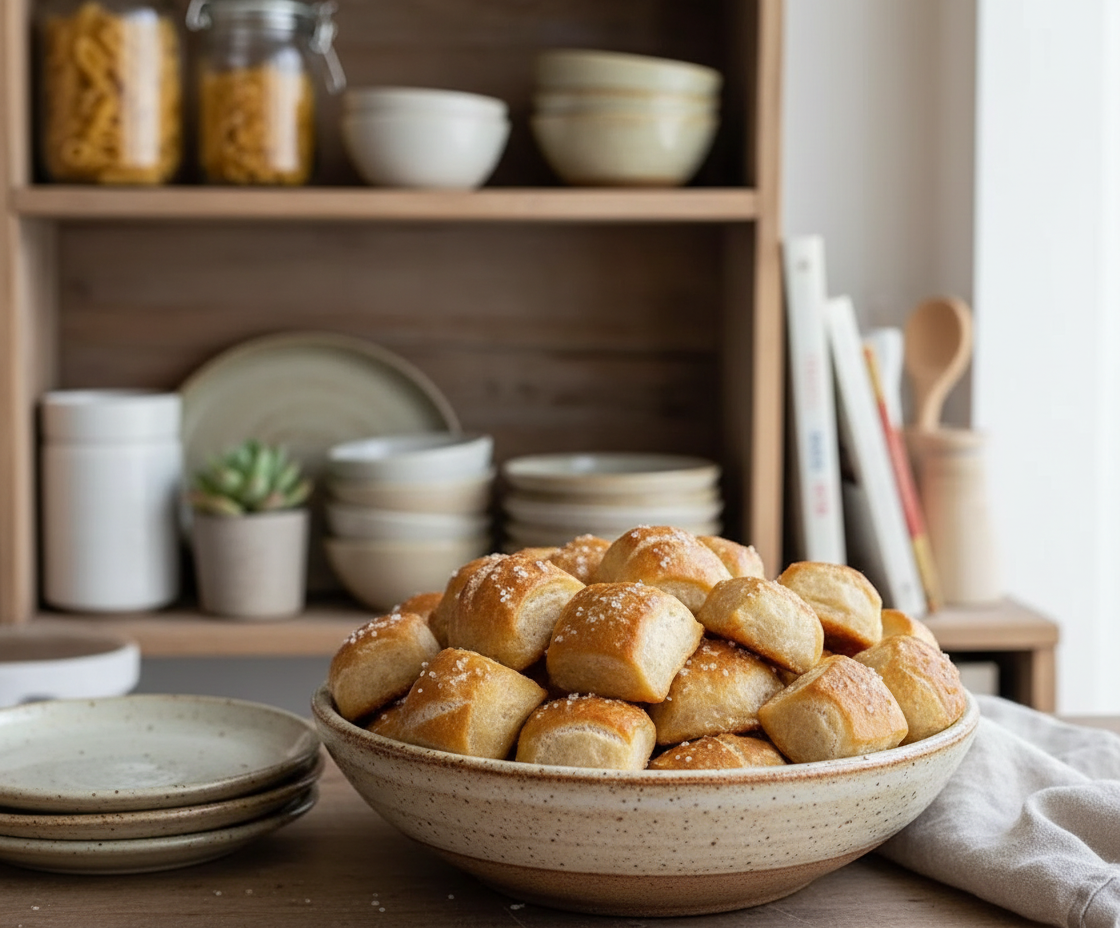
Sourdough Pretzel Bites
Perfect for family baking activities, these bites come together quickly without complicated shaping, making them accessible to bakers of all skill levels.
10
servings8
hours15
minutes188
kcal8
hours15
minutesIngredients
1 Cup Sourdough Starter (Active and Bubbly)
1 ¼ Cup Warm Water
3 ½ Cups All-Purpose Flour
1 tablespoon Honey
2 teaspoon Salt
⅓ Cup Baking Soda (For boiling the pretzel bites)
Directions
- Combine the water and starter in the bowl of a stand mixer fitted with the hook attachment.
- Mix with a fork until combined.
- Add the flour, honey, and salt to the bowl.
- Turn the mixer on medium speed and mix for 5 minutes until the dough forms a ball and no longer sticks to the side of the bowl.
- Cover the bowl with plastic wrap and let the dough rise for 8-10 hours, or until doubled in size.
- When the dough has doubled in size, turn the dough out onto a lightly floured surface.
- Cut the dough into eight equal pieces.
- Roll each dough piece into a log about 12 inches long. Cut 1 ½ inch pieces out of the dough and place the pieces onto a parchment-lined baking sheet.
- Allow the pieces to rest on the baking sheet for 30 minutes.
- While the dough rests, preheat the oven to 450 degrees.
- Bring a pot of water to a boil. Add ⅓ cup of baking soda to the water.
- Drop 8-10 pieces of dough into the boiling water and let them boil for 10 seconds on each side. Take the pieces out of the boiling water and place them back on the baking sheet. Sprinkle coarse salt or everything bagel seasoning on the wet dough pieces.
- When all the dough pieces are boiled, place the baking sheet in the oven for 15 minutes. Halfway through the baking process, rotate the baking sheets so the pretzel bites brown evenly on each side.
Notes
- Adding baking soda to the boiling water will give the pretzel bites the classic chewy of soft pretzels.
- If you do not have a silicone mat to line the baking sheet, you can use parchment paper that has been sprayed with cooking oil.
- Top these pretzel bites with salt, everything bagel seasoning, or sesame seeds.
Nutrition Facts
- Calories: 188kcal
- Fat: 1g
- Sodium: 1562mg
- Potassium: 48mg
- Carbohydrates: 40g
- Fiber: 1g
- Sugar: 2g
- Protein: 5g
- Calcium: 8mg
- Iron: 2mg