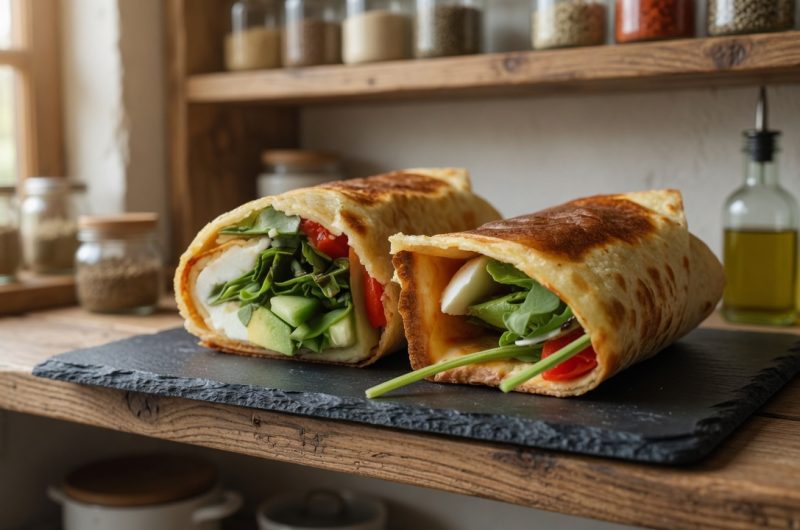
Cottage cheese wraps have become popular for people looking to increase their protein intake while reducing carbohydrates. This simple recipe uses cottage cheese, eggs, and basic seasonings to create a flexible wrap that holds your favorite fillings. Unlike traditional flour tortillas, these wraps provide a substantial amount of protein in every serving, making them perfect for anyone focused on building muscle or maintaining a healthy diet. The process is straightforward and requires only a few basic ingredients that you probably already have in your kitchen. Once you master this technique, you can make these wraps regularly for quick lunches or light dinners.
Why Cottage Cheese Makes Great Wraps
Cottage cheese serves as an excellent base for making homemade wraps because of its high protein content and mild flavor. When blended until smooth, cottage cheese creates a batter that bakes into a pliable, soft wrap. Each cup of cottage cheese contains around twenty-five grams of protein, which is much higher than regular flour-based wraps. The cheese also provides calcium and other important nutrients. When combined with an egg, the mixture becomes even richer in protein and develops a structure that holds together well after baking. The neutral taste of cottage cheese means it works with both savory and sweet fillings without clashing with other flavors.
Gathering Your Basic Ingredients
This cottage cheese wrap recipe requires just four simple ingredients for the wrap itself. You need one cup of cottage cheese, which can be full-fat, low-fat, or non-fat depending on your preferences. The fat content affects the flavor and texture slightly, but all varieties work. One whole egg helps bind the mixture and adds protein and structure. A small amount of salt enhances the overall flavor of the wrap. Italian seasoning brings herbs and aromatics to the wrap, though you can substitute other seasonings like garlic powder, onion powder, or black pepper based on what you like. These four ingredients blend together to create the wrap batter.
Choosing Your Favorite Fillings
The fillings you choose can transform this basic wrap into countless different meals. For a Mediterranean-inspired wrap, use fresh mozzarella cheese, arugula, jarred roasted red peppers, cucumber slices, and avocado. Season with salt and pepper, then drizzle with balsamic glaze and sprinkle with chopped fresh basil. You can also create different flavor combinations using deli meats, various cheeses, different vegetables, and sauces. Grilled chicken with Caesar dressing and romaine lettuce makes a protein-packed lunch. Turkey, bacon, lettuce, and tomato creates a classic combination. The cottage cheese wrap is neutral enough to work with almost any filling you can imagine.
Preparing Your Blended Cottage Cheese Mixture
The first step in making these wraps is blending the cottage cheese until completely smooth. Add one cup of cottage cheese to a small food processor or blender along with one egg, one-eighth teaspoon of salt, and one-quarter teaspoon of Italian seasoning. Blend these ingredients together until the mixture becomes completely smooth with no visible curds remaining. This usually takes about thirty seconds to one minute depending on your blender power. The smooth texture is important because any lumps will create uneven spots in your finished wrap. The blended mixture should look like a thick, pale batter with a consistency similar to pancake batter or crepe batter.
Setting Up Your Baking Pan Correctly
Proper pan preparation prevents the wrap from sticking and makes removal much easier. You need a small baking sheet, ideally a quarter sheet pan that measures about thirteen inches by nine inches. Line the pan completely with parchment paper, making sure the paper covers the entire bottom surface and comes up the sides slightly. Spray the parchment paper lightly with cooking spray to create a nonstick surface. This double protection of parchment plus cooking spray ensures your wrap will lift off cleanly after baking. Using a pan that is approximately this size gives you a wrap that is large enough to fill and roll without being too thick or too thin.
Spreading The Batter For Even Baking
Pour the blended cottage cheese mixture onto your prepared baking sheet. Use a spatula or the back of a spoon to spread the batter across the entire surface of the pan. Try to create as thin and even a layer as possible without being able to see through to the parchment paper underneath. The batter should cover the pan edge to edge with roughly the same thickness everywhere. Uneven spreading will result in some parts of the wrap being thicker and taking longer to cook while thinner areas might overcook. Take your time with this step to ensure the best results. The thinner you can spread the batter while maintaining full coverage, the more flexible your final wrap will be.
Baking Time And Temperature Guidelines
Preheat your oven to three hundred fifty degrees Fahrenheit before you start preparing the batter. Once your batter is spread evenly on the pan, place it in the preheated oven. The baking time will range from thirty to forty minutes depending on your specific oven and how thick you spread the batter. Start checking at the thirty-minute mark. The wrap is done when the top surface looks lightly browned and feels soft to the touch but not wet or sticky. You should be able to gently lift a corner of the wrap away from the parchment paper without it tearing. If the wrap seems too fragile or wet when you try to lift it, continue baking for another five minutes and check again.
Cooling Before Filling The Wrap
When you remove the baked wrap from the oven, resist the urge to fill it immediately. Let the wrap cool on the baking sheet for about five minutes. This cooling period allows the wrap to firm up slightly and makes it easier to handle without tearing. The wrap will still be warm and pliable after five minutes, which is the ideal state for filling and rolling. If you try to fill it while too hot, the cheese and other ingredients might melt too much. If you let it cool completely, the wrap becomes less flexible and might crack when you try to roll it. Five minutes provides the perfect balance.
Filling And Rolling Your Wrap
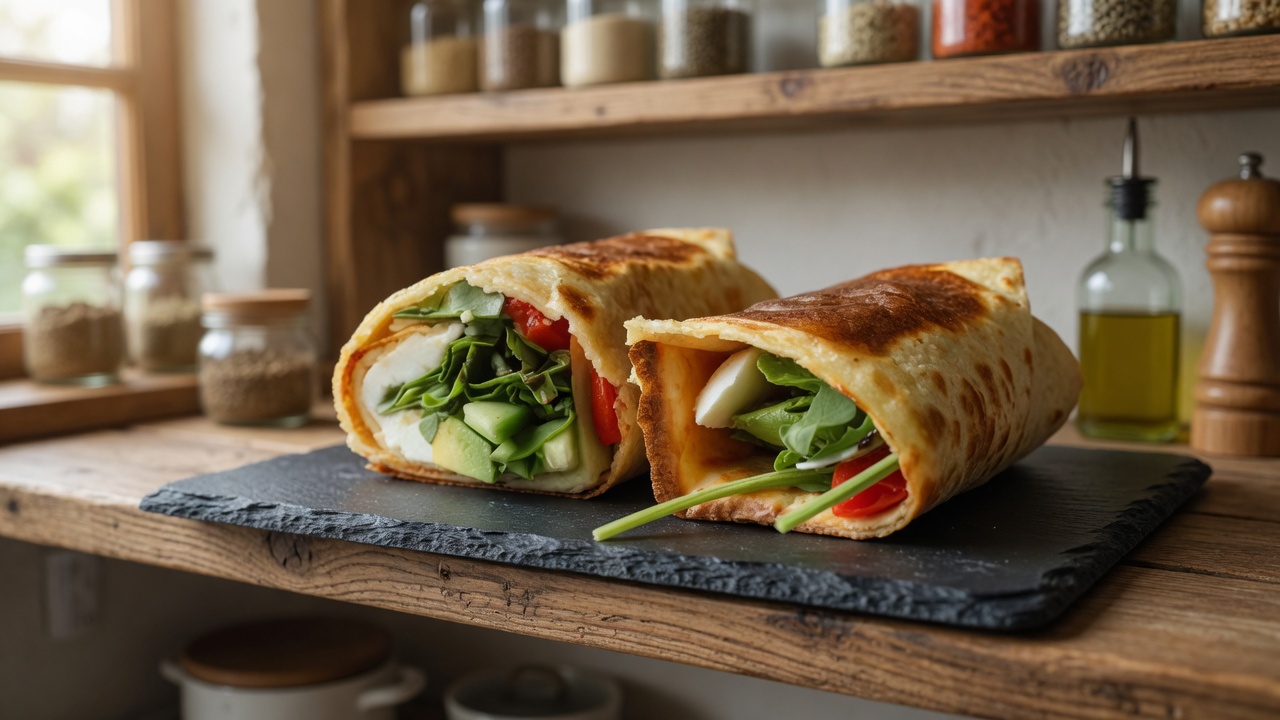
After the five-minute cooling period, carefully slide the wrap off the parchment paper onto a clean cutting board or plate. Arrange your chosen fillings down the center of the wrap in a line, leaving about two inches empty on each end. Do not overfill the wrap or it will be difficult to roll and ingredients will fall out. Start with the fresh mozzarella, then layer on the arugula, roasted red peppers, cucumber slices, and avocado. Season everything with a pinch of salt and pepper. Drizzle with balsamic glaze and sprinkle chopped basil on top. Fold in the two short ends first, then roll the wrap tightly from one long side to the other, keeping the filling tucked in as you go.
Understanding Why Oven Times Vary
Different ovens can produce significantly different results even when set to the same temperature. Gas ovens often bake differently than electric ovens. Convection settings circulate air and can reduce baking time. The actual temperature inside your oven might be slightly higher or lower than the setting indicates. The thickness of your batter layer also affects baking time considerably. A very thin layer might be done in twenty-five minutes, while a thicker layer could need forty-five minutes. Always rely on visual and tactile cues rather than just the timer. The wrap should look set and lightly golden, feel dry to the touch on top, and lift easily from the parchment.
Making Multiple Wraps At Once
If you want to meal prep several wraps at the same time, you can multiply this recipe easily. Use multiple baking sheets or work in batches. Keep in mind that each wrap requires one cup of cottage cheese and one egg, so scale up accordingly. Baked wraps can be stored in the refrigerator for up to three days when wrapped individually in plastic wrap or stored in airtight containers. You can fill them fresh when ready to eat, or fill them ahead and store them wrapped. Cold cottage cheese wraps work well for packed lunches. You can also freeze unfilled wraps between layers of parchment paper for up to one month, thawing them when needed.
Different Seasoning Combinations To Try
While Italian seasoning works beautifully in this recipe, experimenting with different seasonings creates variety. Try garlic powder and onion powder for a savory wrap that pairs well with almost any filling. Add a pinch of smoked paprika for a subtle smoky flavor. Everything bagel seasoning creates an interesting flavor profile that works well with cream cheese and smoked salmon fillings. For sweet wraps, omit the salt and Italian seasoning and add a small amount of vanilla extract and cinnamon instead, then fill with Greek yogurt and berries. The versatility of this base recipe means you can adapt it to match whatever flavors you are craving.
Nutritional Benefits Of Cottage Cheese Wraps
Each cottage cheese wrap provides significant nutritional advantages over traditional bread-based wraps. One serving contains approximately thirty grams of protein from the cottage cheese and egg combined. This high protein content helps keep you full for hours and supports muscle maintenance and growth. The wrap is naturally low in carbohydrates, usually containing fewer than five grams, making it suitable for low-carb eating plans. Cottage cheese provides calcium for bone health and contains beneficial probiotics in some varieties. The wrap is also surprisingly low in calories, with the base recipe containing around one hundred fifty to two hundred calories before adding fillings.
Troubleshooting Common Problems
If your wrap tears when you try to roll it, the most common cause is underbaking. Make sure the wrap is fully cooked through and not wet or sticky before attempting to fill and roll it. Another issue is overbaking, which makes the wrap dry and brittle. Watch carefully during the last ten minutes of baking and remove it as soon as it is set but still pliable. Sticking to the pan happens when you do not use enough parchment paper and cooking spray. Always use both for best results. Uneven thickness in the finished wrap comes from not spreading the batter evenly before baking. Take extra time to ensure the layer is uniform across the entire pan.
Creative Filling Ideas Beyond The Basic Recipe
Once you master the technique, try these additional filling combinations. Make a breakfast wrap with scrambled eggs, cheese, and salsa. Create a pizza-inspired wrap with marinara sauce, mozzarella, and pepperoni. Build a Greek wrap with feta cheese, olives, tomatoes, and cucumber with tzatziki sauce. Try an Asian-inspired version with grilled chicken, shredded cabbage, carrots, and peanut sauce. Make a simple tuna salad wrap with lettuce and tomato. The possibilities are limited only by your imagination and the ingredients you have available. The neutral cottage cheese base complements virtually any flavor profile you want to create.
Notes About This Recipe
This recipe makes one large wrap that serves one person as a full meal. You can customize the seasonings in the wrap base to match your filling choices, using Italian seasoning, garlic powder, onion powder, or black pepper. The baking time ranges from thirty to forty minutes depending on your oven and how thick you spread the batter. Always check at thirty minutes and continue baking if needed. Let the wrap cool for five minutes after baking before adding fillings and rolling. This cooling time makes the wrap easier to handle. Spread the batter as thin as possible while still covering the parchment completely for the most flexible wrap. Store baked wraps in the refrigerator for up to three days.
Viral Cottage Cheese Wrap
A protein-rich wrap made from blended cottage cheese and egg, baked until golden and filled with fresh vegetables and cheese. Perfect for healthy lunches and meal prep.
1
servings5
minutes35
minutes40
minutesIngredients
- For the wrap:
1 cup cottage cheese
1 large egg
1/8 teaspoon salt
1/4 teaspoon Italian seasoning (or substitute garlic powder, onion powder, or black pepper)
- For the fillings:
Fresh mozzarella cheese
Arugula
Jarred roasted red peppers
Jarred roasted red peppers
Avocado, sliced
Salt and pepper, to taste
Balsamic glaze
Fresh basil, chopped
Directions
- Heat your oven to three hundred fifty degrees Fahrenheit. Line a quarter sheet pan (about 13 by 9 inches) with parchment paper and spray lightly with cooking spray.
- Add the cottage cheese, egg, salt, and Italian seasoning to a small food processor or blender. Blend until completely smooth with no lumps remaining.
- Pour the blended mixture onto the prepared baking sheet and spread it into a thin, even layer across the entire surface without seeing through to the parchment.
- Bake for thirty to forty minutes until the top is lightly browned and soft to touch but you can lift it off the parchment easily. Check at thirty minutes and continue baking if needed.
- Remove from oven and let cool for five minutes. Fill the center with fresh mozzarella, arugula, roasted red peppers, cucumber, and avocado. Season with salt and pepper, drizzle with balsamic glaze, and sprinkle with chopped basil. Roll tightly into a wrap and serve.