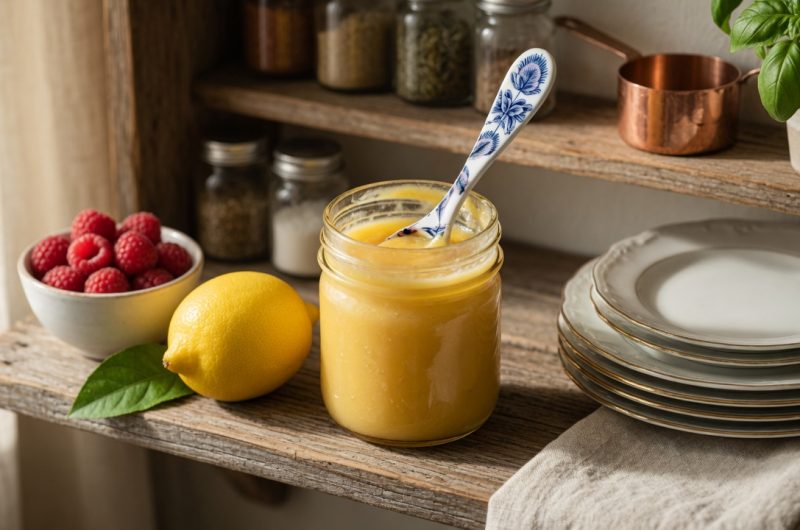
Making and preserving lemon curd at home allows you to enjoy this sweet and tangy spread throughout the year. This canning recipe produces a smooth, creamy lemon curd that works beautifully as a gift or for personal use. The process involves cooking fresh ingredients into a thick custard, then processing filled jars in a water bath canner for safe storage. While lemon curd has a shorter shelf life than some other preserved foods, proper canning techniques ensure it stays fresh for several months. This recipe yields four half-pint jars of delicious lemon curd that tastes far better than anything you can buy at the store.
Understanding Lemon Curd Shelf Life
Unlike some canned goods that last for years, lemon curd has a more limited storage time even when properly processed. After canning, this lemon curd will maintain its quality for a few months before it begins to darken and change in appearance. The high egg and butter content makes it more perishable than fruit jams or jellies. When giving jars as gifts, always include a note explaining the shelf life and storage recommendations. Tell recipients to refrigerate the jar after opening and use the contents within two to three weeks. Store unopened jars in a cool, dark place like a pantry or cupboard. Check jars periodically and discard any that show signs of spoilage like mold, off odors, or broken seals.
Gathering Your Canning Equipment
Before starting this recipe, make sure you have the proper canning equipment ready. You need four half-pint canning jars with two-piece metal lids. A boiling water canner large enough to hold four jars with water covering them by one to two inches is essential. You also need jar lifters to safely move hot jars, a canning funnel to fill jars neatly, and a bubble remover tool or plastic spatula. A kitchen thermometer is required to monitor both the cooking temperature and the water bath temperature. A double boiler setup is necessary for cooking the lemon curd gently without direct heat. If you do not have a traditional double boiler, you can create one using a heatproof bowl set over a pot of simmering water.
Preparing The Ingredients Properly
This recipe calls for specific ingredients that work together to create the right texture and flavor. You need two and a half cups of superfine sugar, which dissolves more easily than regular granulated sugar. If you cannot find superfine sugar, you can make it by processing regular sugar in a food processor for thirty seconds. Half a cup of freshly zested lemon zest is optional but adds intense lemon flavor and aroma. One cup of bottled lemon juice provides consistent acidity for safe canning. Three-quarters cup of unsalted butter needs to be chilled and cut into pieces about three-quarters of an inch. Seven large egg yolks and four whole large eggs create the rich, custardy texture that makes lemon curd special.
Why Bottled Lemon Juice Matters For Canning
When canning acidic foods like lemon curd, using bottled lemon juice instead of fresh is important for safety. Bottled lemon juice has a standardized acidity level that ensures the finished product is acidic enough for safe water bath canning. Fresh lemon juice can vary significantly in acidity depending on the variety and ripeness of the lemons. This variation could result in a product that is not acidic enough to prevent bacterial growth during storage. Always use commercially bottled lemon juice for the liquid portion of this recipe. You can still use fresh lemon zest for flavor since the zest gets strained out and does not affect the acidity level.
Setting Up Your Canning Jars
Start by washing four half-pint canning jars thoroughly with warm, soapy water. Rinse them well to remove all soap residue. Keep the clean jars hot until you are ready to fill them by placing them in a pot of simmering water or running them through the dishwasher on the hottest setting. Hot jars prevent thermal shock when you add the hot lemon curd. Prepare the canning lids according to the manufacturer’s directions. Modern canning lids usually just need to be placed in hot water, not boiling water. Have the lids and bands ready and within easy reach when you need them for sealing the jars.
Preparing Your Water Bath Canner
Fill your boiling water canner with enough water to cover the jars by one to two inches once they are placed inside. Use a thermometer to preheat this water to exactly one hundred eighty degrees Fahrenheit by the time your filled jars are ready. This specific temperature is important for proper processing. Water that is too hot can cause the jars to break from thermal shock. Water that is too cool will not reach a boil quickly enough. The time it takes for the canner water to reach a full boil after adding the jars should be twenty-five to thirty minutes for this recipe. Processing time only begins after the water reaches a rolling boil over the tops of the jars.
Making The Sugar And Zest Mixture
In a small bowl, combine the two and a half cups of superfine sugar with the half cup of lemon zest if you are using it. Stir the mixture together until the zest is evenly distributed throughout the sugar. Set this bowl aside for about thirty minutes before you start cooking. This resting period allows the natural oils in the lemon zest to infuse into the sugar, creating a more intense lemon flavor throughout the curd. While the sugar and zest mixture sits, measure out your cup of bottled lemon juice and prepare your chilled butter by cutting it into pieces approximately three-quarters of an inch in size. Having everything measured and ready makes the cooking process smoother.
Setting Up Your Double Boiler
A double boiler cooks the lemon curd gently using steam heat rather than direct heat from the stove. This prevents the eggs from scrambling and creates a smooth, creamy texture. Fill the bottom pan of your double boiler with water and heat it until it boils gently. The water should not boil too vigorously or touch the bottom of the top pan where you will cook the curd. The steam produced provides sufficient heat for the cooking process. If the water touches the top pan or boils too hard, it can cook the curd too quickly and create a grainy texture. Maintain a gentle, steady simmer in the bottom pan throughout the cooking time.
Mixing The Eggs And Sugar
In the top pan of your double boiler, while it is still off the heat and sitting on your counter, whisk together the seven egg yolks and four whole eggs until they are thoroughly blended. The mixture should look uniform in color with no streaks of yolk visible. Slowly add the sugar and zest mixture, whisking constantly to prevent lumps. Continue whisking until the mixture is well blended and smooth. Next, blend in the cup of bottled lemon juice, whisking until everything is completely incorporated. Finally, add all the chilled butter pieces to the egg mixture. The butter will remain in chunks at this point but will melt during cooking.
Cooking The Lemon Curd To The Right Temperature
Place the top pan with the lemon curd mixture over the gently boiling water in the bottom pan of your double boiler. Begin stirring immediately with a silicone spatula or wooden spoon. Stir gently but continuously, making sure to scrape the bottom and sides of the pan to prevent the mixture from sticking or cooking unevenly. Continue cooking and stirring until the mixture reaches a temperature of one hundred seventy degrees Fahrenheit. Use a food thermometer inserted into the mixture to monitor the temperature accurately. This temperature ensures the eggs are cooked safely while creating the proper thick, smooth consistency. Reaching this temperature usually takes fifteen to twenty minutes of continuous stirring.
Thickening And Straining The Curd
When the lemon curd reaches one hundred seventy degrees, remove the double boiler from the stove immediately. Place the hot pan on a protected surface like a folded dish towel on your counter. Continue stirring the hot mixture gently for about five more minutes. You will notice it thickening as it cools slightly. This continued stirring prevents a skin from forming on the surface. After the curd has thickened noticeably, pour it through a fine mesh strainer set over a glass or stainless steel bowl. The strainer catches the lemon zest pieces and any small bits of cooked egg, giving you a perfectly smooth curd. Discard the collected zest. The strained curd is now ready for canning.
Filling The Jars Correctly
Working quickly while the curd is still hot, fill your clean, hot half-pint jars. Use a canning funnel to prevent spills and keep the jar rims clean. Fill each jar leaving exactly half an inch of space between the top of the curd and the rim of the jar. This headspace is important for proper sealing. After filling all jars, use a bubble remover tool or plastic spatula to slide around the inside of each jar, releasing any trapped air bubbles. Check the headspace again after removing bubbles and add more curd if needed to maintain the half-inch measurement. Wipe the rim of each jar with a clean paper towel dampened with hot water to remove any curd residue that could prevent proper sealing.
Sealing And Processing The Jars
Place a prepared canning lid on each jar, centering it carefully over the opening. Screw a metal band onto each jar, tightening it until you feel resistance. Do not overtighten the bands or the air inside cannot escape during processing. Use your jar lifter to carefully place each filled jar into the prepared water bath canner. Make sure the jars are standing upright and not touching each other or the sides of the canner. The water should cover the jars by one to two inches. If needed, add more hot water to achieve proper coverage. Place the lid on the canner and turn the heat to high. Start timing only when the water reaches a full rolling boil.
Processing Times For Different Elevations
The length of time you process the jars depends on your elevation above sea level. If you live at an elevation between zero and one thousand feet, process the jars for fifteen minutes after the water reaches a full boil. For elevations between one thousand and six thousand feet, process for twenty minutes. If you live above six thousand feet elevation, process for twenty-five minutes. These adjusted times ensure proper heat penetration and safe preservation at different atmospheric pressures. When the processing time is complete, turn off the heat and remove the canner lid. Let the jars sit in the hot water for five more minutes before removing them.
Cooling And Testing The Seals
Use your jar lifter to carefully remove each jar from the canner and place them on a towel-covered counter with several inches of space between them. Let the jars cool completely without disturbing them for twelve to twenty-four hours. You will hear a popping sound as each jar seals. After the jars have cooled completely, test the seals by pressing down on the center of each lid. A properly sealed lid will not flex up and down. If a lid flexes, the jar did not seal properly. Refrigerate any unsealed jars immediately and use the contents within two weeks. Label sealed jars with the contents and date, then store them in a cool, dark place.
Common Problems And Solutions
If your lemon curd turns out grainy instead of smooth, the most likely cause is cooking it at too high a temperature or not stirring constantly. The eggs can scramble if the mixture gets too hot or cooks unevenly. Always use a double boiler and maintain gentle heat throughout cooking. If the curd is too thin, you may not have cooked it to the full one hundred seventy degrees Fahrenheit. Use an accurate thermometer and make sure it reaches the correct temperature. Jars that fail to seal usually have residue on the rim or were not processed long enough. Always wipe rims carefully and process for the full required time at a full rolling boil.
Gift Giving Suggestions
Homemade canned lemon curd makes a thoughtful and delicious gift for friends and family. Dress up the jars by covering the lids with fabric circles tied with ribbon. Create attractive labels with the product name and date. Most importantly, attach a note explaining that the lemon curd should be stored in a cool, dark place and used within a few months for best quality. Include serving suggestions like spreading it on scones, using it as a cake filling, or stirring it into yogurt. Remind recipients to refrigerate the jar after opening and use the contents within two to three weeks. Package individual jars in small gift bags or boxes for an attractive presentation.
Notes About This Recipe
This recipe must be processed in half-pint or smaller jars for safe canning. Larger jars require longer processing times that can overcook the delicate lemon curd. Always use bottled lemon juice rather than fresh for consistent acidity. The lemon zest is optional but adds more intense flavor. You can strain it out after cooking for a smoother texture. Store sealed jars in a cool, dark place and use within a few months before the curd begins to darken. Processing times vary based on elevation, so adjust accordingly. Use a food thermometer to ensure the curd reaches one hundred seventy degrees during cooking. Stir continuously while cooking to prevent the eggs from scrambling.
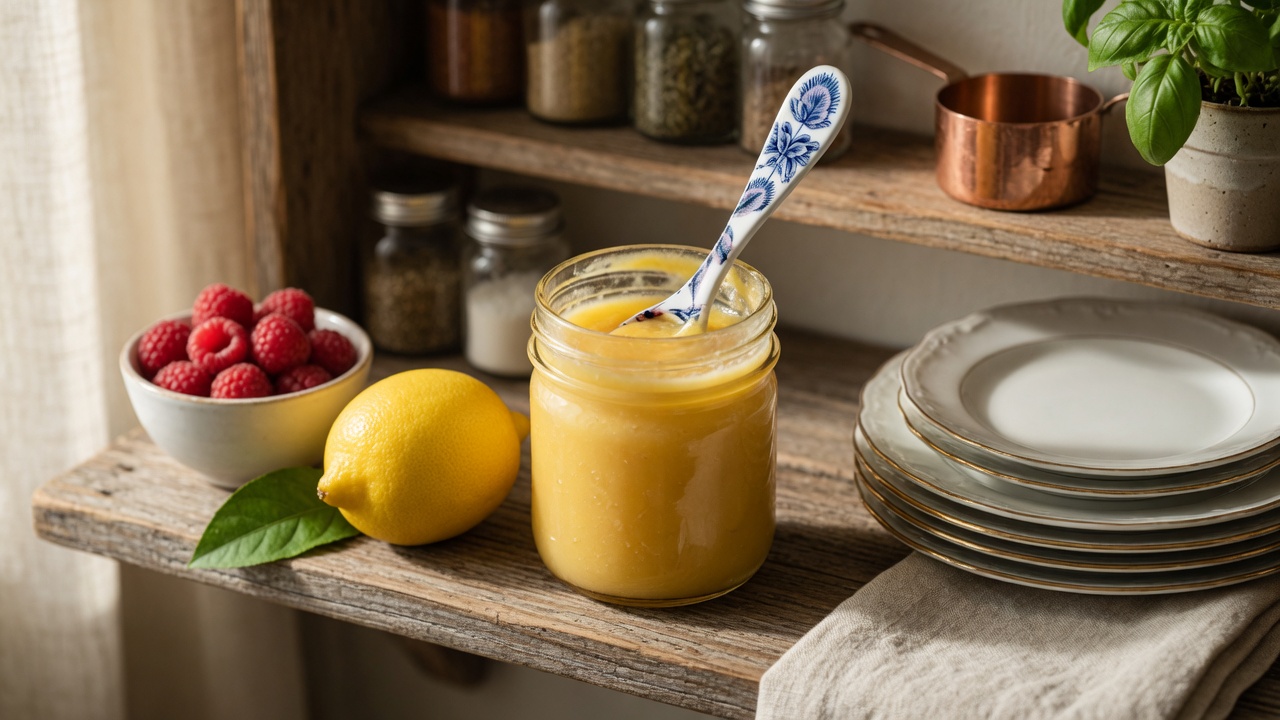
Lemon Curd
Sweet and tangy homemade lemon curd preserved in a water bath canner. This rich spread works perfectly on toast, scones, or as a dessert filling. Makes four half-pint jars.
4
servings45
minutes30
minutes1
hour15
minutesIngredients
2 1/2 cups superfine sugar
1/2 cup lemon zest, freshly zested (optional)
1 cup bottled lemon juice
3/4 cup unsalted butter, chilled and cut into 3/4-inch pieces
7 large egg yolks
4 large whole eggs
Directions
- Wash four half-pint canning jars with warm, soapy water and rinse well. Keep hot until ready to fill. Prepare lids according to manufacturer directions. Fill your boiling water canner with enough water to cover jars by one to two inches and preheat to one hundred eighty degrees Fahrenheit.
- Combine the sugar and lemon zest in a small bowl and set aside for thirty minutes. Measure the lemon juice and prepare the chilled butter pieces.
- Heat water in the bottom of a double boiler until it boils gently. In the top pan off the heat, whisk together the egg yolks and whole eggs until mixed. Slowly whisk in the sugar and zest mixture until smooth. Blend in the lemon juice, then add the butter pieces.
- Place the top pan over the boiling water and stir continuously with a silicone spatula until the mixture reaches one hundred seventy degrees Fahrenheit on a food thermometer.
- Remove from heat and continue stirring gently for five minutes until the curd thickens. Strain through a mesh strainer into a glass or stainless steel bowl and discard the zest. Fill hot jars with strained curd, leaving half-inch headspace. Remove air bubbles, wipe rims, and apply lids. Process in boiling water canner for fifteen minutes at 0-1,000 feet elevation, twenty minutes at 1,000-6,000 feet, or twenty-five minutes above 6,000 feet.