Store-bought cream cheese often contains stabilizers, gums, and preservatives that extend shelf life but do nothing for flavor. When you make cream cheese at home, you control exactly what goes into it. All you really need is milk and something acidic to separate the curds from the whey. This method has been used for generations, long before supermarkets sold tubs of it wrapped in foil. The result is a fresh, tangy, spreadable cheese that tastes noticeably better than most packaged versions, and it costs a fraction of the price too.
What You Need Before You Start
Before jumping into the process, gather your equipment. You’ll need a heavy-bottomed saucepan, a fine mesh strainer or colander, a piece of cheesecloth or a clean thin kitchen towel, a deep bowl to catch the liquid, and a kitchen thermometer if you have one. A thermometer isn’t strictly required, but it helps you hit the right temperature without guessing. Whole milk works best for this recipe because the fat content gives the finished cheese a richer texture. Skim or low-fat milk will still curdle, but the cream cheese won’t be as creamy or satisfying.
The Role of Acid in Cheese Making
Lemon juice and white vinegar both work by lowering the pH of the milk, which causes the proteins to clump together and separate from the liquid whey. Lemon juice gives a slightly fruity, mild tang, while vinegar tends to produce a sharper, more neutral flavor. Neither one is right or wrong — it really comes down to personal taste and what you have in your pantry. Some people even mix the two for a balanced flavor profile. Whichever you choose, make sure it’s fresh, as older acidic liquids may not curdle the milk as effectively.
Heating the Milk the Right Way
Heating milk sounds simple, but doing it correctly makes a real difference in how your cheese turns out. Pour the milk into your saucepan and set the heat to medium-low. Stir every minute or two so the milk doesn’t stick or scorch on the bottom, which can give the cheese a burnt taste. You’re aiming for around 180°F (82°C), which is hot enough to encourage curdling but not so hot that it boils over or scalds. If you don’t have a thermometer, watch for small bubbles forming around the edges of the pan — that’s usually a good sign it’s close to the right temperature.
What Happens When You Add the Acid
Once your milk hits the target temperature, take the pan off the heat right away. This is the moment where the transformation happens. Slowly pour in the lemon juice or vinegar while gently stirring the milk. Within a minute or two, you’ll start to see the milk separate into soft white curds and a yellowish liquid called whey. This reaction is completely normal and is exactly what you want to see. If the milk doesn’t curdle right away, let it sit for a few extra minutes before adding a touch more acid.
Straining and Draining for the Perfect Texture
After the curds have formed, pour the entire mixture into your cheesecloth-lined strainer set over a bowl. The whey will start dripping through immediately, leaving the soft curds behind. Let this sit and drain undisturbed for about an hour, though the exact time depends on how thick you want your final cream cheese to be. If you like a softer, more spreadable texture similar to ricotta, an hour might be enough. For a firmer cheese closer to what you’d buy in a store, let it hang for two to three hours, or even overnight in the refrigerator.
How to Get a Smooth, Creamy Finish
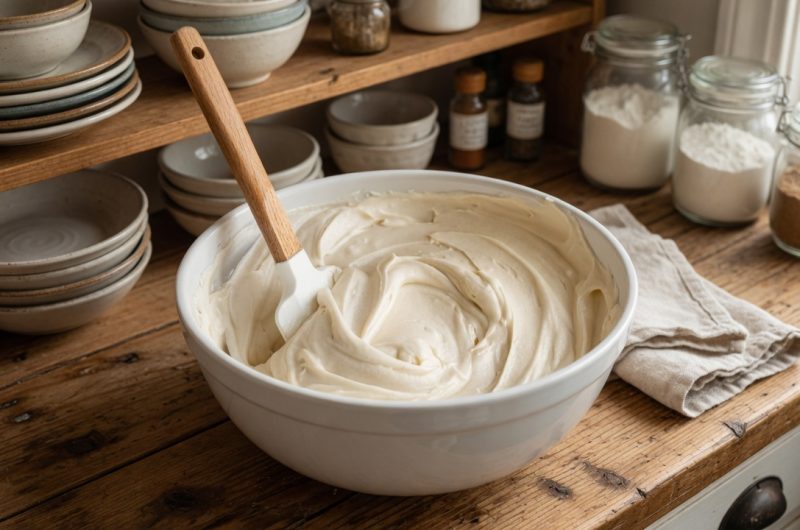
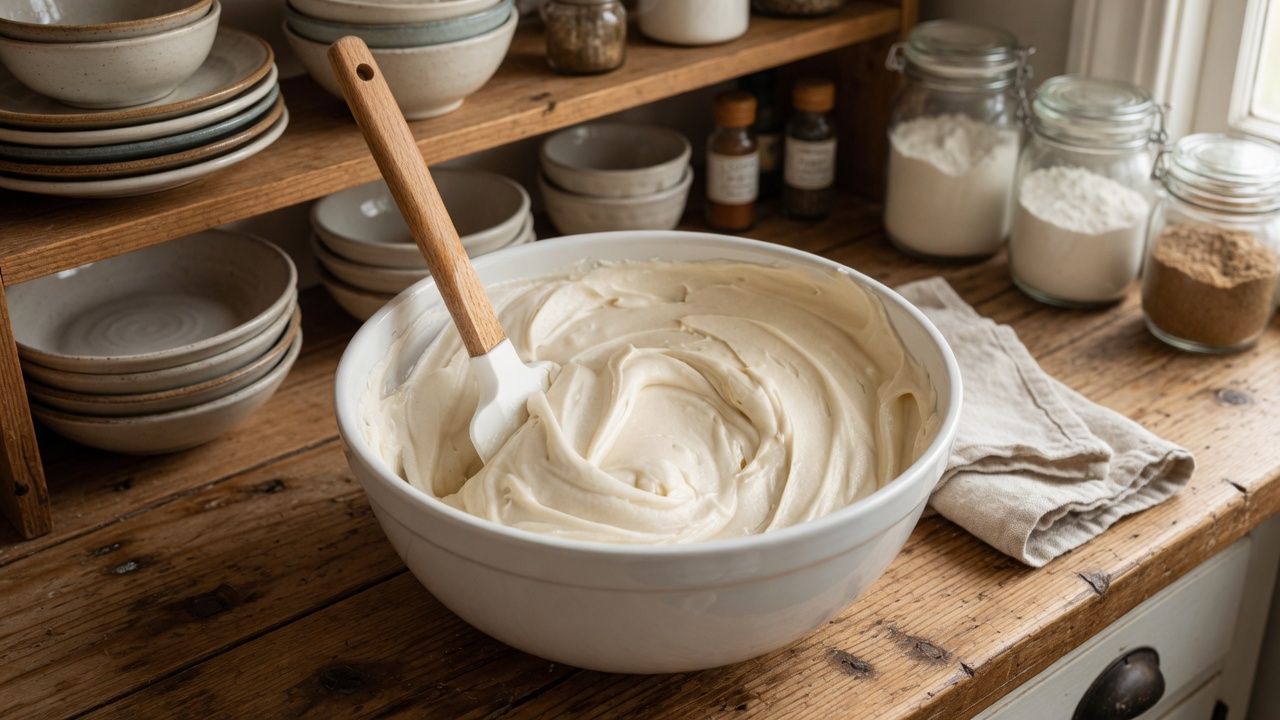
Once the curds have drained to your liking, transfer them into a mixing bowl. At this point, the texture might still feel a little grainy, which is completely normal for homemade cheese. To get that smooth, whipped texture you’re used to from packaged cream cheese, run the curds through a food processor for thirty seconds to a minute. This breaks down any remaining lumps and creates a silky, spreadable consistency. If you don’t own a food processor, a hand mixer or even vigorous whisking can help smooth things out too.
Adding Flavor to Your Cream Cheese
Plain cream cheese is great on its own, but this is also your chance to get creative. A small pinch of salt brings out the natural tanginess of the cheese and is worth adding even if you plan to use it in sweet recipes. Beyond that, you can mix in fresh herbs like chives or dill for a savory spread, minced garlic and cracked pepper for something bolder, or a drizzle of honey and a dash of cinnamon if you prefer something sweeter. Add these mix-ins after the cheese has been blended smooth so they distribute evenly throughout.
Storing Your Homemade Cream Cheese Properly
Homemade cream cheese doesn’t have the preservatives that store-bought versions do, so it won’t last quite as long. Keep it in an airtight container in the refrigerator, and it should stay fresh for one to two weeks. Always use a clean spoon when scooping it out to avoid introducing bacteria that could shorten its shelf life. If you notice any off smells, discoloration, or mold, it’s best to discard it. Because there are no stabilizers involved, some liquid separation may occur over time — simply stir it back in before using.
Don’t Waste the Leftover Whey
One thing many people overlook is the whey that drains off during this process. It’s packed with protein and nutrients, so tossing it down the drain is a bit of a waste. You can use whey in place of water or milk when baking bread, add it to soups and stews for extra nutrition, or blend it into smoothies for a protein boost. Some people even use it to soak grains or beans before cooking, which is said to improve digestibility. It has a mild, slightly tangy flavor that works well in savory dishes especially.
Common Mistakes to Avoid When Making Cream Cheese
A few small errors can affect how well your cream cheese turns out. Heating the milk too quickly or at too high a temperature can cause it to scorch, giving the final product an unpleasant burnt taste. Adding too little acid means the milk won’t fully curdle, while adding too much can make the cheese taste overly sour. Skipping the draining step or not draining long enough will leave you with a runny, loose texture rather than a spreadable one. Patience really is key throughout this entire process, from heating to draining.
Ways to Use Your Homemade Cream Cheese
Once you’ve made a batch, the possibilities for using it are pretty wide open. Spread it generously on warm bagels, toast, or crackers for a quick snack or breakfast. It works beautifully in both sweet and savory recipes, from cheesecakes and frosting to dips and pasta sauces. You can fold it into scrambled eggs for extra creaminess, use it as a base for stuffed chicken breast, or swirl it into brownie batter for a marbled effect. Because it’s fresh and free of additives, it also tends to melt more smoothly when used in cooked dishes.
Homemade Creamy Cream Cheese
This simple homemade cream cheese is made using just whole milk and an acid like lemon juice or vinegar. It’s soft, tangy, and free of the preservatives found in store-bought versions. Perfect for spreading on bagels or using in your favorite recipes.
10
minutes15
minutes25
minutesIngredients
Whole milk – 4 cups
Lemon juice or white vinegar – 2 tablespoons
Salt – a pinch (optional)
Directions
- Set up your straining station by lining a strainer or colander with cheesecloth or a clean thin kitchen towel, placed over a deep bowl.
- Pour the whole milk into a heavy-bottomed saucepan and warm it over medium-low heat, stirring every so often so it doesn’t stick to the bottom. Heat until it reaches about 180°F (82°C).
- Remove the pan from the heat and slowly stir in the lemon juice or vinegar. The milk will begin to separate into curds and whey within a minute or two.
- Carefully pour the curdled mixture into your prepared strainer, allowing the whey to drip down into the bowl below while the curds stay behind.
- Let the curds drain for at least 1 hour, or longer if you prefer a thicker, firmer cheese. The longer it drains, the less moisture will remain.
- Transfer the drained curds to a bowl, stir in salt if using, and blend with a food processor or hand mixer for a smoother texture. Store in an airtight container in the fridge.
Notes
- Adjust the draining time based on how thick or soft you want your cream cheese to be.
- Whole milk gives the richest results, but you can experiment with 2% milk if needed.
- Store the finished cream cheese in the refrigerator and use within 1 to 2 weeks.