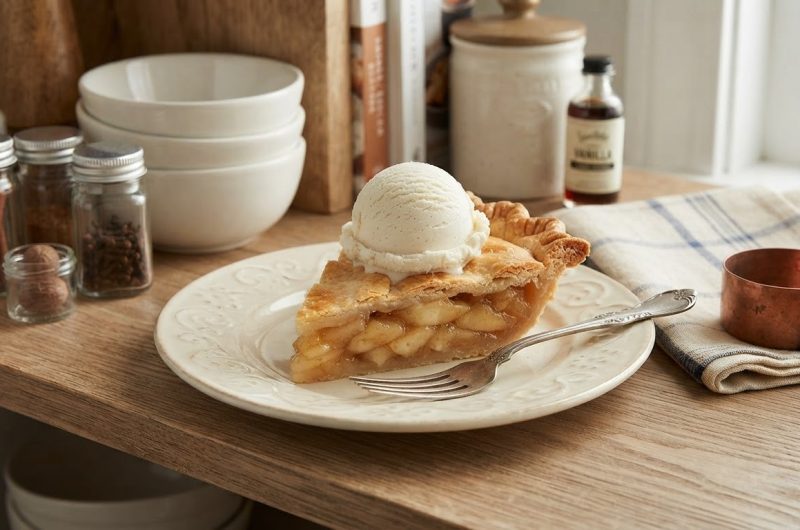
Sourdough apple pie represents a sophisticated take on the classic American dessert, combining the tanginess of sourdough fermentation with the warm comfort of spiced apples and buttery pastry. This elegant pie appeals to people seeking homemade desserts that deliver impressive flavor while showcasing baking skill and creativity. The sourdough element adds complexity and depth that standard pie crusts cannot achieve, creating a dessert that’s simultaneously familiar and intriguingly different. The fermented flour in sourdough creates improved digestibility compared to unfermented flour while developing subtle tangy notes that complement apple filling beautifully. The flaky, tender crust paired with perfectly spiced apples and optional oat topping creates multiple textures that make every bite interesting. Understanding how sourdough fermentation affects pie crust helps you appreciate why this variation produces superior results compared to standard apple pie recipes.
Why Sourdough Fermentation Improves Pie Crust
Sourdough discard or starter incorporated into pie dough creates benefits impossible to achieve with flour and water alone. The fermentation process breaks down flour components, making them more digestible while creating subtle tangy flavors that enhance the overall taste profile. The lactic acid produced during fermentation reacts with flour, creating a more tender crumb without requiring excessive handling that would develop unwanted gluten. The wild yeast and bacteria in sourdough contribute to the dough’s flavor complexity through their metabolic processes. Using fermented flour means the dough develops better flavor without requiring long resting periods for hydration. The enzymes in sourdough help break down proteins and starches, creating a crust that’s simultaneously tender and structurally sound. The fermentation also improves the digestibility of the finished pie, making it easier on the stomach compared to unfermented versions.
Selecting Quality Apples for Ideal Filling
The apples you choose determine the pie’s flavor, texture, and overall success, making apple selection crucial. Granny Smith apples provide the ideal balance of tartness and firmness that prevents the filling from becoming mushy during baking. The tartness of Granny Smith apples balances the sweetness added during filling preparation, creating complex flavor. Other good options include Honeycrisp, Pink Lady, or combinations of tart and sweet apples. Avoid overly soft apples like Red Delicious, which become mushy and create grainy filling. The apples should be firm, unblemished, and have glossy skin indicating freshness. Purchasing apples from farmers’ markets or orchards often provides superior quality compared to supermarket apples that may have been stored for extended periods. The amount of apples matters—properly filled pies use enough apples to create substantial filling without excess liquid.
Understanding Pie Crust Structure and Flakiness
Creating a flaky pie crust requires understanding how butter creates layers and how hydration affects texture. Cold butter cut into small pieces throughout the flour creates pockets that steam during baking, producing the characteristic flaky layers. Keeping butter cold throughout the process prevents it from blending with flour, which would create a uniform texture rather than distinct layers. The amount of water added should be minimal—just enough to bring the dough together without creating a wet mixture. Wet dough develops excessive gluten through handling, creating tough crust rather than tender layers. Chilling the dough after mixing allows gluten to relax and butter to firm up, making rolling easier and creating better texture. The finished crust should be tender enough to break easily but sturdy enough to hold the apple filling without tearing.
The Role of Sugar and Spices in Apple Filling
Sugar balances the tartness of apples while contributing to browning and creating appealing color in the finished pie. The amount of sugar can be adjusted based on apple tartness—very tart apples require more sugar while sweeter apples need less. Cinnamon and nutmeg provide warmth and depth that complement apple flavor beautifully. The spices should be measured carefully—too much creates harsh flavor while too little becomes unnoticeable. Using freshly ground spices rather than pre-ground varieties provides superior flavor and aroma. The spices should be distributed evenly throughout the filling to ensure consistent flavor in every bite. Some recipes include lemon juice or zest for additional brightness that prevents the filling from tasting one-dimensional.
Preparing Filling and Managing Excess Liquid
Mixing sliced apples with sugar and spices allows the flavors to meld while the salt in the mixture draws moisture from the apples. This moisture draws out water that would otherwise make the pie soggy. Allowing the filling to rest for thirty minutes to several hours develops flavors more fully. The drawn-out liquid can be reduced by cooking or simply drained before assembly. Reducing the liquid means simmering it gently until volume decreases, intensifying flavor through concentration. Some recipes skip this step entirely, accepting slightly juicier pie filling. The choice depends on personal preference regarding filling consistency and moisture level. Managing liquid prevents the pie from becoming soggy while ensuring adequate moisture for flavor development.
Rolling and Shaping Pie Dough Properly
Rolling pie dough requires a light touch and proper technique to prevent tearing while achieving even thickness. Rolling between two pieces of parchment paper prevents sticking without requiring excessive flour dusting that can toughen the crust. Rolling from the center outward in all directions creates a more circular shape than rolling in only one direction. The dough should be rolled to approximately one-eighth inch thickness for proper structure. If the dough tears during rolling, pressing it back together or patching with small pieces of dough works fine—the seams are unlikely to be visible in the finished pie. Lining the pie plate with rolled dough requires gently lifting the dough to prevent stretching that would cause shrinkage during baking. Allowing the crust-lined pie to chill before filling prevents excess shrinkage.
Assembling the Pie for Optimal Results
Layering apple filling into the prepared crust creates attractive presentation while distributing filling evenly. The filling should be mounded slightly higher in the center, as it settles during baking. Adding a top crust requires either a full sheet of rolled dough or a lattice pattern for visual appeal. Creating vents or slits in the top crust allows steam to escape during baking, preventing excessive pressure buildup. Sealing the edges by pressing with a fork creates both functional and decorative appearance. Brushing the top crust with egg wash creates an attractive golden finish. Optional toppings like old-fashioned oats add texture and rustic appeal. The assembled pie should be chilled briefly before baking to allow the dough to relax and set.
Baking Temperature and Time for Perfect Results
Baking at four hundred twenty-five degrees Fahrenheit initially creates a golden crust while allowing the filling to cook through. Many recipes reduce temperature to three hundred seventy-five degrees Fahrenheit after fifteen to twenty minutes to prevent excessive browning. The total baking time is typically forty-five to sixty minutes, though this varies based on oven characteristics and filling moisture. The finished pie should have a golden-brown crust with bubbling fruit filling visible through any vents. A pie shield or aluminum foil tenting prevents the crust from browning excessively while the filling continues cooking. Using an oven thermometer occasionally verifies actual oven temperature, since many home ovens run hotter or cooler than indicated. Testing doneness by observing crust color and filling bubbling works better than relying on time alone.
Cooling Properly Before Serving
Allowing the pie to cool at room temperature for at least four hours before slicing allows the filling to set properly. Warm pie filling is too soft to slice cleanly—cooling firms the filling without hardening it excessively. The crust continues to cook slightly from residual heat during cooling. Some people refrigerate the pie after cooling, which makes it even firmer and easier to slice. Serving slightly warm pie with vanilla ice cream or whipped cream creates appealing contrast between warm pie and cold accompaniments. The flavor of apple pie actually improves slightly as it sits, making advance baking convenient for entertaining.
Storage Methods for Extended Enjoyment
Properly stored pie remains fresh at room temperature for two to three days when covered with plastic wrap or aluminum foil. Refrigerating extends shelf life to approximately one week while potentially making the crust slightly less crispy. Freezing unbaked or fully baked pie allows you to enjoy homemade pie over extended periods. Wrap cooled pie tightly in plastic wrap and aluminum foil before freezing for up to three months. Thawing at room temperature and reheating briefly in the oven restores quality remarkably well. Individual slices can be frozen and reheated as needed for convenient dessert portions. The flexibility of storage options means you can prepare pie in advance for entertaining or ensure fresh-baked pie available whenever desired.
Optional Oat Topping for Texture and Flavor
Old-fashioned oats sprinkled on top of the apple filling add rustic texture and subtle nutty flavor. The oats should be mixed with brown sugar, cinnamon, and cold butter to create a crumb topping rather than used alone. Some recipes skip the traditional top crust in favor of oat topping, creating a more casual, rustic presentation. The oat topping should be sprinkled before baking so it bakes into the pie rather than being added afterward. The oats brown during baking, developing deeper flavor and creating appealing appearance. The optional nature of this topping means you can choose between traditional pie with top crust, simple oat topping, or lattice crust based on preference and skill level.
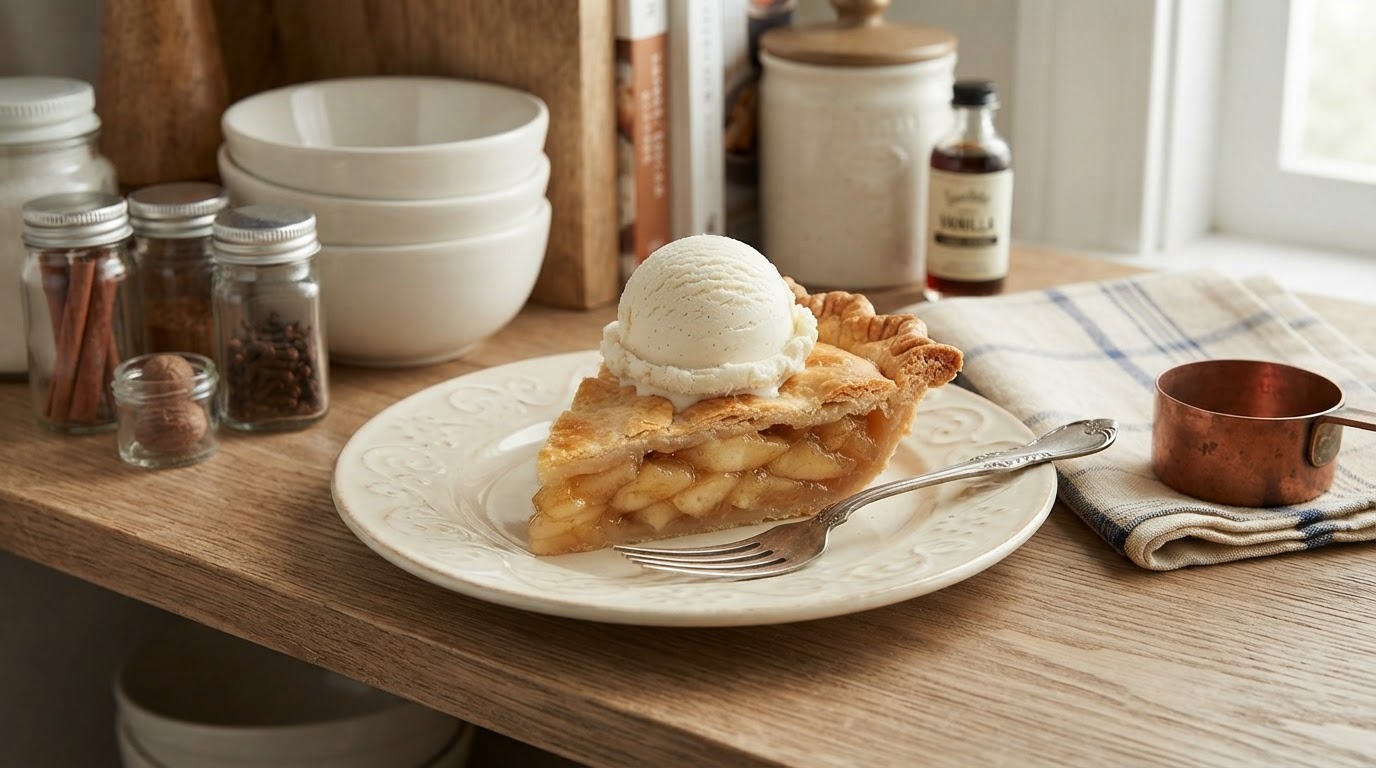
Sourdough Apple Pie
Perfect for special occasions, holiday gatherings, or simply satisfying dessert cravings, this pie showcases the art of pie-making. Serve warm with vanilla ice cream or whipped cream for the ultimate indulgence. This pie can be prepared in advance and frozen, making it convenient for entertaining or ensuring homemade dessert always available
12
Slices30
minutes35
minutes368
kcal1
day1
hour5
minutesIngredients
- Pie Dough
226 grams cold butter
56 grams sourdough discard
56 grams ice-cold water
270 grams all-purpose flour
4 grams salt
24 grams Imperial Sugar Extra Fine Granulated Pure Cane Sugar
- Fillings
1.3 kg apples
75 grams Imperial Sugar Light Brown Sugar
50 grams Imperial Sugar Extra Fine Granulated Pure Cane Sugar
1 teaspoon cinnamon
¼ teaspoon nutmeg
¼ teaspoon salt
22 grams old-fashioned rolled oats
42 grams butter
- Topping:
30 grams white sugar
24 grams Imperial Sugar Extra Fine Granulated Pure Cane Sugar
Directions
- Prep the Butter: Cut butter into pieces and freeze while preparing other ingredients.
- Make the Dough: Combine sourdough discard and cold water. Chill mixture. Mix flour, salt, and butter. Add sourdough mixture. Form dough and refrigerate.
- Laminate the Dough: Roll and fold dough, then refrigerate.
- Make the Filling: Peel, core, and slice apples. Toss with sugars, spices, and oats. Rest.
- Roll out the Pie Dough: Place dough in pie plate. Chill.
- Cook the Filling: Drain apples and thicken juices.
- Assemble the Pie: Layer apples in crust, pour reduced juices, and top with butter. Add top crust and seal.
- Bake the Pie: Preheat oven, brush pie with egg white, sprinkle with sugar, and bake until golden brown.
- Cool and Serve: Allow pie to cool completely before slicing and serving.
Notes
- Enjoy: Allow the pie to cool adequately for optimal slicing and serving.
- Store: Tent pie loosely with foil and store at room temperature for up to three days. Reheat before serving if desired.
Nutrition Facts
- Calories: 368kcal
- Fat: 19g
- Cholesterol: 49mg
- Sodium: 984mg
- Carbohydrates: 49g
- Fiber: 4g
- Sugar: 26g
- Protein: 4g
- Calcium: 24mg
- Iron: 1mg