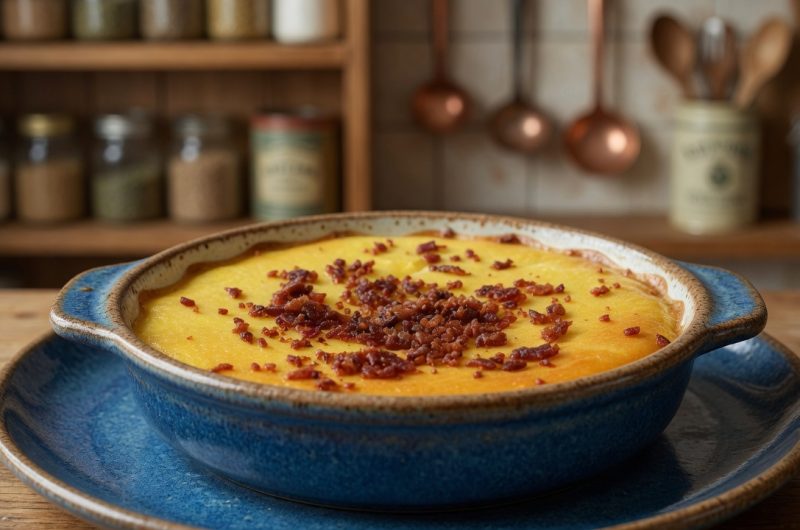
Baked egg custard tarts represent a classic dessert that combines simplicity with elegance, featuring a smooth, creamy custard filling enclosed in pastry shells. These individual tarts appeal to people seeking desserts with refined flavor and sophisticated appearance that don’t require complicated techniques. The custard filling develops its characteristic silky texture through gentle cooking in a water bath, which distributes heat evenly and prevents the harsh cooking that creates cracks or rubbery texture. The delicate balance between eggs, milk, and cream creates a custard that’s rich without being heavy. Many cultures feature custard tarts in their culinary traditions—from Portuguese pastéis de nata to British custard tarts—because the combination of flaky pastry and smooth custard appeals universally. Understanding the fundamental technique behind proper custard preparation helps you create tarts that taste like they came from a professional bakery.
Why Eggs Form the Foundation of Custard Structure
Eggs serve as the primary structural ingredient in custard, providing protein that coagulates during cooking to transform liquid ingredients into the characteristic smooth, set texture. The egg proteins trap moisture and create a stable emulsion that gives custard its velvety mouthfeel. Using whole eggs—both whites and yolks—provides structure from the egg whites while the yolks contribute richness and flavor. The number of eggs affects how firm the finished custard becomes—more eggs create firmer custard while fewer eggs create more delicate, creamy custard. Room-temperature eggs incorporate more smoothly into the milk mixture than cold eggs, which can create lumps or uneven texture. The quality of eggs matters significantly because inferior eggs sometimes have off-flavors that become apparent in custard where they’re the primary ingredient. Some recipes call for removing the chalaza—the small white strand connecting yolk to white—though this step is optional.
The Importance of Sugar in Custard Texture and Browning
Sugar contributes sweetness while also affecting the custard’s texture and how it browns in the oven. The amount of sugar—one-half cup plus one tablespoon—provides sweetness without making the custard overly sweet or changing its essential character. Sugar dissolves into the egg mixture, distributing flavor evenly throughout the custard. The sugar affects how custard browns on top, contributing to the golden color that signals proper baking. More sugar creates sweeter custard and darker browning, while less sugar creates lighter-colored custard that bakes faster. Dissolving sugar completely into the egg mixture before adding milk ensures even distribution without grittiness. Some people prefer reducing sugar slightly for less-sweet custard that highlights the flavor of quality eggs and cream. The sugar interacts with the eggs during whisking, creating a slightly thicker mixture that’s easier to work with.
Understanding the Milk and Cream Combination
The combination of milk and cream creates the proper richness and texture for quality custard. Using two percent milk rather than whole milk provides a balanced flavor without excessive fat that might make the custard feel heavy. Half and half contributes richness and creaminess that pure milk cannot achieve. The ratio of milk to half and half affects the final richness—more half and half creates richer custard while more milk creates lighter custard. Warming the milk and half and half slightly before adding to the egg mixture prevents temperature shock that might cause uneven cooking. The liquid-to-egg ratio affects how firm the custard becomes—more liquid creates more delicate, creamy custard while less liquid creates firmer custard. Quality milk and cream make a noticeable difference in the final flavor, so using fresh dairy products produces superior results compared to older products that might have off-flavors.
Whisking for Proper Emulsification and Smoothness
Whisking the eggs with sugar and salt creates the foundation for smooth custard by beginning the emulsification process. The whisking incorporates air and begins to lighten the egg mixture. Whisking thoroughly ensures the sugar dissolves completely and distributes evenly throughout the eggs. The mixture should become slightly paler and thicker after whisking, indicating the eggs are incorporating properly. Using a whisk rather than a fork allows for faster, more efficient mixing that incorporates ingredients more completely. Vigorous whisking aerates the mixture, creating tiny air bubbles that contribute to the custard’s smooth texture. Some people use an electric mixer for this step, which works well though hand-whisking provides adequate results if you’re willing to use a little arm strength. The finished whisked mixture should be smooth and homogeneous without visible egg white streaks.
Adding Warm Milk for Proper Incorporation
Adding warm milk to the whisked egg mixture rather than cold milk prevents temperature shock that could create lumps or cause the eggs to cook unevenly. The warmth of the milk gently raises the temperature of the egg mixture, beginning the cooking process gradually. Pouring the milk slowly while whisking constantly ensures smooth incorporation without creating lumps. If lumps do form, straining the mixture through a fine mesh sieve removes them and creates smooth custard. Some recipes call for tempering the eggs by slowly adding milk while whisking, which is the technique used here. The finished mixture should be smooth and well-combined with no visible egg streaks or flour-like particles. The warmth of the milk means the custard mixture is ready to bake immediately after preparation, though some recipes allow brief cooling before baking.
Understanding Salt’s Role in Flavor Enhancement
Salt, though used in small amounts, plays a crucial role in enhancing the flavor of custard without making it taste salty. The salt suppresses the perception of sweetness while highlighting the flavors of eggs and cream. Using one-quarter teaspoon of salt provides the right amount—enough to enhance flavor without creating noticeable saltiness. Fine sea salt dissolves more smoothly than coarser salts, ensuring even distribution. The salt should be whisked with the eggs and sugar so it distributes evenly throughout rather than adding it later when it might remain as distinct granules. Some people prefer omitting salt entirely, though it genuinely improves the final flavor by creating more complex taste. Understanding salt’s flavor-enhancing properties helps you appreciate how small ingredient adjustments significantly impact the final result.
The Critical Water Bath Technique for Perfect Texture
The water bath represents the most important technique for creating smooth, crack-free custard because it distributes heat gently and evenly. Placing filled ramekins or tart shells in a larger baking pan and filling the pan with hot water creates a gentle cooking environment. The water should reach approximately halfway up the sides of the ramekins, providing heat transfer without directly exposing the custard to the oven’s dry heat. The water temperature matters—hot but not boiling water prevents the custard from cooking too quickly on the edges while the center remains underbaked. The water bath prevents the harsh, direct heat that creates cracks, curdled edges, and rubbery texture. Some people cover the water bath with foil to prevent the custard tops from browning too much while the centers cook. The finished custard should be just set with a slight jiggle in the center—not completely rigid or it becomes overcooked and rubbery.
Determining Proper Doneness Without Overcooking
Recognizing when custard is perfectly baked requires observation because overcooking creates undesirable texture while underbaking leaves the custard too soft. The custard should be just set around the edges while the center still jiggles slightly when the pan is gently shaken. A knife inserted near the center should come out clean or with just a small amount of custard clinging to it. The custard continues cooking slightly from residual heat even after being removed from the oven, so slightly underbaking is preferable to overbaking. The baking time varies depending on oven temperature and custard depth—smaller, shallower custards bake faster than larger, deeper ones. Some recipes suggest baking until the custard reaches one hundred seventy-four degrees Fahrenheit when measured with a meat thermometer, though visual assessment works equally well. Overbaked custard develops a grainy texture and unpleasant curdled appearance around the edges.
Cooling and Chilling for Optimal Texture Development
Proper cooling ensures the custard sets completely while preventing the harsh texture changes that come from cooling too quickly. Removing the custard from the water bath allows it to cool gradually at room temperature. Some recipes call for refrigerating the custard after cooling, which allows the texture to set fully and creates a more sliceable custard. Complete cooling also allows you to taste the custard at its best—the flavors develop more fully once the custard is no longer hot. Chilling makes the custard easier to handle if you’re using it in tarts that require unmolding or additional preparation. The finished custard should be smooth, creamy, and have a light golden color on top. Some custards develop a slight skin on top during cooling, which some people remove while others prefer leaving it for the texture contrast.
Nutmeg’s Contribution to Flavor and Appearance
Ground nutmeg provides aromatic warmth and subtle spice that complements egg custard beautifully without overwhelming other flavors. A light dusting of nutmeg on top of each custard before baking creates visual appeal while adding flavor. Freshly grated nutmeg provides superior flavor to pre-ground nutmeg, which loses volatile oils over time and develops stale flavors. A small amount of nutmeg—just a light sprinkle—provides noticeable flavor without creating excessive spice. Some people prefer using whole nutmeg and grating it themselves, while others use pre-ground for convenience. The nutmeg should be sprinkled on top just before baking so it toasts slightly during cooking, intensifying the flavor. Too much nutmeg becomes overwhelming and creates harsh, unpleasant flavor, while the right amount adds sophistication and warmth.
Pastry Shell Options and Preparation
While this recipe focuses on the custard filling, the pastry shell significantly impacts the finished tart’s texture and appearance. Store-bought tart shells offer convenience and consistent results, though homemade pastry provides superior flavor and texture. Blind-baking the pastry shell—pre-baking before adding filling—prevents soggy bottoms and ensures the pastry cooks completely. Fitting pastry shells into individual ramekins or a larger tart pan requires care to prevent tearing while achieving even thickness. Some recipes suggest brushing the pastry with egg white before adding custard to create a seal that prevents sogginess. The pastry should be golden brown before adding the custard filling. Quality butter pastry creates the flakiest, most delicious shells, though shortbread-style pastry also works well for custard tarts.
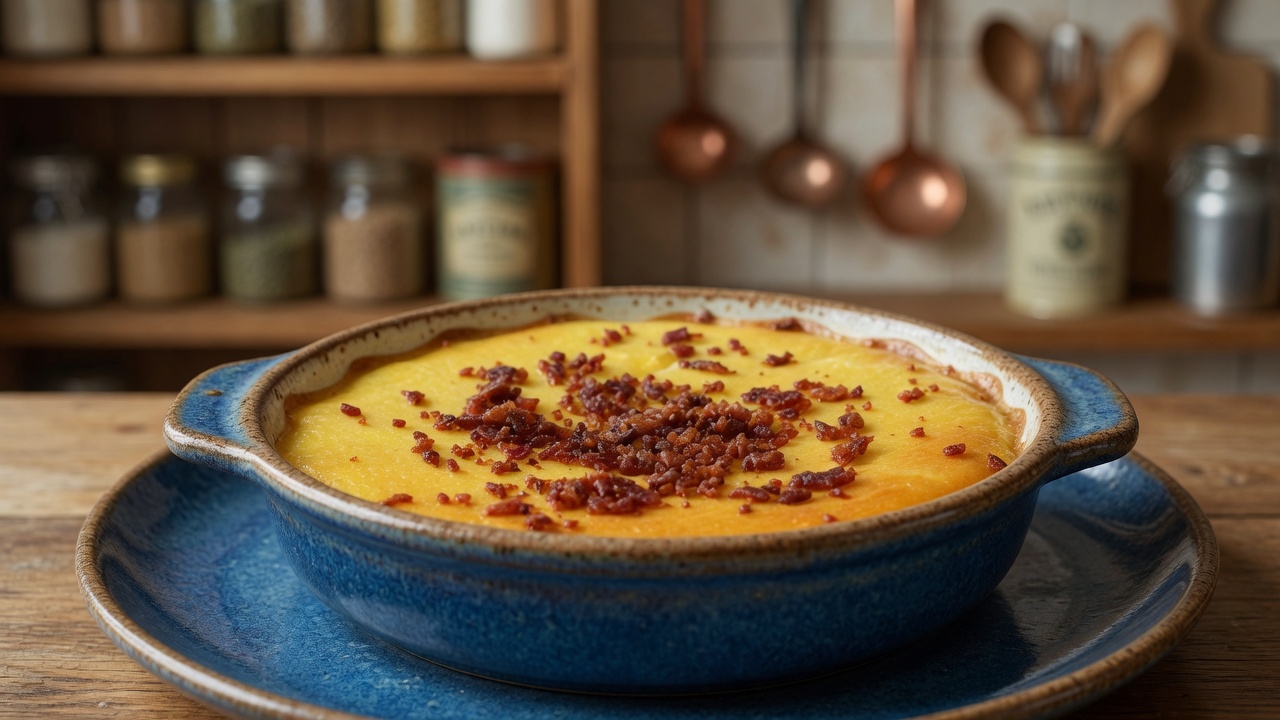
Baked Egg Custard
Indulge in the creamy allure of our baked egg custard, a dessert that strikes the perfect balance between elegance and simplicity.
5
servings15
minutes45
minutes1
hourIngredients
4 large eggs
1/2 cup plus 1 tablespoon sugar
1/4 teaspoon salt
3 cups 2% milk
1 cup half & half
Ground nutmeg
Directions
- Preheat your oven to 350 degrees Fahrenheit.
- Using a small spoon, delicately remove the chalaza from the egg yolks, ensuring a smooth custard texture.
- In a large mixing bowl, whisk together the eggs, sugar, salt, until well combined.
- Warm the milk and half & half, then gradually whisk them into the egg mixture until smooth and homogeneous.
- Strain the custard mixture to remove any lumps, then divide it evenly among 5 large or 6 small ramekins.
- Sprinkle a generous pinch of ground nutmeg over the surface of each custard-filled ramekin.
- Place the ramekins in a large baking pan, and carefully pour hot water into the pan until it reaches halfway up the sides of the ramekins.
- Bake the custards for approximately 45 minutes, or until a knife inserted into the centers comes out clean with a slight jiggle remaining.
- Once baked, transfer the custards to a wire rack to cool to room temperature.
- Serve the custards at room temperature or chilled, as desired.
Notes
- For storage, cover the custards with plastic wrap and refrigerate for up to 3 days. Ensure proper sealing to maintain freshness and texture.