Making homemade butter is not just a satisfying culinary experience that connects you to traditional cooking methods, it is a wonderful way to add fresh, wholesome flavors to all your kitchen creations and everyday meals. Whether you are using a stand mixer, a hand mixer, or even a simple mason jar, the process of creating butter from fresh cream is remarkably simple, incredibly fun, and deeply rewarding. In this comprehensive guide, we will explore various proven methods for making butter at home, and highlight the genuine benefits of using fresh, high-quality ingredients that you have selected yourself. Understanding the butter-making process helps you appreciate the craftsmanship involved in creating this essential kitchen staple.
Understanding the Advantages of Making Butter at Home
Making butter at home offers a number of compelling advantages that go well beyond simple cost savings and convenience. First and foremost, homemade butter-making is incredibly easy and surprisingly cost-effective when you have access to quality cream sources. Depending on where you live and what local dairy options are available, it may actually be more affordable to purchase heavy cream and churn your own butter than to consistently buy store-bought butter options. Plus, homemade butter tends to have a richer, more robust, and noticeably fresher flavor than mass-produced alternatives that sit on store shelves for extended periods.
Another significant benefit of making butter at home is the fun and deeply educational aspect of the entire process. Whether you are a seasoned cook with years of kitchen experience or a complete beginner just starting to explore food preparation, churning butter is an enjoyable and approachable activity that can connect you personally to traditional cooking methods and food production. It is also the perfect opportunity for children to engage in a hands-on cooking experience that teaches them about food creation. Making butter allows kids to experience the genuine magic of turning liquid cream into solid butter, and they will absolutely love the satisfaction of eating something they helped create with their own hands.
Finally, homemade butter can be completely customized to match your personal taste preferences and dietary needs. You can make it sweet, salted, or even add fresh herbs and spices for flavorful variations that store-bought butter cannot offer. The versatility of homemade butter opens up an entire world of culinary possibilities, from spreading it on fresh-baked bread to incorporating it into your favorite recipes, cooking, and baking projects.
Selecting the Right Cream for Successful Butter Making
The key ingredient in homemade butter is high-quality cream, which is the high-fat portion of milk that separates naturally when milk is left to sit undisturbed for extended periods. The fat in the cream is absolutely essential for making butter because when agitated through churning or shaking, it clumps together and forms solid butter while the remaining liquid becomes buttermilk. It is important to use the right type of cream for successful butter-making, as the fat content directly affects how quickly butter forms and how much you will produce.
Heavy cream or heavy whipping cream, which typically contains between thirty-six and thirty-eight percent fat content, is the ideal choice for butter-making. This high-fat content ensures that your butter will form quickly and with ease, minimizing the time and effort required. While lighter whipping cream may work, it has a notably lower fat content of around thirty percent, which can result in significantly longer churning times or producing less total butter. Understanding these differences helps you choose the best cream for your butter-making goals.
Choosing Between Different Cream Types
The fat percentage in cream directly determines how efficiently butter will form during the churning process. Heavy cream’s higher fat content means butter formation happens relatively quickly compared to lower-fat options. Some premium dairies offer ultra-high-fat cream with even higher percentages, which produces butter even faster. Room temperature affects churning time as well, with cream between sixty and seventy degrees Fahrenheit churning most efficiently.
Making Butter Using a Stand Mixer or Hand Mixer
The stand mixer method is one of the most efficient and convenient ways to make homemade butter, as it does most of the work automatically while you supervise the process. With a whisk attachment, a stand mixer handles the repetitive churning action that would be tiring if done by hand. If you prefer a hand mixer or do not have access to a stand mixer, it is just as effective, though you may need to put in noticeably more physical effort during the process.
To get started with the mixer method, simply pour your heavy cream into the mixing bowl, making sure not to fill it more than halfway to prevent splashing. Begin by whipping the cream on a low setting to avoid splashing cream all over your kitchen. Gradually increase the speed to medium-high over the course of a few minutes. After several minutes of mixing, the cream will begin to thicken and form soft peaks that resemble whipped cream. Continue mixing beyond this point, and soon you will notice that the cream starts to turn yellow and clump together into distinct pieces. At this point, you will see the buttermilk separating from the butter solids, indicating that butter formation is complete.
Churning Butter the Traditional Mason Jar Way
A mason jar is a fun, old-fashioned way to make butter that offers a hands-on experience for both adults and children without requiring any electricity or specialized equipment. All you need is a jar with a tight-fitting lid, heavy cream, and some physical effort. Fill the mason jar approximately halfway with cream and screw the lid on tightly, making sure it is sealed properly. Shake the jar vigorously for about five to seven minutes until you feel resistance building up. Continue shaking for another five minutes or so, and soon you will hear a distinctive sloshing sound, which indicates that the butter has successfully formed and separated from the buttermilk.
The beauty of using a mason jar is its simplicity and accessibility to all ages and skill levels. It does not require any specialized equipment or electricity, making it perfect for anyone interested in traditional food preparation. It is also a wonderful way to engage children in the kitchen and teach them about the magic of food production and transformation. The tactile experience of shaking the jar and feeling the cream transform helps kids understand where food comes from.
Understanding the Importance of Proper Rinsing
Once the butter has successfully formed, it is absolutely essential to rinse it properly to achieve the best flavor and shelf life. Rinsing removes any remaining buttermilk, which can spoil the butter relatively quickly and negatively affect its flavor over time. To rinse your butter properly, simply strain the solids through a fine mesh strainer to remove most of the liquid. Then, pour cold water over the butter and gently knead it with your hands to remove any remaining buttermilk. Repeat the rinsing process two to three times until the water runs completely clear, indicating that no buttermilk remains. This step ensures your butter stays fresh and tasty for a longer period.
Deciding Between Salted and Unsalted Butter
When making butter, you have complete control over whether to add salt, depending on your personal preference and intended use. If you prefer salted butter, you can either mix salt into the cream before churning or add it after the butter has been completely made. Adding salt before churning will also salt the buttermilk, which may affect how you can use it in other recipes or cooking applications. If you prefer more control over the exact salt content, adding salt after the butter has been made is the better option.
A general guideline for seasoning is to add about one-quarter teaspoon of salt for every one cup of cream used in the original mixture. Once the butter reaches a soft, spreadable consistency, gently knead the salt in with a spatula or your hands to ensure even distribution throughout the entire batch. Some people prefer to use sea salt or specialty salts for unique flavor notes.
Proper Storage Methods for Homemade Butter
Homemade butter, when properly stored using appropriate methods, can last for several days to several weeks depending on storage conditions and temperature. After completing the rinsing process, place your butter in an airtight container designed for butter storage. If you are keeping it at room temperature in your kitchen, it should last for three to five days before starting to spoil. For longer storage periods, refrigerate it at a temperature below forty degrees Fahrenheit for seven to ten days of freshness. You can also freeze butter for up to six months if you want extended storage options.
To freeze butter properly, wrap it tightly in plastic wrap to prevent dehydration, then wrap again in aluminum foil to prevent freezer burn from developing. When you need to use frozen butter, thaw it in the refrigerator overnight or at room temperature for about an hour. After thawing, use it within three to five days if kept at room temperature, or within seven to ten days if refrigerated. Proper storage extends your butter’s usable life significantly.
Creative Ways to Use Your Homemade Butter
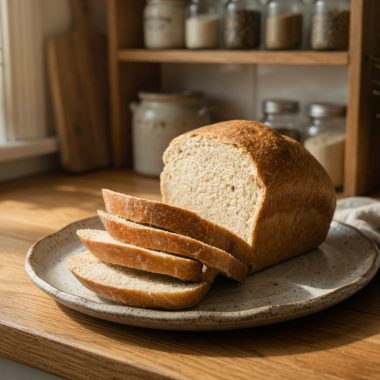
The possibilities for using your homemade butter are truly endless and limited only by your imagination. Spread it generously on fresh-baked bread for breakfast, use it in your favorite cooking or baking recipes, or try making flavored butters infused with fresh herbs, roasted garlic, or honey. Homemade butter can elevate any dish you prepare, adding richness and depth that store-bought butter simply cannot match due to its freshness. Herb butters work beautifully on grilled vegetables, steaks, or fish. Honey butter makes a wonderful topping for warm biscuits or toast.
Understanding How to Can Butter for Long-Term Storage
Canning butter at home is a great way to preserve it for extended long-term storage, especially if you are making a large batch of homemade butter and want to keep it for later use. While butter can be canned using proper procedures, it is important to follow safe canning guidelines carefully, as butter is a high-fat dairy product that can potentially spoil if not processed correctly. Pressure canning is absolutely essential for butter because it is a low-acid food that requires high temperatures to eliminate potential harmful bacteria.
Essential Equipment for Safe Butter Canning
Equipment needed includes sterilized glass jars in half-pint or pint sizes, new lids and rings to ensure a proper seal, a pressure canner or pressure cooker designed for home canning, a large pot for melting butter, clean towels, a canning funnel, and canning tongs for safely handling hot jars. Having proper equipment ensures both safety and success with your canning project.
Preparing Jars and Sterilizing Equipment
Begin by sterilizing your canning jars thoroughly before use. You can accomplish this by boiling them in a large pot of water for about ten minutes, or by placing them in an oven preheated to two hundred twenty-five degrees Fahrenheit for ten to fifteen minutes. Ensure the lids are also sterilized by boiling them in water for a few minutes before using them. Keep the jars warm until you are ready to fill them with melted butter to prevent thermal shock.
Melting and Preparing Butter for Canning
In a large saucepan or pot, melt your butter over low to medium heat, being careful not to burn it. If you are using homemade butter, make sure to melt it gently, stirring occasionally to ensure even melting and prevent scorching. Skim off any foam that forms on the top surface of the melted butter, as you want the butter to be clear of any milk solids for maximum shelf life and food safety.
Setting Up Your Pressure Canner
Ensure your pressure canner or pressure cooker is properly set up and ready for use. Canning butter requires a pressure canner because butter is a low-acid food that must be processed under pressure to safely kill any harmful bacteria or microorganisms. If you do not have a pressure canner, it is highly recommended to avoid attempting to can butter using other methods, as water-bath canning is not safe for butter due to its low acidity level. Food safety should always be your top priority.
Filling and Sealing Jars With Melted Butter
Using a canning funnel, carefully pour the melted butter into your warm sterilized jars, leaving about one-quarter inch of headspace at the top to allow for expansion during the pressure canning process. If you are adding salt for flavor and preservation, you can add approximately one-quarter teaspoon per pint jar, though most people prefer to can butter unsalted for better preservation and longer shelf life. Wipe the rims of the jars with a clean, damp cloth to ensure no residue or butter remains on the edges, which could prevent proper sealing.
Place the sterilized lids onto the jars and screw on the rings until they are fingertip tight. Avoid overtightening the rings, as excessive tightness can interfere with proper sealing during the canning process.
Processing Butter in a Pressure Canner
Place the filled jars into your pressure canner and follow the manufacturer’s specific instructions for your equipment model. Generally, you should process jars at ten to eleven pounds of pressure for seventy-five minutes for pint-sized jars, adjusting the time slightly based on your elevation if you live at a high altitude. Ensure that the water in the canner covers the jars by at least one to two inches for proper processing.
After processing, allow the pressure canner to cool down and release pressure naturally before carefully removing the jars. Never force the release of pressure, as this can cause unsafe conditions.
Checking Seals and Storing Canned Butter
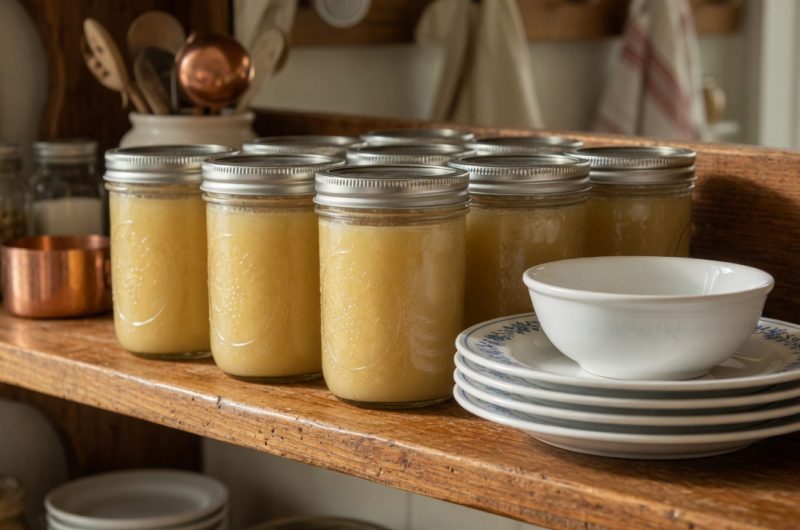
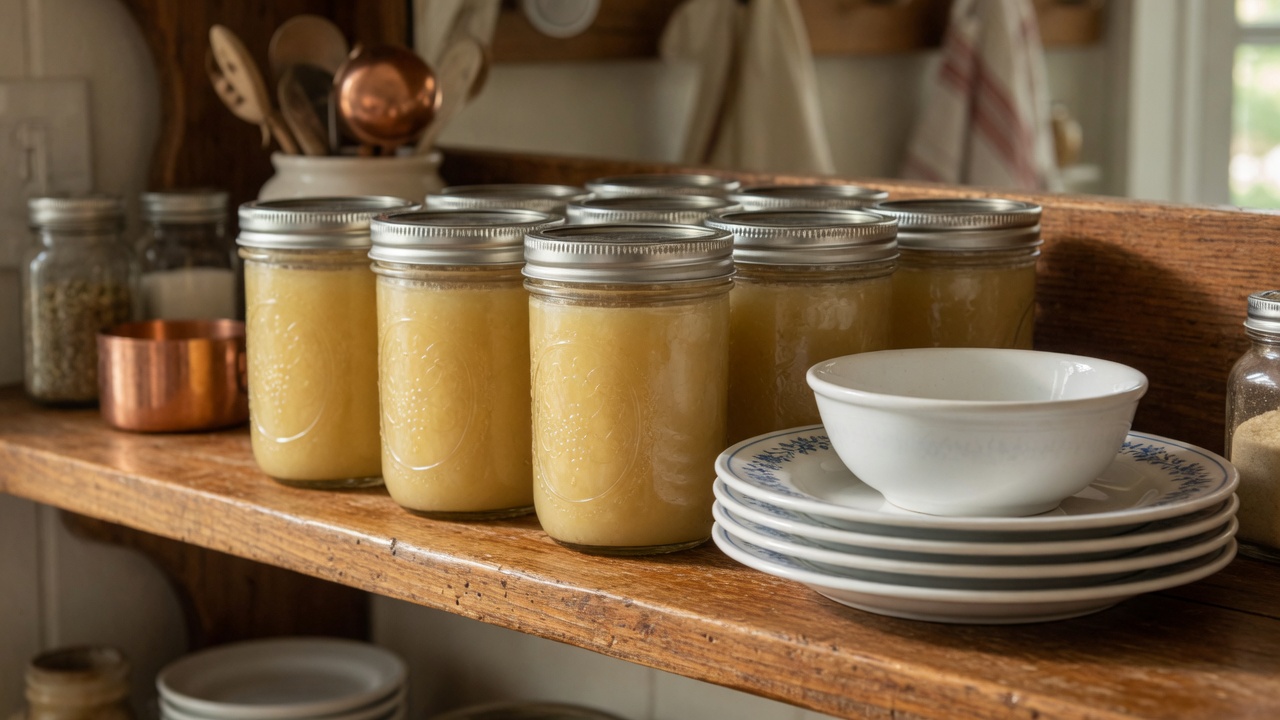
After the jars have cooled completely, check the seals carefully. The lids should be concave and should not pop up when pressed gently. If the lid pops back up when you press it, the jar did not seal properly and should be refrigerated immediately or reprocessed using a new lid. Once the jars are confirmed sealed, store them in a cool, dark place away from direct sunlight. Properly canned butter can last for up to a year when stored in a cool pantry or storage area.
Once you open a jar, refrigerate the butter and use it within one to two weeks for best quality and safety.
Critical Safety Considerations for Butter Canning
Pressure canning is absolutely essential for safe butter preservation, as butter is a low-acid food that cannot be safely processed using water bath canning. Without the high temperatures achieved through pressure canning, the food may not reach temperatures high enough to kill harmful bacteria like Clostridium botulinum, which causes botulism. Always check for signs of spoilage before using canned butter, including discoloration, mold growth, or sour smells. Discard any jars showing these signs immediately.
Avoid overfilling jars, as leaving adequate headspace is crucial for proper sealing and preventing butter from boiling over during canning. Follow all manufacturer instructions carefully and never improvise with canning methods or equipment.
Alternative Methods for Extending Butter Shelf Life
If pressure canning butter is not an option for you, you can extend butter’s shelf life by freezing it in airtight containers or freezing butter in individual portions using ice cube trays for convenient portioning. However, canning offers a non-refrigerated storage solution that does not require freezing space, making it an excellent option for long-term preservation if done correctly.
How to Canned and Make Butter at Home: A Beginner’s Guide
Making homemade butter is an incredibly rewarding process, and it only takes a few simple steps. Here’s a quick and easy recipe for making your own fresh butter at home.
8
servings15
minutes15
minutes101
kcal30
minutesIngredients
1 cup heavy cream (preferably with 36% fat content)
Salt (optional, 1/4 teaspoon per cup of cream for salted butter)
Directions
- Using a Stand Mixer or Hand Mixer:
- Pour 1 cup of heavy cream into the bowl of a stand mixer fitted with the whisk attachment, or into a mixing bowl if using a hand mixer.
- Start whipping the cream on low speed, gradually increasing to medium-high as the cream thickens.
- Continue mixing until the whipped cream begins to turn yellow and clump together, and the buttermilk separates. This usually takes 3-5 minutes.
- Using a Mason Jar:
- Pour 1 cup of heavy cream into a pint-sized mason jar, filling it halfway.
- Screw the lid on tightly and shake the jar vigorously for 10-15 minutes until the cream turns into butter and the buttermilk separates.
- Rinse the Butter:
- Strain the butter solids from the buttermilk using a fine mesh strainer.
- Rinse the butter under cold water while gently kneading to remove any remaining buttermilk. Repeat 2-3 times until the water runs clear.
- Add Salt (Optional):
- If making salted butter, mix in 1/4 teaspoon of salt for every cup of cream used. Knead it into the butter until evenly distributed.
- Storage:
- Store the butter in an airtight container. At room temperature, it will stay fresh for 3-5 days. Refrigerate for 7-10 days, or freeze for up to 6 months.
Notes
- Notes:
For flavored butter, experiment with herbs, garlic, or even honey to add unique flavors to your homemade butter.
For those who prefer unsalted butter, simply skip the salt and enjoy the pure, creamy goodness.
Nutrition Facts
- Calories: 101kcal
- Fat: 11g
- Saturated Fat: 7g
- Polyunsaturated Fat: 0.5g
- Monounsaturated Fat: 3g
- Cholesterol: 34mg
- Sodium: 8mg
- Potassium: 28mg
- Carbohydrates: 1g
- Sugar: 1g
- Protein: 1g
- Calcium: 10mg
- Iron: 0.03mg