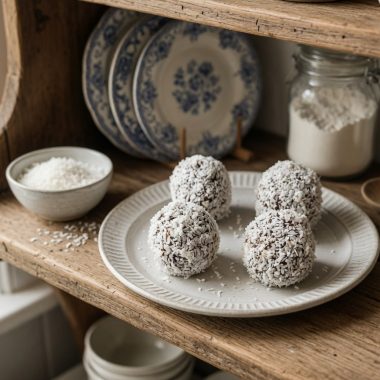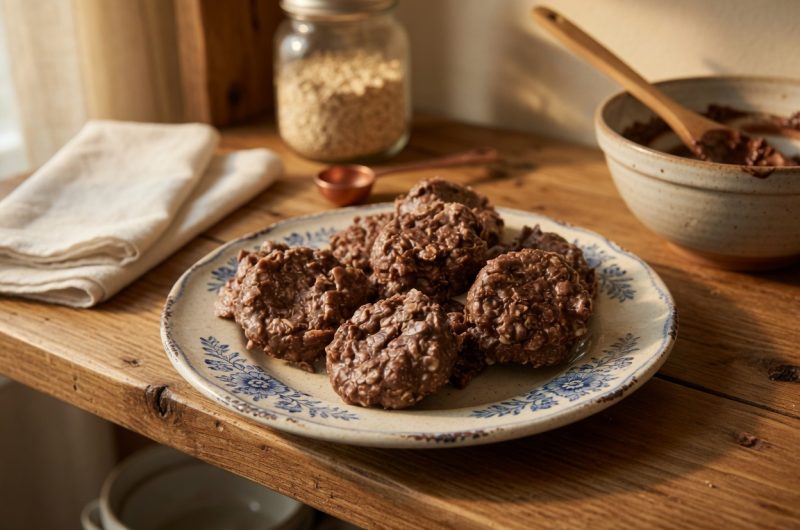
These chocolate chip oatmeal cookies deliver the perfect combination of textures that cookie lovers crave. The outside bakes up crispy and golden while the inside stays wonderfully soft and chewy. Rich chocolate chips throughout the cookie provide bursts of sweetness in every bite. A small amount of salt in the recipe helps bring out the chocolate flavor even more. These cookies have become a favorite for families because they satisfy different texture preferences all in one cookie.
Picking the Right Oats for Your Cookies
The type of oats you choose makes a real difference in how your cookies turn out. Rolled oats, sometimes called old-fashioned oats, give you the best texture for baking cookies. These oats keep their shape during baking and provide a satisfying chewy quality. Quick oats will work if that is all you have available, but your cookies may turn out slightly different. The texture will be a bit softer and less distinct since quick oats break down more during baking. For the recipe as written, stick with rolled oats for results that match the description.
Understanding Butter Choices in Cookie Baking
Unsalted butter gives you complete control over how much salt goes into your cookie dough. When you use unsalted butter, you can add exactly the amount of salt the recipe calls for. If your kitchen only has salted butter available, you can still make these cookies successfully. Just remember to reduce the salt you add by one quarter teaspoon to keep the flavors balanced. Room temperature butter creams better with sugar, so take your butter out of the refrigerator about thirty minutes before you start baking.
Selecting Chocolate Chips for Your Cookies
Semisweet chocolate chips are the standard choice for oatmeal cookies because they balance sweetness with chocolate flavor. These chips contain enough sugar to taste sweet but also have a good amount of cocoa. If you want a deeper chocolate taste with less sweetness, bittersweet chocolate chips work wonderfully. Some bakers like to mix both types of chips in the same batch. You can also swap in milk chocolate chips if your family prefers sweeter cookies. Each type of chocolate creates a slightly different cookie experience.
Getting Your Dry Ingredients Ready
Starting with properly mixed dry ingredients helps your cookies bake evenly every time you make them. Put your flour, baking soda, and salt together in a large bowl. Use a whisk to blend these ingredients together thoroughly before adding them to the wet ingredients. This whisking step spreads the baking soda evenly through all the flour. When baking soda distributes evenly, your cookies rise uniformly instead of having some flat spots and some puffy areas. Taking this extra minute at the beginning prevents problems later.
Creaming Butter and Sugar Properly
The creaming step creates tiny air pockets in your cookie dough that make the final cookies tender. Put your room temperature butter in your mixer bowl with both the granulated sugar and light brown sugar. Beat these ingredients on medium speed until the mixture looks lighter in color and fluffy in texture. This process usually takes about three to four minutes with a stand mixer. The mixture should almost double in size as air incorporates into the butter. Proper creaming gives your cookies their soft texture, so do not skip this step or rush through it.
Adding Eggs and Vanilla Extract
After creaming the butter and sugars, you need to add the egg and vanilla extract to the mixture. Crack your egg into the bowl and pour in the vanilla extract. Keep mixing on medium speed until everything blends together completely. The egg adds structure to the cookies and helps hold all the ingredients together during baking. Vanilla extract brings out the flavors of both the chocolate and the butter. Use pure vanilla extract rather than imitation vanilla for the best flavor. This step should only take about one minute of mixing time.
Combining Wet and Dry Ingredients
Add your flour mixture to the butter mixture slowly while mixing on the lowest speed setting. Stop the mixer as soon as you no longer see dry flour in the bowl. Overmixing at this stage can make your cookies tough and dense instead of tender. The dough might look slightly rough or shaggy, which is perfectly normal. Some bakers prefer to add the last bit of flour by hand with a wooden spoon to avoid overmixing. This gentle approach to combining ingredients protects the tender texture you worked to create during creaming.
Stirring In Oats and Chocolate
Now you can add the rolled oats and chocolate chips to your cookie dough. Use a sturdy spoon or spatula to fold these ingredients into the dough until they spread throughout evenly. The oats add a hearty quality that makes these cookies more filling than regular chocolate chip cookies. Make sure chocolate chips distribute well so every cookie gets plenty of chocolate. If you notice any dry patches of oats or clumps of chocolate chips, keep stirring gently until everything looks uniform. This final mixing should be done by hand rather than with the mixer.
Scooping and Shaping Cookie Dough
A small ice cream scoop or cookie scoop makes portioning the dough much easier and creates uniform cookies. Each scoop should hold about two tablespoons of dough for cookies that are similar in size. Drop these rounded balls of dough onto a baking sheet that you have lined with parchment paper. Space the dough balls about two inches apart because they will spread during baking. For extra chocolate appearance, press a few additional chocolate chips onto the top of each dough ball before baking. This creates cookies that look professional and appealing.
Baking Temperature and Timing
Your oven should be heated to three hundred seventy-five degrees Fahrenheit before the cookies go in for baking. This temperature creates the right balance between cooking the centers and browning the edges. Bake the cookies for eight to ten minutes depending on your oven and how soft you like your cookies. The edges should turn golden brown while the centers remain soft and slightly underbaked looking. Cookies continue cooking on the hot baking sheet after you remove them from the oven. Taking them out when they look slightly underdone in the center prevents them from becoming too hard.
Cooling Cookies the Right Way
Let your cookies sit on the baking sheet for one to two minutes after removing them from the oven. During this resting time, the cookies firm up enough to move without falling apart. After waiting, use a spatula to transfer the cookies to a wire cooling rack. The wire rack allows air to circulate around the cookies so the bottoms do not become soggy. Cooling completely on the rack takes about fifteen to twenty minutes. If you try to stack warm cookies, they will stick together and lose their crisp edges.
Measuring Flour Without a Scale
Flour measurement affects cookie texture more than any other ingredient, so accuracy matters. A kitchen scale gives you the most accurate measurement every single time. If you do not own a scale, you can still measure flour correctly with measuring cups. First, use a spoon to fluff up the flour in its container. Then spoon the flour into your measuring cup without packing it down. Finally, use the straight edge of a knife to level off the top of the measuring cup. This method prevents adding too much flour, which would make your cookies dry.
Benefits of Chilling Cookie Dough
Chilling cookie dough before baking is optional but offers some advantages worth considering. Cold dough spreads less during baking, which creates thicker cookies with crispy edges. The flavors also develop and deepen while the dough rests in the refrigerator. If you have time, refrigerate your dough for at least one hour before scooping and baking. You can even chill the dough overnight if that fits your schedule better. Chilled dough is firmer and easier to scoop into neat balls. Just remember that cold dough may need an extra minute or two in the oven.
Adding Nuts for Extra Texture
Toasted walnuts or other nuts bring a crunchy element and rich flavor to these cookies. Add between one half cup and one full cup of chopped nuts when you stir in the oats and chocolate chips. Toasting the nuts before adding them brings out their natural oils and intensifies their flavor. Spread nuts on a baking sheet and toast them in a three hundred fifty degree oven for about five to eight minutes. Let the nuts cool completely before chopping and adding them to your cookie dough. Pecans, almonds, and hazelnuts all work well in this recipe.
Using Chocolate Chunks Instead of Chips
Chocolate chunks create a more rustic appearance and provide bigger pockets of melted chocolate. You can buy chocolate chunks at the store or make your own by chopping a chocolate bar. Roughly chop a good quality chocolate bar into pieces of different sizes for an artisan look. The irregular shapes create interesting chocolate distribution throughout each cookie. Some pieces will be large and gooey while others will be smaller and more delicate. Mixing chunks and chips together gives you the best of both textures in one cookie.
Knowing When Cookies Are Done
The visual signs of doneness are more reliable than baking time alone since ovens vary. Watch for the edges to turn golden brown while the centers remain pale and soft. The cookies might look slightly underbaked in the middle, but they will finish cooking on the hot pan. Small cracks may appear on the surface, which is normal and desirable. If the entire cookie turns golden brown, you have probably baked them too long. Setting a timer for the minimum time helps prevent overbaking while you learn how your oven performs.
Storing Unbaked Cookie Dough
You can prepare cookie dough ahead and store it for baking later when you want fresh cookies. Wrap the dough tightly in plastic wrap, pressing out any air pockets before sealing. Refrigerated dough stays good for up to one week and can be scooped directly from the cold state. For longer storage, keep the dough in the freezer for up to two months. Frozen dough needs to thaw in the refrigerator for several hours before you can scoop and bake it. Some bakers like to scoop the dough into balls before freezing so they can bake just a few cookies at a time.
How Long Baked Cookies Stay Fresh
Properly stored cookies maintain their taste and texture for up to two weeks at room temperature. Put cooled cookies in an airtight container with a tight-fitting lid. Layering cookies between sheets of parchment paper prevents them from sticking together. Keep the container in a cool, dry spot away from direct sunlight or heat sources. For longer storage, freeze baked cookies for up to two months. Let frozen cookies thaw at room temperature for about thirty minutes before eating. Fresh cookies right out of the oven still taste best, but proper storage keeps them enjoyable for much longer.
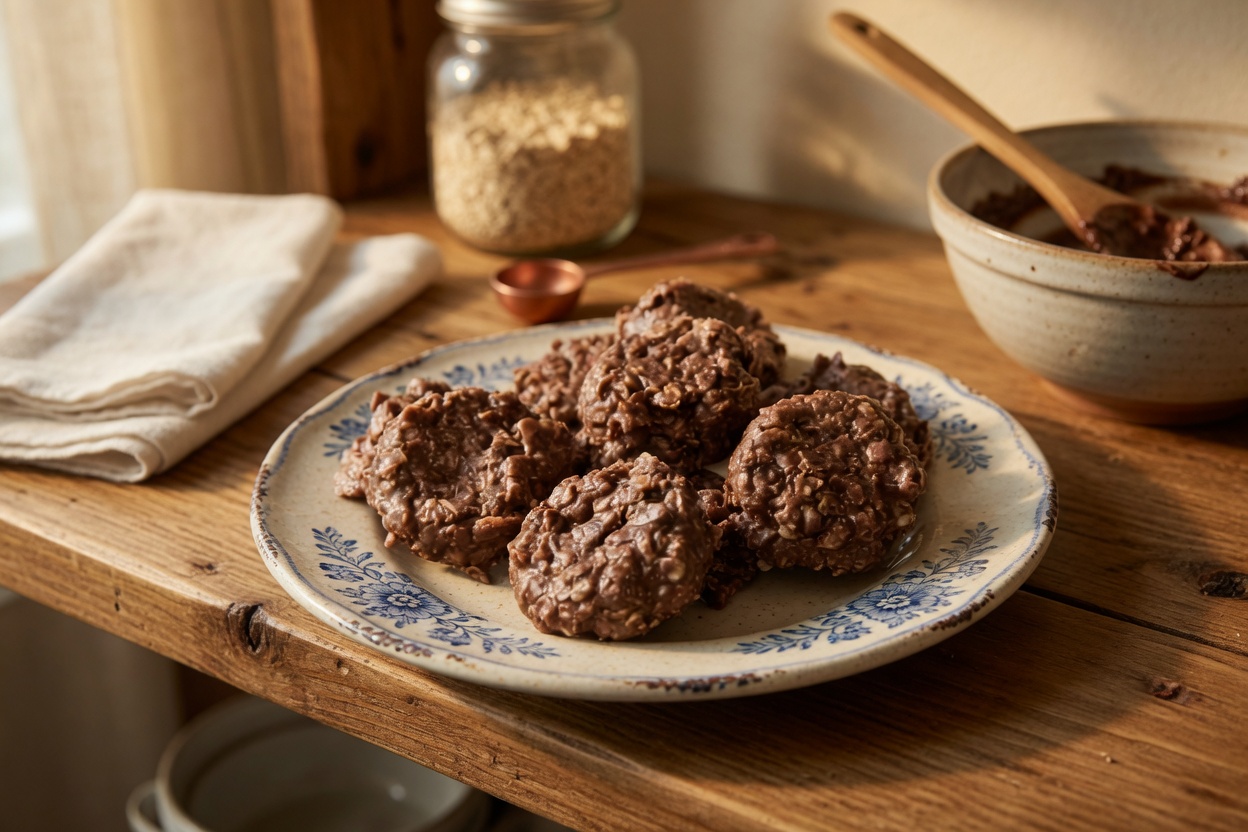
Chocolate Oatmeal Cookies
These oatmeal chocolate chip cookies offer the perfect blend of crispness and chewiness with rich chocolate and a touch of salt.
24
servings15
minutes15
minutes170
kcalIngredients
1 cup all-purpose flour (120g)
1/2 teaspoon baking soda (3g)
1/2 teaspoon salt (5g)
1/2 cup unsalted butter, room temperature (113g)
1/3 cup granulated sugar (65g)
2 teaspoons pure vanilla extract (10mL)
2/3 cup light-brown sugar, packed (140g)
1 large egg
1 1/2 cups rolled oats (135g)
1 cup semisweet chocolate chips (150g)
Directions
- In a medium bowl, whisk together the flour, baking soda, and salt. Set aside.
- In a large mixing bowl, cream together the butter and both sugars until light and fluffy.
- Beat in the salt, vanilla extract, and egg until well combined.
- Gradually mix in the flour mixture until almost fully combined.
- Stir in the oats and chocolate chips. Chill the dough for at least one hour or overnight.
- Preheat the oven to 375°F (190°C).
- Drop heaping tablespoon-sized balls of dough onto baking sheets lined with parchment paper, spacing them about 2 inches apart.
- Bake for 8-10 minutes, or until the edges are golden but the centers remain soft.
- Cool on the baking sheet for 1-2 minutes before transferring to a wire rack to cool completely.
Nutrition Facts
- Calories: 170kcal
- Carbohydrates: 20g
- Protein: 1.5g