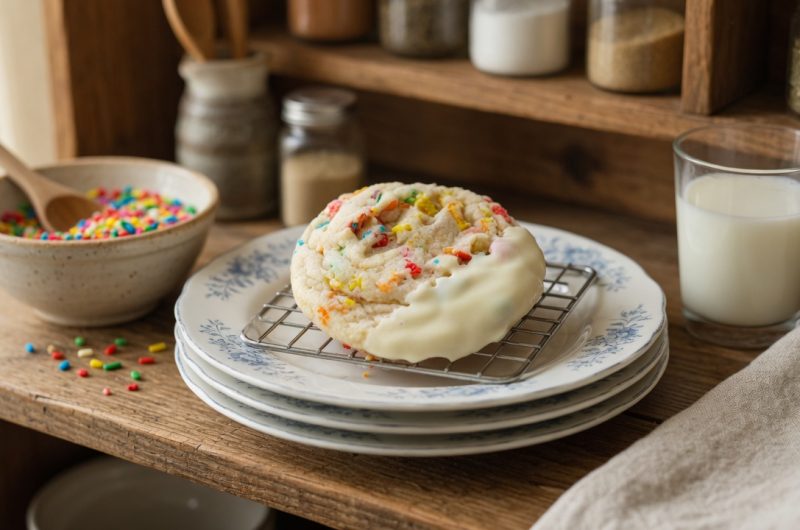
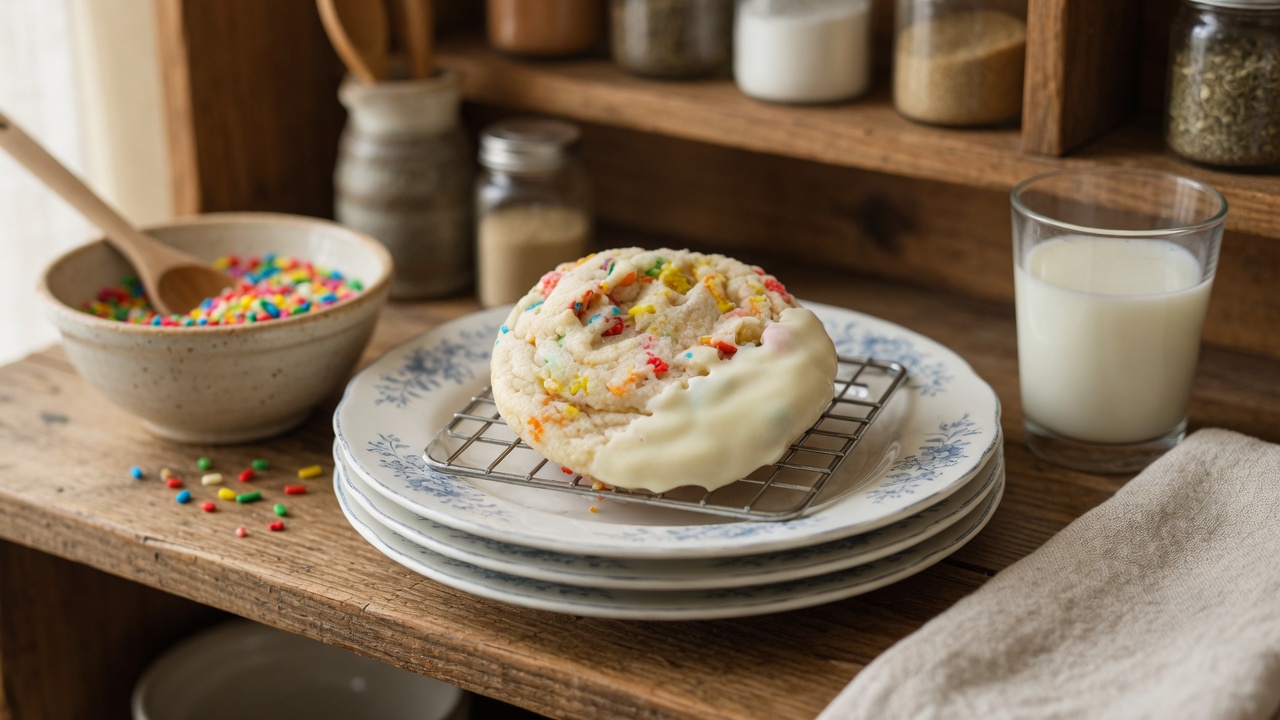
These colorful sugar cookies bring together classic cookie baking with a fun cereal twist that kids and adults love equally. The combination of soft sugar cookie dough, crunchy Fruity Pebbles cereal, and smooth white chocolate creates an exciting dessert that stands out at parties, bake sales, or family gatherings. The recipe is straightforward enough for beginner bakers while delivering professional-looking results that taste incredible. Each cookie offers multiple textures and flavors in every bite, making them more interesting than regular sugar cookies.
Understanding the Key Ingredients
The foundation of these cookies relies on basic baking staples that work together to create the perfect texture. Butter and sugar cream together to form the base, while eggs bind everything together. Pure vanilla extract adds depth and warmth to the flavor profile. The cream of tartar serves a dual purpose by adding a subtle tangy note while helping create that soft, chewy texture everyone loves in homemade cookies. All-purpose flour provides structure, baking soda helps the cookies rise slightly, and salt balances the sweetness throughout.
The Role of Fruity Pebbles Cereal
Fruity Pebbles cereal transforms ordinary sugar cookies into something playful and visually stunning. The tiny, colorful pieces distribute throughout the dough, creating bursts of fruity flavor and adding crunch to the soft cookie base. When baked, some pieces maintain their texture while others soften slightly, creating an interesting contrast. The bright colors remain vibrant even after baking, making these cookies especially appealing for children’s parties, birthday celebrations, or any event where you want to serve something cheerful and different from standard cookies.
White Chocolate Coating Benefits
Dipping these cookies in white chocolate takes them from good to exceptional. The creamy sweetness of white chocolate complements the fruity cereal perfectly without overpowering it. This coating adds a bakery-style finish that makes the cookies look professionally made. The white chocolate also provides a blank canvas that allows the colorful cereal pieces to really stand out visually. You can dip half the cookie or the entire thing, depending on your preference and how indulgent you want the final result to be.
Preparing Your Cookie Dough Properly
Starting with room temperature butter is essential for proper creaming. When you beat butter and sugar together, you want the mixture to become light and fluffy, which incorporates air into the dough. This step typically takes three to five minutes with an electric mixer. Adding the egg and vanilla extract next ensures they blend evenly throughout the mixture. When combining dry ingredients separately before adding them to wet ingredients, you guarantee even distribution of leavening agents and prevent overmixing, which can make cookies tough.
Mixing Fruity Pebbles Into Dough
Folding the cereal into your cookie dough requires a gentle touch. Use a spatula or wooden spoon to incorporate the Fruity Pebbles, working carefully to avoid crushing the delicate pieces. The cereal should be distributed evenly throughout the dough so every cookie gets plenty of colorful bits. Some crushing is inevitable and actually helps the flavors meld together, but try to keep most pieces intact for better texture. Mix just until you see the cereal evenly throughout the dough, then stop to avoid overworking the mixture.
Why Chilling Cookie Dough Matters
Refrigerating your cookie dough for at least thirty minutes before baking serves several important purposes. Cold dough spreads less in the oven, helping cookies maintain their shape and thickness. Chilling also allows the flour to fully hydrate, which improves texture. The resting time gives flavors a chance to develop and meld together. If you skip this step, your cookies might spread too thin and become crispy rather than maintaining that desirable soft and chewy center. You can chill the dough for up to two days if making it ahead.
Baking Temperature and Timing
Setting your oven to the correct temperature of 350 degrees Fahrenheit ensures even baking. Too hot and the cookies brown too quickly on the outside while staying raw inside. Too cool and they dry out before developing proper color. Baking for eleven to thirteen minutes gives you cookies with slightly golden edges and soft centers. Every oven varies slightly, so watch your first batch carefully and adjust timing as needed. The cookies should look barely set in the middle when you remove them, as they continue cooking on the hot pan after leaving the oven.
Achieving the Perfect Cookie Size
Using a cookie scoop ensures all your cookies are the same size, which means they bake evenly and look uniform. A standard cookie scoop holds about two tablespoons of dough, creating medium-sized cookies that bake perfectly in the recommended time. Space cookies at least two inches apart on your baking sheet to allow for spreading. If you make cookies larger or smaller than the recipe suggests, you will need to adjust baking time accordingly. Larger cookies need a few extra minutes, while smaller ones bake faster.
Working with White Chocolate
Melting white chocolate requires more care than regular chocolate because it can seize or burn easily. Use short bursts in the microwave, stirring between each interval, usually fifteen to twenty seconds at a time. Once smooth and fully melted, let it cool slightly before dipping cookies. If the chocolate is too hot, it will be very thin and run off the cookies. If it cools too much, it becomes thick and difficult to work with. The ideal consistency coats the cookie smoothly without dripping excessively.
Dipping Technique for Best Results
Hold each cooled cookie and dip it halfway into the melted white chocolate at an angle. Gently shake off excess chocolate by tapping your wrist lightly. Place the dipped cookie on parchment paper or a wire rack to let the chocolate set completely. For extra visual appeal, sprinkle additional Fruity Pebbles on the wet chocolate before it hardens. Work relatively quickly so the chocolate does not start to set in your bowl. If it does begin to thicken, microwave it again briefly to restore the proper consistency.
Storage Instructions for Freshness
Store these cookies in an airtight container at room temperature to maintain their texture and flavor. They stay fresh for up to four days when properly stored. Layer parchment paper between stacked cookies to prevent them from sticking together, especially if they have white chocolate coating. Avoid refrigerating these cookies as cold temperatures can make the cookies hard and affect the texture of both the cereal and chocolate. If you need to store them longer, freeze unfrosted cookies for up to three months and add the chocolate coating after thawing.
Making Dough in Advance
Preparing cookie dough ahead of time makes baking more convenient when you need it. Mix the dough completely, wrap it tightly in plastic wrap, and refrigerate for up to two days before baking. You can also portion the dough into individual cookie balls, freeze them on a baking sheet, then transfer to a freezer bag for up to three months. Frozen dough balls can go straight into the oven with just a minute or two added to the baking time. This makes it easy to bake fresh cookies whenever you want them.
Understanding Cereal Texture Changes
Some people notice the Fruity Pebbles become slightly chewy after baking rather than staying completely crunchy. This happens because the cereal absorbs some moisture from the cookie dough during baking. The texture change is normal and actually creates an interesting contrast with the soft cookie base. Some pieces remain crunchier than others depending on their position in the cookie. If you prefer more crunch, you can press extra cereal pieces onto the cookie tops before baking or sprinkle them on the wet chocolate coating.
Serving Suggestions and Occasions
These colorful cookies work perfectly for birthday parties, baby showers, spring celebrations, or any time you want to serve something fun and different. They appeal to children because of the bright colors and familiar cereal flavor. Adults appreciate the nostalgic combination and bakery-quality presentation. Arrange them on a colorful platter for maximum visual impact. They pair well with cold milk, ice cream, or coffee. Package them in clear bags tied with ribbon for party favors or gifts that show off the pretty colors.
Fruity Pebbles Cookies
Soft and chewy sugar cookies loaded with colorful Fruity Pebbles cereal and dipped in creamy white chocolate. These eye-catching treats combine classic cookie flavors with crunchy cereal bits for a fun dessert that looks as good as it tastes.
20-24
servings45
minutes12
minutes256
kcal57
minutesIngredients
1 cup (226g) unsalted butter, softened
2 cups (380g) granulated sugar
2 large eggs
1 teaspoon (5ml) pure vanilla extract
3 cups (420g) all-purpose flour
½ teaspoon baking soda
½ teaspoon cream of tartar
½ teaspoon salt
1 ½ cups (54g) Fruity Pebbles cereal
8 ounces white chocolate bar
Directions
- Preheat the oven to 350° F and line a large cookie sheet with parchment paper or a silicone baking mat.
- Cream the Butter and Sugar: In a mixing bowl, cream together the softened butter and granulated sugar until light and fluffy.
- Incorporate Wet Ingredients: Add the eggs and vanilla extract to the butter-sugar mixture, beating until well combined.
- Combine Dry Ingredients: In a separate bowl, whisk together the flour, baking soda, cream of tartar, and salt.
- Form the Dough: Gradually add the dry ingredients to the wet mixture, mixing until a dough forms. Fold in the Fruity Pebbles cereal until evenly distributed.
- Portion and Bake: Use a large cookie scoop to portion out the dough onto the prepared baking sheet. Roll each ball of dough in granulated sugar and place them about 2 inches apart. Bake for 10-12 minutes until golden brown.
- Cool and Dip: Allow the cookies to cool on the baking sheet for a few minutes before transferring them to a wire rack to cool completely. Melt the white chocolate in the microwave and dip each cookie halfway into the chocolate. Place the dipped cookies on parchment paper to set.
Nutrition Facts
- Calories: 256kcal
- Cholesterol: 37.7mg
- Carbohydrates: 36.2g
- Fiber: 0.5g
- Sugar: 23.1g
- Protein: 2.9g