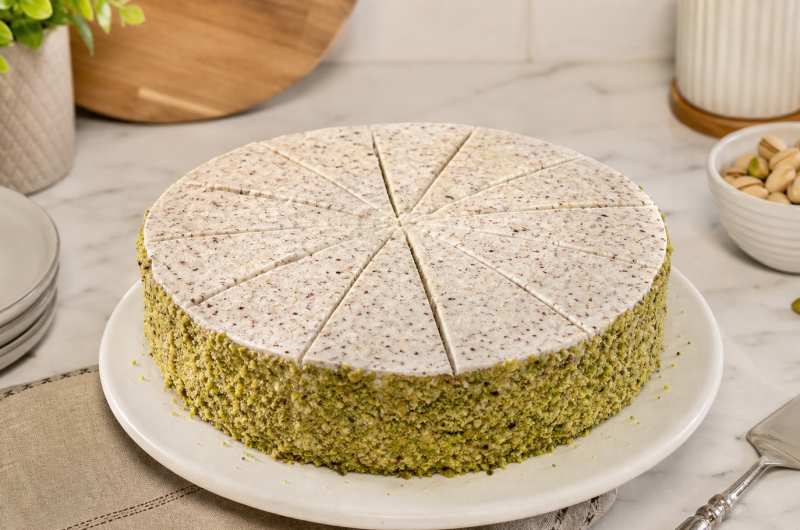
There’s something about a homemade hazelnut cream cake that turns a regular Sunday into an event. Three soft layers of nutty sponge get stacked with a smooth, roasted hazelnut cream and a layer of chocolate nougat, and the end result looks like it came straight out of a bakery window. What you’ll actually taste is a nice contrast: a light, airy cake base against a thick, slightly dense cream filling, so every bite hits a little differently. Nothing here is a shortcut recipe or a boxed mix job — it’s built from ingredients you can find at any grocery store, whipped by hand, and stacked with a bit of patience.
What Makes This Sponge Different From a Regular Cake
Most basic cakes lean on flour for their structure. This one leans on ground hazelnuts and almonds mixed straight into the batter, and that single change shifts both the flavor and the texture quite a bit. Ground nuts hold moisture better than flour alone, so instead of drying out after a day like a lot of sponge cakes do, this one stays soft for several days. The eggs are separated, and the yolks get whipped with hot water while the whites are beaten on their own until stiff — an old-school technique that gives the cake its lift naturally, without leaning too hard on baking powder. It’s a bit more work than dumping everything in one bowl, but the texture you get back is worth the extra ten minutes at the mixer.
What Each Ingredient Is Actually Doing in the Batter
Eggs and Sugar Build the Base
Six extra-large egg yolks whipped with hot water and sugar form the backbone of this cake. Beating the yolks with hot water first helps the sugar dissolve more evenly and gets you a pale, almost ribbon-like texture that traps air — and that trapped air is what keeps the finished cake from turning dense. Sugar isn’t just there for sweetness either. It stabilizes the egg proteins as they bake, which helps the sponge hold its shape instead of caving in once it comes out of the oven.
Ground Hazelnuts and Flour Work as a Team
The 125 grams of ground hazelnuts or almonds are what give this cake its signature nutty flavor, while the flour and potato starch (or cornstarch) do just enough to hold the structure together without weighing it down. Potato starch shows up a lot in European baking for exactly this reason — it produces a softer, almost melt-in-your-mouth crumb, which is part of why this cake feels lighter than a typical bakery sponge even though it’s packed with nuts.
Whipped Egg Whites Give It Lift
Folding stiffly whipped egg whites into the batter at the last step is really what makes this cake rise the way it does, rather than relying purely on baking powder. A small pinch of salt in the whites before whipping helps the foam hold together, so it’s easier to fold in without losing all that air you just worked to build. This part takes a light hand, go slow, and don’t rush the folding, or you’ll knock all the volume right back out.
Making the Batter, Step by Step
Start by putting the egg yolks and hot water in a mixing bowl and beating with a hand mixer until it turns frothy and noticeably lighter in color. Slowly pour in the sugar along with the vanilla sugar or extract while you keep beating, and watch as the mixture thickens up and turns pale and creamy — this usually takes a few solid minutes, so don’t cut it short. In a separate bowl, whisk together the flour, potato starch, and baking powder so the leavening is spread evenly before it touches anything wet.
Once that’s ready, sift the dry mix directly over the whipped yolks instead of dumping it straight in, since sifting keeps lumps from forming. Scatter the ground hazelnuts over the sifted flour, then fold everything together with a whisk or a wide spatula using gentle, sweeping strokes. You want it fully combined without beating the air back out, so resist stirring hard here. In a completely clean, dry bowl, whip the egg whites with a pinch of salt until they hold stiff, glossy peaks, then fold that foam into the batter in two or three additions to keep things as light as possible.
Getting the Sponge Right in the Oven
Line a 26 to 28 cm springform pan with baking paper, running it all the way up the sides to the rim — this makes it much easier to lift the finished sponge out later without tearing it. Preheat your oven to 175–180°C (roughly 350–360°F), pour in the batter, and smooth the top with a spatula. Bake on the middle rack for 40 to 45 minutes, and try not to open the oven door during the first half hour, since a sudden temperature drop can make the center sink. You’ll know it’s done when a toothpick comes out clean and the top springs back when you touch it lightly.
Let the cake cool all the way on a wire rack before you even think about slicing or frosting it. Cutting into a warm cake will crumble the layers and melt the cream on contact, so hold off. A lot of home bakers actually bake the sponge the day before, wrap it up, and let it sit overnight — it slices much more evenly once it’s had time to rest.
Making the Roasted Hazelnut Cream Filling
Toast the Nuts First
Heat a dry pan over medium heat and add the ground hazelnuts or almonds directly — no oil, no butter. Stir them for three to four minutes until they turn a deeper golden brown and start smelling toasty, then pull them off the heat right away and let them cool completely. Toasting brings out the natural oils in the nuts, so the finished cream tastes noticeably richer than if you’d used them raw straight from the bag.
Whip the Cream Until It Holds Its Shape
In a large, cold bowl, beat the heavy whipping cream with the stabilizer and sugar until it holds firm peaks and doesn’t slump when you lift the beaters. Cold cream whips faster and holds air better, so chilling the bowl and cream ahead of time actually makes a difference here. Set six tablespoons of this whipped cream aside in a separate container — you’ll need it later for piping on top.
Fold in the Nuts and Warm the Nougat
Gently fold the cooled, toasted hazelnuts into the rest of the whipped cream, using broad strokes so you don’t knock the air out. Separately, soften the chocolate nougat or Nutella in a heatproof bowl set over a pot of gently simmering water, stirring now and then until it turns smooth and spreadable. The bain-marie method warms it evenly without scorching it — overheated chocolate can turn grainy and lose its shine, so keep the heat gentle.
Slicing and Stacking the Layers
Once the sponge is fully cool, use a long serrated knife or a cake leveler to slice it horizontally into three even layers. A trick worth using: stick toothpicks around the sides at your cut height before slicing — they act as a guide and keep the knife level as it moves through the cake. Set the bottom layer on a turntable or plate, spread a thin layer of the softened nougat over it, then add a generous amount of the hazelnut cream on top and smooth it out with an offset spatula.
Repeat the same process with the middle layer, alternating nougat and cream so every slice ends up with both flavors running through it. Add the top layer, pull out any toothpicks you used as guides, and frost the whole outside of the cake with the remaining hazelnut cream — top and sides both. Work in long, even strokes with a bench scraper or offset spatula for the cleanest finish.
Getting That Bakery-Style Finish
Coat the Sides in Nuts
Press a handful of chopped or ground pistachios, hazelnuts, or almonds against the sides of the frosted cake, turning it as you go so the nuts stick evenly all the way around. This isn’t just decoration — it adds a nice crunch and also hides any small imperfections in the frosting underneath, which is a trick a lot of professional decorators lean on.
Mark and Pipe the Top
Before you decorate the top, lightly score it into twelve equal sections using the back of a knife, so you’ve got clean slicing lines to follow later. Fit a piping bag with a star tip, fill it with the reserved whipped cream, and pipe twelve small swirls evenly around those scored lines. Top each swirl with a whole hazelnut, almond, or pistachio, and if you want it to look extra polished, add a few chocolate decorations or shavings on top.
Why the Chilling Step Actually Matters
Pop the finished cake in the fridge for at least 30 minutes before slicing it. This gives the cream filling time to firm up, which makes for much cleaner slices. Skip this step and you’ll likely end up with layers sliding around or cream squeezing out the sides when you cut in — so even though it’s tempting to serve it right away, that short wait really does pay off.
Storing It and Serving It Later
Keeping Leftovers Fresh
This cake holds up well in the fridge for three to four days if kept in an airtight container or under a cake dome, since the cream filling is made with fresh dairy that needs to stay cold. If you’re planning ahead for an event, you can bake the sponge layers, wrap them tightly, and freeze them for up to a month — just thaw at room temperature and assemble with fresh cream on the day you’re serving it.
Scaling It Up or Down
For a smaller get-together, halve the recipe and bake it in a smaller pan, just check it a few minutes early since less batter cooks faster. For a bigger celebration, double the recipe and bake two separate sponges so you can build a taller, four or six layer version — great for birthdays or holiday tables where a bit of extra height makes an impression.
Swapping Ingredients if Needed
Can’t find ground hazelnuts? Almond flour, or a mix of ground almonds and hazelnuts, works just as well without really changing the texture. Instant vanilla pudding powder can stand in for the whipped cream stabilizer if that’s what’s in your pantry, and it adds a nice hint of vanilla alongside the roasted nuts. Any good chocolate hazelnut spread can replace Nutella, though thinner spreads may need less time over the bain-marie before they’re ready to spread.
A Few Questions People Usually Ask
Can you make it a day ahead?
Yes, the fully assembled cake actually tastes better after a night in the fridge, since the layers soak up a bit of the cream and nougat.
Why does the whipped cream deflate after a day or two?
Usually it’s an issue with the stabilizer measurement or the cream not being cold enough when whipped, so double-check both.
Can you freeze the finished cake?
You can, but the whipped cream texture changes a bit once thawed, so it’s really best enjoyed fresh within the first few days.
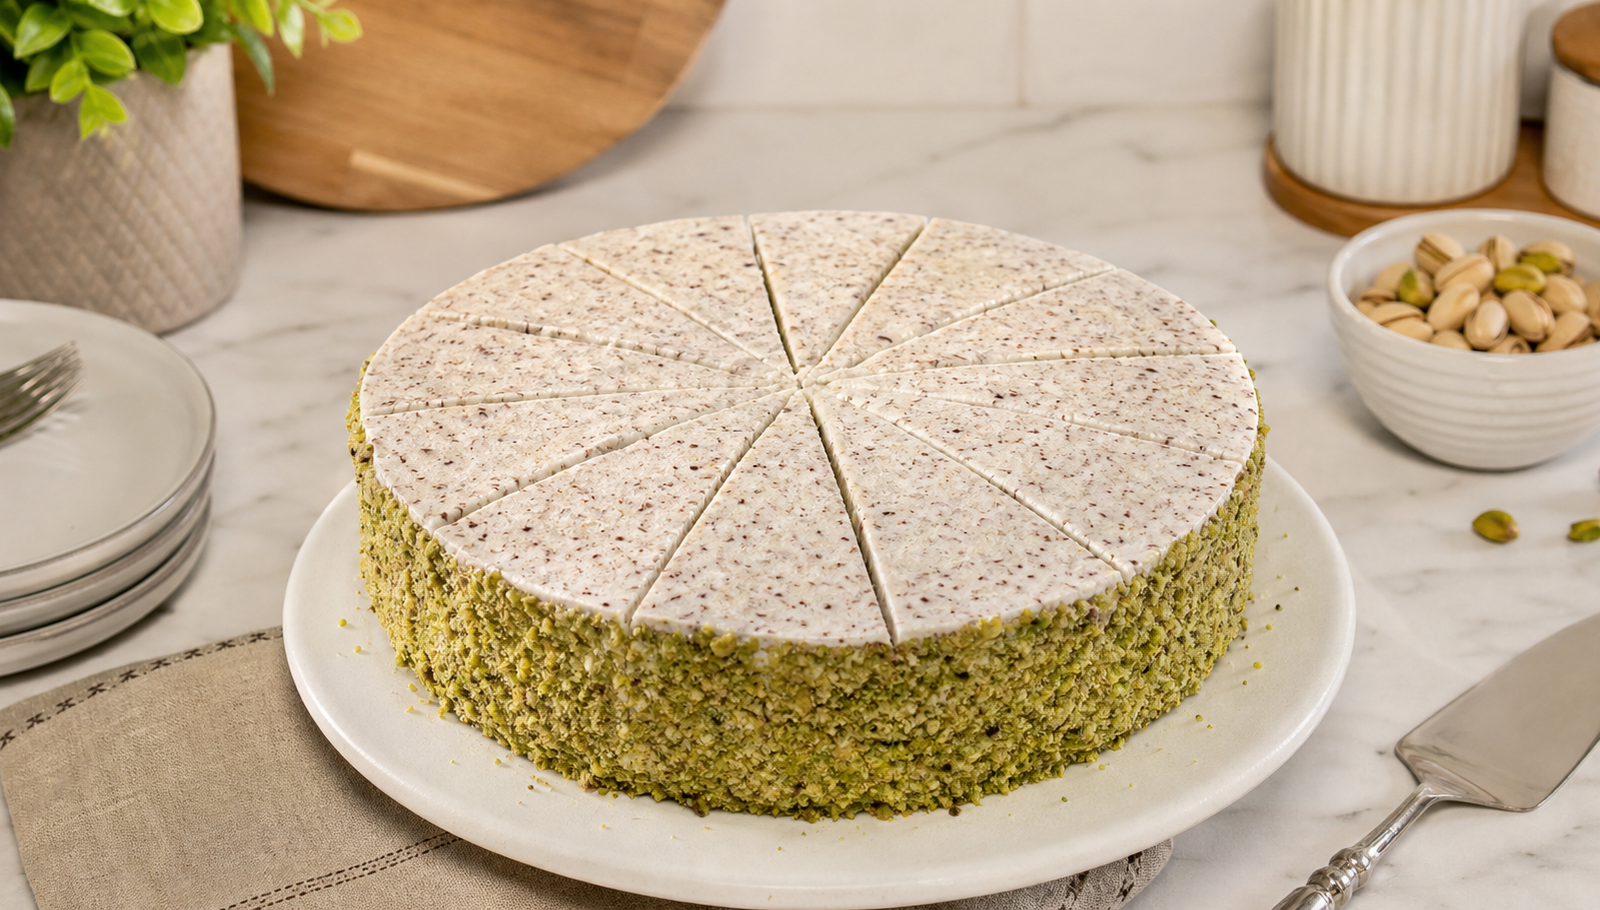
Hazelnut Cream Cake
Here’s version of the classic German-style Hazelnut Cream cake recipe, also known as “Haselnusscreme-Torte.
Ingredients
6 egg yolks
6 tbsp hot water
200 g sugar
1 tsp vanilla extract
125 g ground hazelnuts
100 g all-purpose flour
50 g cornstarch
3 tsp baking powder
6 egg whites
Pinch of salt
- For Filling and Decoration:
800 ml heavy cream
4 tbsp instant vanilla pudding powder
4 tbsp sugar
125 g roasted hazelnuts
200 g Nutella
100 g chopped nuts for sides
12 whole hazelnuts for topping
Directions
- Whip egg yolks with hot water until frothy. Add sugar and vanilla.
- Sift flour, cornstarch, and baking powder. Mix with ground hazelnuts.
- Fold dry ingredients into yolk mixture.
- Beat egg whites with salt to stiff peaks. Fold into batter.
- Pour batter into a lined springform pan. Bake at 175°C (350°F) for 40-45 minutes. Cool.
- Roast hazelnuts until golden.
- Whip cream with pudding powder and sugar. Reserve 6 tbsp for topping. Fold roasted nuts into the rest.
- Slice cake into three layers. Spread Nutella and cream between layers.
- Frost cake with remaining cream. Press chopped nuts onto sides. Decorate top with piped cream and whole hazelnuts.
- Chill and serve.