Creating homemade oatmeal cookies that deliver soft texture and chewy consistency requires understanding how specific ingredients work together to achieve these desirable qualities. Brown sugar plays the most critical role in producing softness because it contains molasses, which attracts and retains moisture in the dough and baked cookies. The combination of butter, brown sugar, and molasses creates a rich flavor base that distinguishes exceptional oatmeal cookies from standard versions. Old-fashioned rolled oats provide hearty texture and wholesome oat flavor that appeals to people seeking more substantive cookies than typical chocolate chip varieties. The addition of cinnamon complements oats beautifully, adding warmth and spice that enhances the overall flavor profile without overpowering. These oatmeal chocolate chip cookies prove that simple ingredients, when properly proportioned and mixed, create results that rival bakery-quality versions. Whether you are baking for your family, preparing treats for gifting, or simply craving homemade cookies with genuine flavor, this recipe delivers impressive results that seem to require more effort than they actually do.
Understanding Brown Sugar’s Role in Creating Soft Texture
Brown sugar consists of white granulated sugar coated with molasses, which gives it its distinctive color and flavor. The molasses in brown sugar hygroscopically attracts moisture from the air and retains it in the dough and baked cookies, creating softer texture compared to cookies made with white sugar alone. Using mostly brown sugar rather than equal amounts of brown and white sugar produces cookies with maximum softness and chewiness. The molasses flavor adds depth and complexity that makes oatmeal cookies taste rich and satisfying. Both light and dark brown sugar work in this recipe, with dark brown sugar providing slightly more pronounced molasses flavor. Packing the brown sugar into the measuring cup ensures accurate measurement, as loose brown sugar measures larger than packed sugar. This ingredient selection demonstrates how understanding baking chemistry creates superior results.
The Importance of Room Temperature Ingredients
Bringing butter, eggs, and other dairy ingredients to room temperature before mixing ensures smooth incorporation and proper emulsification of ingredients. Room temperature butter creams more efficiently with sugar, incorporating air that contributes to cookie rise and texture. Cold butter resists mixing and does not incorporate air as effectively, resulting in denser cookies. Room temperature eggs blend smoothly into the creamed mixture without creating lumpy or separated batter. Taking ingredients out of the refrigerator thirty to forty minutes before baking allows sufficient time for temperature adjustment. This simple step significantly impacts the final cookie texture and appearance.
Creaming Butter and Sugars for Proper Incorporation
Beating softened butter on medium-high speed for about one minute smooths the butter and prepares it for sugar incorporation. Adding both brown and granulated sugars and beating for approximately two minutes creates a light, fluffy mixture that has increased in volume. This creaming action incorporates tiny air bubbles throughout the mixture, contributing to cookie rise during baking. The mixture should appear noticeably lighter in color and texture when properly creamed. Proper creaming is essential for achieving cookies with the correct texture, so skipping or rushing this step compromises results.
Incorporating Eggs, Molasses, and Vanilla Properly
Adding eggs one at a time while beating on high speed ensures smooth incorporation without creating separated or lumpy batter. Molasses adds rich flavor and additional moisture that contributes to softness and chewiness. Using unsulphured or dark molasses rather than blackstrap provides better flavor for cookie baking. The molasses should be measured accurately because it significantly impacts flavor balance. Pure vanilla extract provides authentic vanilla flavor that enhances all the other ingredients without creating overwhelming vanilla taste. Beating on high speed after adding these ingredients ensures complete incorporation before proceeding to the next step.
Mixing Dry Ingredients and Understanding Their Functions
Whisking together flour, cinnamon, baking soda, and salt in a separate bowl ensures even distribution throughout the dough. Baking soda provides leavening and also reacts with molasses to create browning. Cinnamon is optional but recommended because it complements oats beautifully and adds warmth without being overpowering. The salt enhances all the flavors and prevents the cookies from tasting flat or one-dimensional. Whisking the dry ingredients separately before combining with wet ingredients prevents overmixing once flour is introduced, which can create tough cookies from gluten development.
Combining Wet and Dry Ingredients Without Overmixing
Adding the dry ingredients to the wet ingredients and mixing on low speed until just combined prevents overdeveloping gluten, which would create tough cookies instead of tender ones. Overmixing after flour is added causes gluten strands to bond excessively, creating dense texture and chewy, tough cookies rather than the desired soft and chewy results. Scraping down the bowl sides ensures all ingredients are incorporated without additional mixing. The goal is uniform distribution of ingredients with minimal gluten development.
Adding Oats and Chocolate Chips for Texture and Flavor
Beating in old-fashioned rolled oats while the mixer runs on low speed distributes them evenly throughout the dough. The oats should not be crushed or pulverized; they should remain in flake form for proper texture. Adding chocolate chips at this stage distributes them throughout the dough rather than concentrating them in certain areas. Using varying sizes of chocolate chips, such as regular and mini chips, ensures more chocolate in each bite and creates interesting texture variation. The dough will be thick and sticky at this point, which is correct and necessary for proper cookie texture.
Chilling Dough for Proper Cookie Development
Chilling the dough for at least forty-five minutes in the refrigerator allows it to set and firm up for easier scooping and baking. The chilling time also allows flavors to develop and integrate throughout the dough. The dough can be chilled for up to four days without quality loss, making this recipe convenient for advance preparation. If chilling for longer than a few hours, allowing the dough to sit at room temperature for thirty minutes before baking ensures it is soft enough to scoop and bake properly. Very cold dough resists spreading during baking, resulting in thick cookies.
Preheating Oven and Preparing Baking Sheets
Preheating the oven to three hundred fifty degrees Fahrenheit ensures even baking temperature when cookies are placed inside. Lining baking sheets with parchment paper or silicone baking mats prevents sticking and allows cookies to bake evenly. Parchment paper also helps achieve even browning on the bottom of cookies. Room temperature baking sheets are preferred because very hot sheets can cause cookies to spread excessively before baking sets the structure.
Scooping and Spacing Cookies for Even Baking
Using a large cookie scoop ensures uniform cookie size and consistent baking times across all cookies. Three tablespoons of dough per cookie produces appropriately sized cookies that bake evenly. Placing cookies four inches apart allows room for spreading during baking without cookies touching or spreading into each other. Consistent spacing ensures all cookies receive similar heat exposure and bake uniformly. Under-spacing cookies can cause them to merge during baking, creating large connected pieces instead of individual cookies.
Baking at the Right Temperature and Recognizing Doneness
Baking for thirteen to fourteen minutes at three hundred fifty degrees Fahrenheit produces cookies with soft centers and lightly browned edges. The centers will appear very soft and even slightly underdone when removed from the oven, which is correct. The residual heat continues cooking the cookies as they cool on the baking sheet, and they firm up to the perfect chewy consistency. Over-baking results in cookies that become hard and brittle rather than soft and chewy. Using a timer ensures accurate baking time.
Cooling Process for Optimal Texture
Allowing cookies to cool on the baking sheet for five minutes provides time for them to set slightly while still soft enough to transfer without breaking. The residual heat from the baking sheet continues baking the bottom and completes the cooking process throughout the cookie. Transferring to a wire rack allows air circulation underneath, preventing the bottom from becoming soggy from trapped heat and steam. Completely cooling the cookies on the wire rack sets their final texture before storage or eating.
Optional Topping Enhancement and Flavor Customization
Pressing additional chocolate chips into the warm cookie tops after removing from the oven creates visual appeal and adds extra chocolate. This step is purely optional and purely for appearance. Experimenting with different mix-ins such as raisins, dried cranberries, or nuts creates variations while maintaining the essential oatmeal cookie character. Using one cup chocolate chips and three-quarters cup raisins creates a different flavor profile while maintaining the soft and chewy texture.
Storage and Make-Ahead Preparation
Storing cookies in an airtight container at room temperature keeps them fresh for up to one week. The brown sugar content helps retain moisture, preventing the cookies from drying out quickly. The cookie dough can be refrigerated for up to four days before baking, allowing convenient preparation across several days. Unbaked cookie dough balls freeze well for up to three months and can be baked directly from frozen by adding one extra minute to the baking time. Baked cookies also freeze excellently for up to three months, making batch baking convenient for future enjoyment.
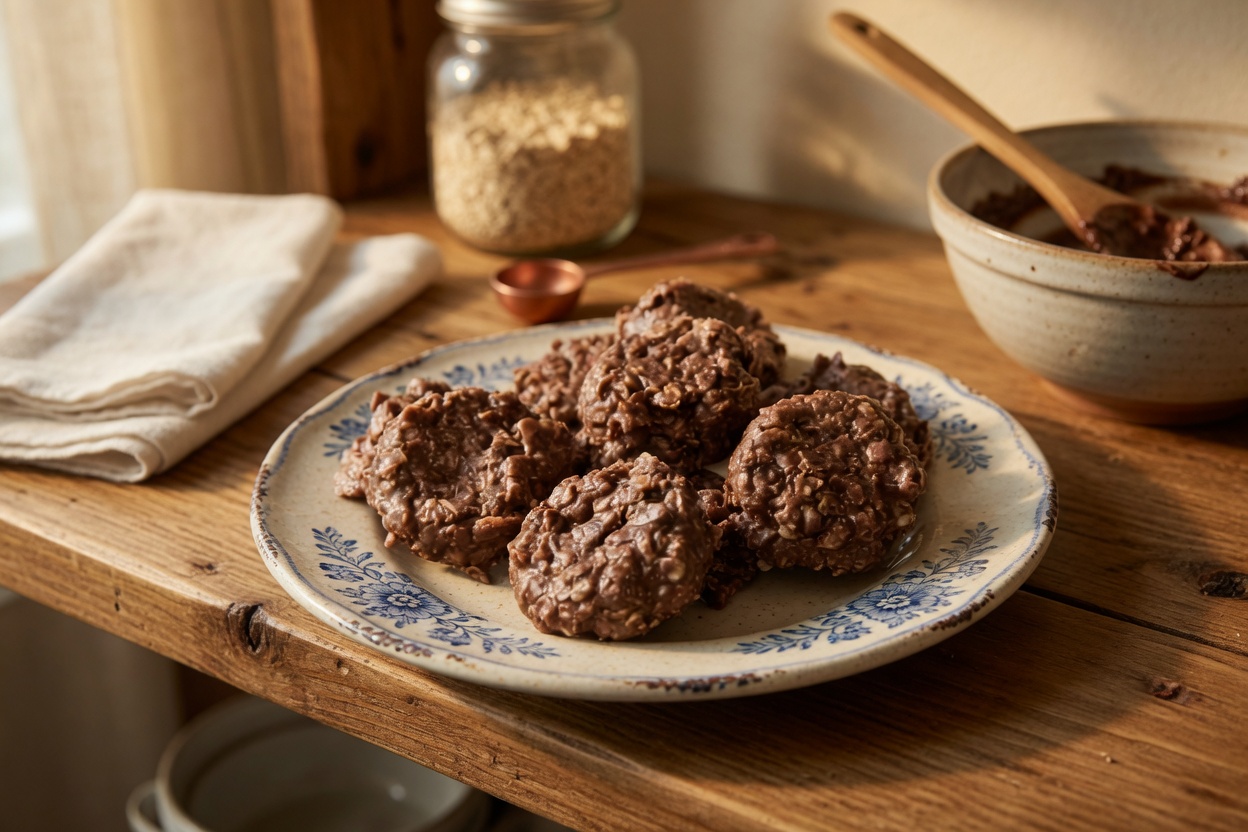
Oatmeal Chocolate Chip Cookies
These cookies deliver genuine oatmeal flavor and satisfying texture that proves homemade cookies can rival bakery-quality versions. Perfect for lunchboxes, afternoon snacking, or gifting, these cookies prove that quality ingredients and simple preparation create exceptional results.
30
minutes40
minutes1
hour10
minutesIngredients
- For the Dry Ingredients:
1 and 1/2 cups (188 grams) all-purpose flour, spooned and leveled
1 teaspoon ground cinnamon (optional but recommended)
1 teaspoon baking soda
3/4 teaspoon salt
- For the Wet Ingredients:
1 cup (226 grams or 16 tablespoons) unsalted butter, softened to room temperature
1 cup (200 grams) packed light or dark brown sugar
1/2 cup (100 grams) granulated sugar
2 large eggs, at room temperature
1 tablespoon (15 milliliters) unsulphured or dark molasses (not blackstrap)
2 teaspoons pure vanilla extract
- For the Mix-Ins:
3 cups (255 grams) old-fashioned whole rolled oats
1 and 3/4 cups semi-sweet chocolate chips (combination of regular and mini sizes recommended)
Directions
- Whisk flour, cinnamon, baking soda, and salt together in a medium bowl and set aside. In a large bowl using a hand or stand mixer, beat softened butter on medium-high speed until smooth (about one minute). Add brown sugar and granulated sugar and beat on medium-high speed until creamed and light in color (about two minutes).
- Add eggs one at a time while beating, then add molasses and vanilla extract. Beat on high speed until completely combined (about one minute). Scrape down the bowl sides and beat again as needed to ensure all ingredients are incorporated.
- Add the dry ingredients to the wet ingredients and mix on low speed until just combined. With the mixer running on low, beat in the oats and chocolate chips until evenly distributed. The dough will be thick and sticky. Cover and refrigerate for at least forty-five minutes (and up to four days). If chilling longer than a few hours, allow dough to sit at room temperature for thirty minutes before baking.
- Preheat oven to three hundred fifty degrees Fahrenheit. Line baking sheets with parchment paper or silicone baking mats.
- Use a large cookie scoop to scoop approximately three tablespoons of dough per cookie, placing cookies four inches apart on prepared baking sheets. Bake for thirteen to fourteen minutes until lightly browned on the sides while centers still appear soft. Remove from oven and let cool on the baking sheet for five minutes.
- Transfer cookies to a wire rack to cool completely. While still warm, press additional chocolate chips into the tops if desired for visual appeal. Store in an airtight container at room temperature for up to one week.
Notes
- Room Temperature Ingredients: Ensure butter, eggs, and other dairy ingredients are at room temperature before mixing. Cold ingredients resist incorporation and create denser cookies. Remove ingredients from the refrigerator thirty to forty minutes before baking.
- Chilling Benefits: Chilling the dough for at least forty-five minutes allows flavors to develop and makes scooping easier. The dough becomes firmer and more manageable.
- Extended Chilling: If chilling for longer than a few hours, allow dough to sit at room temperature for thirty minutes before baking so it is soft enough to scoop.
- Storage Duration: Store in airtight containers at room temperature for up to one week. The brown sugar content helps retain moisture.
- Cookie Size Consistency: Using a cookie scoop ensures uniform cookie size and consistent baking times across all cookies.