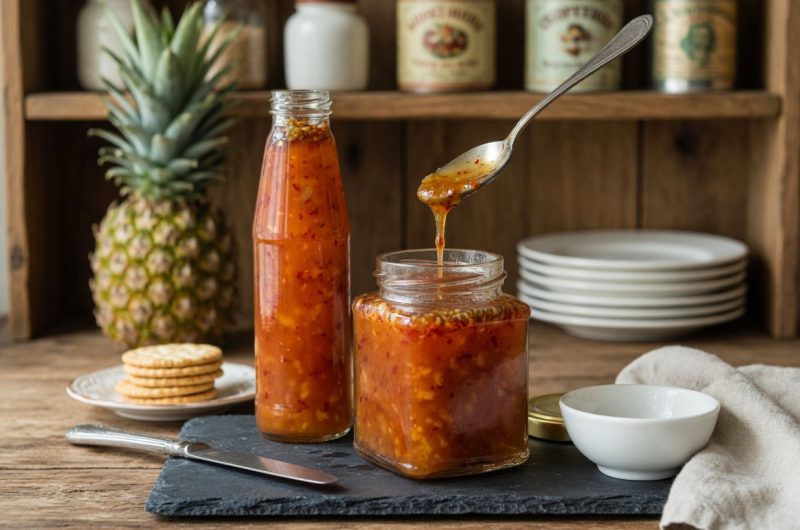
Sweet chili pineapple sauce represents a creative twist on traditional Thai sweet chili sauce, combining tropical pineapple juice with spicy chili flakes and tangy vinegar to create a versatile condiment suitable for countless dishes. This homemade version uses simple, basic ingredients that most home cooks already have on hand, eliminating the need for specialty items or complicated preparation techniques. Making your own sweet chili sauce costs significantly less than purchasing pre-made versions from stores while delivering superior flavor and freshness. The pineapple juice adds subtle tropical sweetness and complexity that elevates the sauce beyond standard sweet chili varieties. The perfect balance of heat from chili flakes, sweetness from sugar, and tang from vinegar creates a sauce that enhances rather than overpowers the foods it accompanies. This recipe proves that restaurant-quality sauces can be made at home in just twenty minutes using basic kitchen equipment and pantry staples. Whether you are preparing Asian-inspired appetizers, dipping sauce for spring rolls, or glazing for baked chicken wings, this homemade sweet chili pineapple sauce delivers impressive results that justify the minimal time and effort required.
Understanding the Role of Each Ingredient in Creating Balance
The foundation of this sweet chili pineapple sauce rests on balancing four primary flavor components: sweetness from sugar and pineapple juice, heat from chili flakes, acidity from vinegar, and umami depth from garlic and optional ketchup. Brown sugar traditionally provides molasses notes that enhance depth, though white sugar works acceptably for a cleaner taste. Pineapple juice contributes natural sweetness along with tropical notes that distinguish this sauce from standard versions. Rice vinegar or apple cider vinegar provides the acidic backbone that prevents the sauce from becoming cloying while brightening all the other flavors. Red chili flakes deliver heat that builds gradually rather than shocking the palate immediately. Minced fresh garlic adds savory complexity that complements the sweet and spicy elements. The optional tomato ketchup provides subtle umami and helps create the sauce’s characteristic texture. Salt enhances all flavors and prevents the sauce from tasting one-dimensional or flat. Understanding how these ingredients interact helps you appreciate why the recipe works and how adjustments affect results.
Selecting Quality Pineapple Juice for Best Flavor
Using fresh, quality pineapple juice rather than heavily processed or concentrate-based versions ensures the sauce tastes authentically tropical rather than artificial. Freshly squeezed pineapple juice is ideal if available, though store-bought varieties without added sugars work acceptably. Avoid pineapple juice blends that contain other fruits, as these alter the sauce’s intended flavor profile. The pineapple juice should be the primary liquid component, not supplemented with water or other juices. The natural enzymes and sugars in pineapple juice contribute to the sauce’s texture and thickness as it cooks, making juice quality important for proper consistency. Reading labels ensures you are purchasing juice rather than juice blends or drinks with added sugars.
Understanding Chili Flakes and Heat Levels
Red chili flakes provide the heat component that makes this sauce distinctly spicy while remaining balanced with sweetness. The one to two tablespoon range allows customization based on personal spice tolerance, with one tablespoon providing moderate heat and two tablespoons delivering more pronounced spiciness. Some recipes suggest using dried bird’s eye chilies, which can be crushed into flakes for superior flavor compared to pre-made chili flakes. Fresh chilies can substitute for dried varieties, though the cooking process changes slightly as fresh chilies release moisture differently. The heat from chili flakes builds gradually as the sauce cooks, so the final heat level may exceed the initial taste of raw ingredients. Tasting the finished sauce before serving allows adjustment with additional chili flakes if more heat is desired.
The Importance of Vinegar Selection
Rice vinegar and apple cider vinegar both work acceptably in this recipe, each contributing slightly different flavor notes. Rice vinegar provides mild, slightly sweet acidity that complements the pineapple juice beautifully. Apple cider vinegar offers more pronounced acidity with subtle fruity undertones. The vinegar prevents the sauce from becoming overly sweet and adds complexity that prevents one-dimensional flavor. The half cup measurement balances sweetness and acidity without making the sauce taste overly sour. Substituting white vinegar creates a cleaner taste but with less complexity than rice or apple cider vinegar.
Creating Proper Sauce Consistency with Cornflour Slurry
Cornflour serves as the thickening agent that transforms the liquid mixture into proper sauce consistency suitable for coating foods. Mixing cornflour with cold water creates a slurry that incorporates smoothly without creating lumps that would compromise texture. Cold water is essential for proper slurry formation; warm or hot water causes the cornflour to gelatinize prematurely and create clumps. Adding the slurry slowly while stirring prevents lump formation and allows even thickening throughout the sauce. The sauce continues thickening as it cools, so the consistency when warm appears thinner than the final consistency when cooled. Understanding this cooling behavior prevents over-thickening, which creates overly gelatinous sauce. The exact amount of cornflour slurry can be adjusted based on desired thickness, with additional slurry creating thicker sauce.
The Initial Boiling Stage and Its Purpose
Bringing the sugar, pineapple juice, vinegar, and salt to a boil in a large heavy-bottomed pan serves multiple purposes beyond simple heating. Boiling helps dissolve the sugar completely and integrates all the liquid ingredients into a uniform mixture. The heavy-bottomed pan distributes heat evenly and prevents hot spots where ingredients might burn. Using a large pan provides adequate surface area for the mixture to simmer without splashing or boiling over. The initial boil should be vigorous enough to clearly break the surface, indicating the mixture has reached the proper temperature for flavor development.
Adding Aromatics and Boiling Continued
Adding chili flakes, minced garlic, and optional ketchup after the initial boil allows these ingredients to infuse their flavors into the liquid rather than cooking off or becoming bitter. Boiling on medium heat for approximately five minutes allows the chili flakes to distribute throughout the mixture and the garlic to soften and release its flavors. The medium heat prevents the mixture from boiling too vigorously, which could cause evaporation that concentrates the salt and reduces the intended flavor balance. Minced garlic, which is fresh and raw before adding, gradually softens during the boiling process and integrates into the sauce. The optional tomato ketchup adds slight umami and subtle tomato flavor that some people prefer, though it is truly optional and changes the final color slightly.
Lowering Heat and Incorporating Cornflour Slurry
Reducing the heat to low before slowly stirring in the cornflour slurry prevents the mixture from gelatinizing too quickly or creating lumps. The low heat allows the cornflour to gradually swell and thicken the liquid evenly. Stirring constantly while adding the slurry ensures even distribution and prevents the cornflour from settling at the bottom and creating lumpy pockets. The slow addition of slurry, rather than pouring it all at once, allows the starch granules to disperse evenly throughout the liquid. Continuing to stir prevents sticking on the pan bottom where the mixture could burn or develop off-flavors.
Monitoring Thickness and Final Cooking
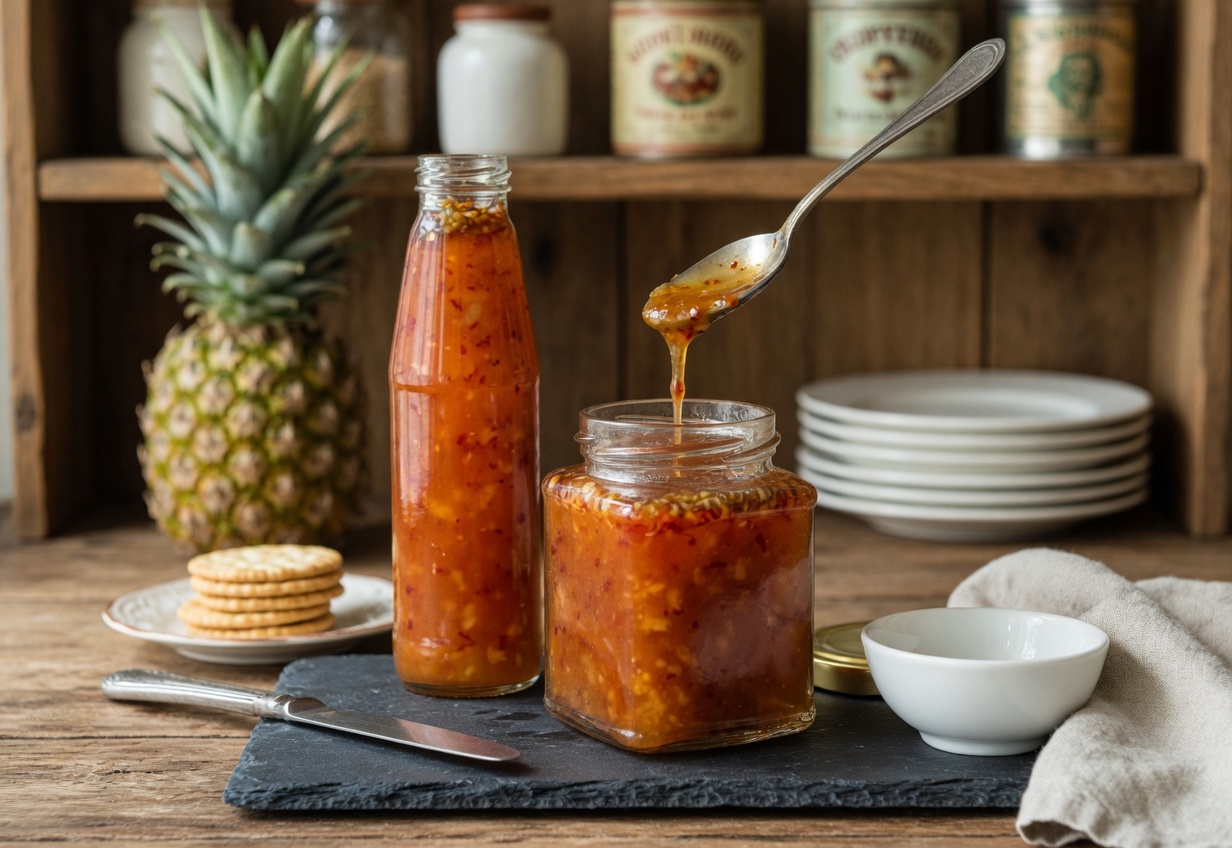
Cooking the mixture on low heat until it reaches desired sauce consistency typically takes five to ten minutes depending on the amount of cornflour used. The sauce should coat the back of a spoon when ready, dripping off slowly rather than running off immediately. The final thickness depends on personal preference, with thicker sauce suitable for dipping and thinner sauce better for glazing or tossing with foods. The sauce continues thickening as it cools, so the warm sauce appears slightly thinner than the final cooled version. Testing the consistency before removing from heat allows adjustment by adding additional cornflour slurry if needed or cooking longer for further reduction.
Cooling and Storage in Sterilized Containers
Allowing the sauce to cool completely before storing prevents steam from creating moisture inside the storage container, which could promote mold growth. Transferring the cooled sauce to sterilized bottles ensures food safety and extends shelf life. Sterilizing containers by boiling them in water or using a sanitizing solution kills bacteria and spores that could cause spoilage. Glass bottles with tight-sealing lids work best for long-term storage compared to plastic containers, which can leach chemicals into acidic foods. Refrigerating the finished sauce extends shelf life to several weeks, while freezing allows storage for several months.
Versatile Applications Beyond Traditional Dipping
While sweet chili pineapple sauce works beautifully as a dipping sauce for spring rolls, fried wontons, pakoras, and samosas, its applications extend far beyond traditional appetizers. Tossing crispy fried chicken wings in the sauce creates a sweet and spicy glaze that coats every piece evenly. Baking baby carrots tossed in the sauce creates a caramelized vegetable side dish with complex flavors. The sauce works as a glaze for baked fish or shrimp, adding sweetness and spice that complements seafood beautifully. Drizzling the sauce over cream cheese and serving with crackers creates an elegant appetizer suitable for parties. Using the sauce as a marinade for grilled chicken or pork infuses meat with balanced flavor throughout the cooking process.
Customizing Heat Level According to Preference
The one to two tablespoon range for red chili flakes allows adjustment based on personal spice tolerance and audience preferences. Starting with one tablespoon and adding more after tasting the finished sauce prevents over-spicing, which is difficult to correct. Some people prefer using fresh bird’s eye chilies instead of dried chili flakes, though the cooking process differs slightly. Removing some chili flakes before they fully infuse creates milder sauce suitable for people with lower spice tolerance. Alternatively, serving additional chili flakes on the side allows each person to customize their heat level when using the sauce as a dip.
Adjusting Sweetness and Acidity to Taste
The balance of sugar and vinegar can be adjusted based on personal preference for sweetness or tang. Adding more vinegar creates a more acidic sauce that cuts through rich foods effectively. Reducing sugar creates less sweet sauce suitable for people preferring more savory profiles. Tasting the warm sauce before cooling allows adjustment of sweetness and acidity to personal preference. The tomato ketchup, which contains sugar and acidity, slightly affects this balance when included. Adjustments should be made gradually by adding small amounts of ingredients rather than large changes that could overcorrect the balance.
Understanding Why Homemade Sauce Surpasses Store-Bought Versions
Homemade sweet chili pineapple sauce delivers superior flavor compared to store-bought varieties because it uses whole ingredients without preservatives, thickeners, or excess sodium. The fresh pineapple juice provides authentic tropical flavor that processed versions cannot replicate. Homemade sauce costs significantly less per serving than purchasing comparable store-bought products. Making your own sauce allows customization of heat level, sweetness, and acidity to personal preference rather than accepting whatever balance commercial manufacturers decided. The preparation time of just twenty minutes makes homemade sauce convenient for busy cooks. Once you experience the flavor of homemade sauce, returning to store-bought versions becomes difficult.
Sweet Chili Pineapple Sauce
Create a vibrant sweet chili pineapple sauce combining tropical pineapple juice, spicy red chili flakes, tangy vinegar, and aromatic garlic in just twenty minutes. This versatile homemade sauce balances heat, sweetness, and acidity perfectly, making it ideal for dipping spring rolls, fried wontons, or your favorite appetizers.
10
minutes10
minutes355
kcal20
minutesIngredients
- For the Sauce Base:
1 and 1/2 cups white sugar
1 cup pineapple juice (fresh or high-quality store-bought)
1/2 cup rice vinegar or apple cider vinegar
1 tablespoon minced fresh garlic
1 to 2 tablespoons red chili flakes (adjust for desired heat level)
1 tablespoon tomato ketchup (optional)
1 teaspoon salt (adjust to taste)
- For Thickening:
2 tablespoons corn flour
4 tablespoons cold water
Directions
- In a large heavy-bottomed pan, add sugar, pineapple juice, vinegar, and salt. Bring the mixture to a rolling boil over medium-high heat, stirring occasionally to ensure sugar dissolves completely and ingredients combine uniformly.
- Add minced garlic, red chili flakes, and optional tomato ketchup to the boiling mixture. Reduce heat to medium and continue boiling for approximately five minutes, allowing the chili flakes to infuse their flavor and the garlic to soften and integrate into the liquid.
- Mix cornflour and cold water in a small bowl, stirring until smooth and lump-free. Lower the heat to low and slowly stir the cornflour slurry into the sauce while stirring constantly, trying to avoid lumps and ensuring even thickening throughout.
- Continue cooking on low heat, stirring occasionally, until the sauce thickens to desired consistency. The sauce should coat the back of a spoon when ready. Remember that the sauce will thicken further as it cools, so warm sauce appears slightly thinner than the final cooled version.
- Pour the finished sauce into sterilized bottles and allow to cool completely to room temperature before sealing tightly. Refrigerate the cooled sauce for storage. The sauce keeps for several weeks in the refrigerator or several months if frozen.
- Use the sweet chili pineapple sauce as a dipping sauce for spring rolls, fried wontons, pakoras, and samosas. Glaze baked chicken wings, toss with roasted vegetables, or use as a marinade for grilled proteins. Taste before serving and adjust heat level or sweetness if desired.
Nutrition Facts
- Sodium: 656mg
- Potassium: 129mg
- Carbohydrates: 89g
- Sugar: 81g
- Calcium: 18mg