Cottage cheese creates a creamy base for pudding while adding protein that regular pudding lacks. When blended until smooth, cottage cheese loses its lumpy texture and becomes silky. The mild flavor of cottage cheese allows other ingredients like banana and vanilla to shine through. Using two percent low-fat cottage cheese gives you creaminess without too much fat. Full-fat cottage cheese makes an even richer pudding if you prefer more indulgent texture. This protein-packed base turns regular pudding into a nutritious snack or dessert.
Choosing the Right Protein Powder
Vanilla protein powder adds both sweetness and extra protein to this pudding recipe. The vanilla flavor complements the banana taste without competing with it. Protein powder makes this dessert suitable as a post-workout snack that satisfies sweet cravings. Different brands of protein powder have varying sweetness levels, so taste as you go. Whey protein powder works well if you eat dairy products. Plant-based protein powders like pea or rice protein work for vegan diets. The protein content helps keep you full longer than regular pudding would.
Understanding Banana Pudding Mix Options
Simply Delish Keto Banana Pudding Mix contains cleaner ingredients than conventional pudding mixes. This brand avoids the high sugar content found in traditional instant pudding. The banana flavor comes through clearly without needing actual bananas in the recipe. Using a keto-friendly pudding mix keeps the carbohydrate count low for those following low-carb diets. Regular instant banana pudding mix works if you are not concerned about sugar or carbs. The pudding mix provides the classic banana flavor most people recognize and love.
Selecting Your Sweetener
Real maple syrup brings natural sweetness and a subtle maple flavor to the pudding. The rich taste of maple syrup pairs beautifully with banana and vanilla flavors. However, maple syrup adds sugar and carbohydrates that may not fit low-carb diets. Sugar-free maple syrup from brands like Lakanto tastes similar without the carbs. These sugar-free syrups use sugar alcohols or alternative sweeteners instead of regular sugar. Start with less sweetener than you think you need and add more to taste.
Adding Vanilla Extract for Depth
Pure vanilla extract enhances all the other flavors in this pudding. Just a teaspoon of vanilla makes the pudding taste richer and more complex. Vanilla extract balances the tanginess that can come from cottage cheese. The extract adds warmth and sweetness without adding sugar or calories. Use pure vanilla extract rather than imitation vanilla for the best flavor. The vanilla works with the protein powder and pudding mix to create a well-rounded taste.
Deciding Whether to Include Banana
Fresh banana adds natural sweetness and creamy texture to the pudding. Half a banana blended into the mixture enhances the banana flavor. However, bananas contain natural sugars and carbohydrates that may not fit strict low-carb diets. You can omit the banana entirely and still have delicious banana-flavored pudding from the mix. Banana extract provides banana flavor without any carbs if you want that option. A few drops of banana extract give you the taste without the actual fruit.
Choosing Your Milk Type
Different types of milk create slightly different textures and flavors in this pudding. Heavy cream makes the richest, most indulgent pudding with thick consistency. Coconut milk adds a subtle tropical flavor that works well with banana. Almond milk keeps the pudding lighter and works for those avoiding dairy. Each milk type changes how thick or thin your pudding turns out. Start with just one tablespoon of milk and add more slowly. Too much milk makes the pudding runny instead of thick and creamy.
Selecting Wafers for Layering
Traditional vanilla wafers provide the classic banana pudding texture and flavor. High Key wafers offer a low-carb alternative that fits ketogenic diets. Simple Mills Sweet Thins work perfectly for anyone needing gluten-free options. You can also use graham crackers or shortbread cookies if you prefer. Crushing the wafers into different sizes creates interesting texture in each bite. Some people like fine crumbs while others prefer larger pieces. The wafers soften slightly as they sit in the pudding, creating a cake-like texture.
Using Whipped Topping
Whipped topping adds lightness and airiness that contrasts with the dense pudding. Traditional dairy whipped topping works for most people. Plant-based whipped toppings are available for those avoiding dairy products. You can also make your own whipped cream from heavy cream and sweetener. The whipped topping makes each layer distinct and adds visual appeal. Some recipes skip the whipped topping entirely for a denser dessert. Adding it between layers and on top creates a more traditional banana pudding experience.
Blending for Smooth Texture
A high-speed blender is essential for breaking down the cottage cheese curds completely. Start by blending the cottage cheese alone until no lumps remain. This initial blending creates the smooth base you need for pudding. Add the protein powder, pudding mix, sweetener, and vanilla extract next. Blend again until everything combines into a uniform mixture. Stop and scrape down the sides of the blender to catch any unmixed ingredients. The final texture should be completely smooth like regular pudding.
Adjusting Consistency with Milk
The pudding mixture starts very thick after blending all the dry ingredients. Add milk one tablespoon at a time to reach your preferred thickness. Blend thoroughly after each addition before deciding if you need more. Too much milk makes the pudding soupy and unable to hold its shape. The right consistency should be thick enough to spoon but not so thick it is stiff. Remember that the pudding will thicken slightly as it chills in the refrigerator. Start with less milk than you think you need.
Crushing Wafers Properly
Place your wafers in a food processor and pulse until you get your desired crumb size. You can also put wafers in a sealed plastic bag and crush them with a rolling pin. Some pieces should be fine crumbs while others can be slightly larger. The varied sizes create interesting texture throughout the pudding. Keep a few wafers whole or in large pieces for garnishing the top. Crushing the wafers fresh just before assembling keeps them from getting stale. Store any extra crushed wafers in an airtight container.
Assembling the Pudding Cups
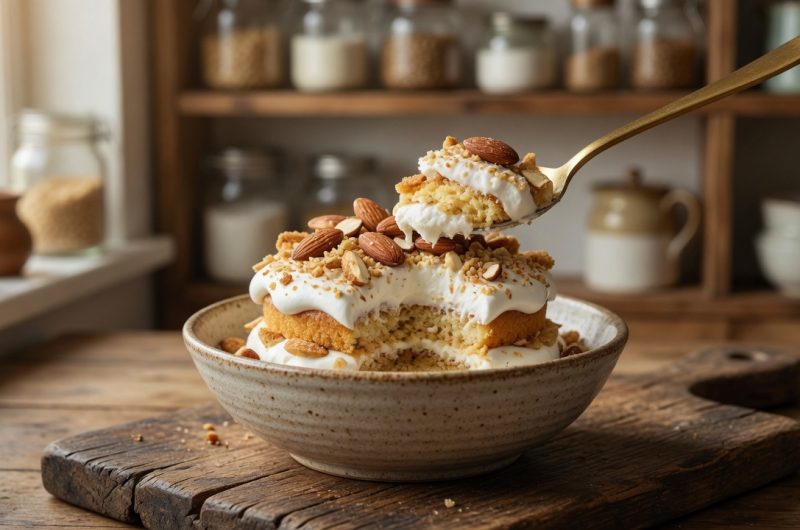
Start with a layer of crushed wafers at the bottom of each clear glass or cup. Add a layer of whipped topping if you are using it. Spoon a generous layer of the banana pudding mixture over the whipped topping. Repeat these layers until you reach the top of your glass. Ending with a layer of whipped topping makes for attractive presentation. Garnish the top with more crushed wafers and a banana slice if desired. Clear glasses show off the pretty layers and make the dessert more appealing.
Chilling Before Serving
Refrigerate the assembled pudding cups for at least one hour before serving. This chilling time allows the layers to set and the flavors to blend. The wafers will soften as they absorb moisture from the pudding. Cold pudding tastes better and has better texture than room temperature pudding. You can make the pudding up to a day ahead for easier entertaining. Cover the tops with plastic wrap to prevent the pudding from absorbing refrigerator odors. The pudding tastes even better the next day after all the flavors have melded.
Making It Low-Carb Friendly
Skip the fresh banana to eliminate most of the natural sugars in this recipe. Use sugar-free syrup instead of maple syrup to cut carbohydrates further. Choose low-carb wafers like High Key brand that contain minimal net carbs. The banana pudding mix should be a keto or sugar-free variety. These simple swaps transform this dessert into a low-carb treat. Check the nutrition labels on all ingredients to track your carb intake. Even with modifications, the pudding still tastes indulgent and satisfying.
Creating a Gluten-Free Version
Many people need gluten-free options due to allergies or celiac disease. Simple Mills Sweet Thins are naturally gluten-free and work perfectly in this recipe. Check that your protein powder and pudding mix are certified gluten-free. Some brands may contain gluten from processing facilities. All the other ingredients in this recipe are naturally gluten-free. Making gluten-free swaps does not change the taste or texture noticeably. Everyone can enjoy this pudding regardless of dietary restrictions.
Adapting for Dairy-Free Diets
Replace cottage cheese with dairy-free yogurt made from coconut, almond, or soy. Choose a thick, Greek-style dairy-free yogurt for the best texture. Use plant-based protein powder instead of whey protein powder. Coconut milk or almond milk works well for thinning the mixture. Select dairy-free whipped topping from brands like So Delicious or CocoWhip. These substitutions create a completely dairy-free dessert that tastes just as good. The dairy-free version works for vegans when you also verify other ingredients.
Storing Leftover Pudding
Transfer any leftover pudding to an airtight container with a tight-fitting lid. Store the container in the refrigerator for up to four days. The pudding may separate slightly during storage, which is normal. Give it a good stir before serving to bring it back together. The wafers will continue to soften the longer the pudding sits. Some people prefer the softer wafer texture while others like them with more crunch. Make the pudding without wafers if you plan to store it for several days.
Making Ahead for Parties
This pudding recipe works wonderfully for make-ahead entertaining. Prepare the pudding mixture and store it separately from the wafers. Assemble the individual cups a few hours before your event. This prevents the wafers from getting too soggy before serving. You can also set up a pudding bar where guests assemble their own cups. Provide the pudding, wafers, whipped topping, and toppings in separate bowls. This interactive approach makes dessert more fun at casual gatherings.
Troubleshooting Common Issues
If your pudding turns out lumpy, you did not blend it long enough. Return it to the blender and process until completely smooth. Pudding that is too thin means you added too much milk. Mix in more pudding mix or protein powder to thicken it up. Pudding that tastes bland needs more sweetener or vanilla extract. Adjust seasonings to your personal taste preferences. Remember that chilling dulls flavors slightly, so make it slightly sweeter than you want.
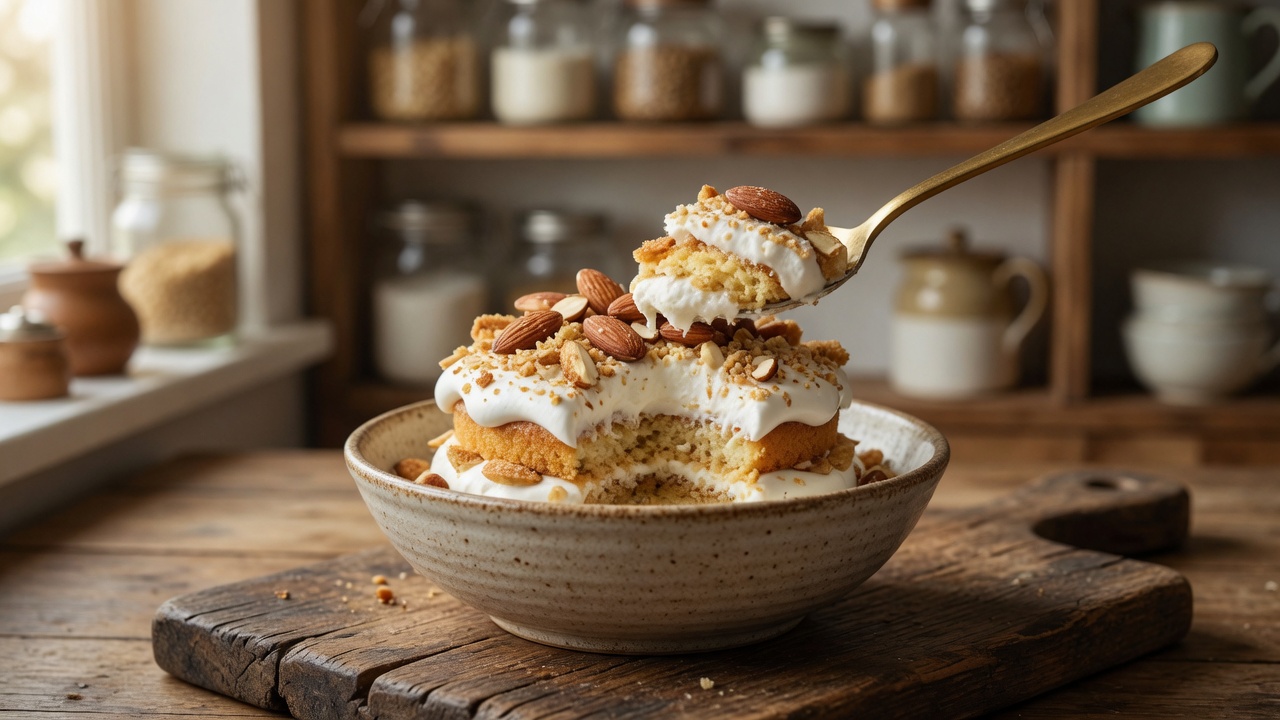
High Protein Banana Pudding
A high-protein banana pudding made with blended cottage cheese, protein powder, and banana pudding mix, layered with wafers for a nutritious dessert.
2
servings10
minutes0
minutes286
kcal10
minutesIngredients
2 cups cottage cheese
1/4 cup vanilla protein powder
2 ½ tbsp banana pudding mix (Simply Delish)
1-2 tbsp maple or sugar-free syrup
1 tsp vanilla extract
½ banana (optional, omit for low-carb)
1-2 tbsp milk (plant-based or regular to thin as needed)
- For the Topping:
2 tbsp crushed wafers (gluten-free/low-carb options available)
1/4 cup whipped topping (optional)
Directions
- Blend the Ingredients: Add cottage cheese to a high-speed blender and blend until smooth. Then, add vanilla protein powder, banana pudding mix, syrup, and vanilla extract. Blend again until smooth. If needed, add milk gradually to achieve your desired consistency.
- Assemble the Pudding Cups: Layer crushed wafers at the bottom of two glasses, followed by a spoonful of whipped topping and banana pudding. Repeat the layers and finish with a dollop of whipped topping and a banana slice (optional).
- Chill and Serve: Enjoy chilled. Store leftovers in an airtight container for up to 4 days in the fridge.
Nutrition Facts
- Calories: 286kcal
- Carbohydrates: 8g
- Sugar: 7g
- Protein: 40g
- Calcium: 237mg