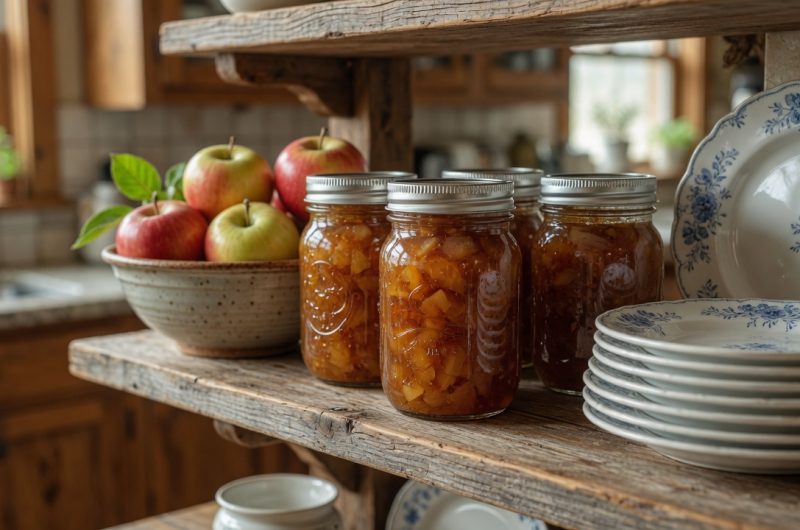
Homemade apple jam lets you control exactly what goes into your spread. You avoid artificial preservatives and excessive sugar found in many commercial jams. Making jam at home also helps you use up surplus apples before they go bad. The process is simple and does not require special canning equipment for small batches. You can adjust the sweetness, spice level, and texture to match your family’s preferences. This recipe creates a small batch that is perfect for first-time jam makers or those with limited storage space.
Choosing the Best Apples
Granny Smith apples work best for jam because they contain high levels of natural pectin. This natural pectin helps the jam set without needing commercial pectin products. The tartness of Granny Smith apples creates a balanced flavor when combined with sugar. You can mix Granny Smith with sweeter varieties like Pink Lady or Sweet Tango for more complex flavor. Choose firm apples rather than soft or mealy ones for the best texture. Avoid overripe apples as they can reduce how long your jam stays fresh. The apples should be free from bruises and soft spots that could affect quality.
Understanding Natural Pectin
Pectin is a natural substance in fruit that makes jam gel and thicken. Apples contain plenty of natural pectin, especially in their peels and cores. Tart apple varieties have more pectin than sweet varieties. The pectin needs acid and sugar to activate and create the gel. This is why the recipe includes lemon juice along with the apples. Using natural pectin means you do not need to buy commercial pectin powder. The jam will take longer to set than recipes using added pectin but tastes more natural.
Adjusting Sugar Levels
This recipe uses one and a half cups of sugar for about two pounds of apples. This amount creates a moderately sweet jam that lets the apple flavor come through. You can reduce the sugar to one cup if you prefer tart jam or are watching sugar intake. Using two cups of sugar makes the jam taste more like store-bought versions. Less sugar means the jam will not last as long in storage. More sugar acts as a preservative and helps the jam set more firmly. Start with the recommended amount and adjust in future batches based on your taste.
Adding Lemon Juice for Setting
Lemon juice serves two important purposes in this jam recipe. The acid in lemon juice activates the natural pectin in the apples. It also adds brightness and prevents the jam from tasting too sweet. Fresh lemon juice works better than bottled juice for the best flavor. Use about two tablespoons of lemon juice for this recipe. You can add more if you enjoy a tangier jam. The lemon flavor will mellow as the jam cooks and stores.
Using Cinnamon for Warmth
Cinnamon adds classic warm spice flavor that pairs perfectly with apples. Whole cinnamon sticks infuse a subtle flavor without making the jam taste too spicy. Ground cinnamon powder creates a stronger cinnamon taste and darker color. If using sticks, remove them halfway through cooking to prevent overpowering the apples. One or two cinnamon sticks are enough for a batch of this size. Ground cinnamon should be used sparingly, about half a teaspoon. The warm spice makes this jam taste like apple pie in a jar.
Trying Other Spices
Fresh ginger adds a spicy, warm note that complements apples beautifully. Add a one-inch piece of peeled and sliced fresh ginger with the cinnamon. Ground cloves bring intense warmth but should be used very sparingly. A tiny pinch of nutmeg adds complexity without dominating the flavor. Cardamom creates an exotic, slightly floral note that transforms basic apple jam. Mix and match spices to create your signature apple jam blend. Remember that spices intensify during cooking, so start with less than you think you need.
Preparing Apples Properly
Peel the apples with a vegetable peeler or paring knife. Remove the cores and any bruised or damaged spots. Cut the apples into slices or chunks depending on your preferred final texture. Larger pieces create a chunkier jam while smaller pieces cook down smoother. The size does not matter much if you plan to blend the jam later. Work quickly to prevent the apples from turning brown from oxidation. Place the cut apples immediately into acidulated water to maintain their color.
Preventing Apple Browning
Apples turn brown when exposed to air due to oxidation. Fill your cooking pot with water and add a squeeze of lemon juice. Drop each apple slice into this mixture as soon as you cut it. The acidic water prevents browning and keeps your jam looking fresh. You can drain most of this water before cooking or leave it to add moisture. The lemon water also jump-starts the pectin activation process. This simple step ensures your finished jam has an appealing color.
Preparing for the Cold Plate Test
Place two small plates in your freezer before you start cooking. The cold plates will be used later to test if your jam has reached the setting point. The plates need to be very cold, so put them in the freezer first thing. Metal plates work better than ceramic as they get colder faster. Having two plates ready means you can test twice without waiting. This old-fashioned method is more reliable than guessing about jam consistency.
Cooking the Apple Mixture
Add the sugar, cinnamon stick, and any other spices to the pot with the apples. Cover the pot with a lid and cook over medium-low heat. The covered pot traps steam that helps soften the apples quickly. Cook for about fifteen minutes until the apples become soft and translucent. Stir occasionally to prevent sticking and ensure even cooking. The apples will release their juice and the sugar will dissolve completely. The kitchen will fill with the wonderful aroma of cooking apples and cinnamon.
Deciding on Texture
After the initial cooking, you can choose your preferred jam texture. Leave the apples in chunks for a rustic, chunky jam. Use a potato masher to break down the apples partially for a semi-smooth texture. An immersion blender creates a completely smooth, spreadable jam. You can also transfer the mixture to a regular blender, but be careful with hot liquids. Blend in short pulses rather than continuously for better control. The texture choice is completely personal preference with no wrong answer.
Simmering to Thicken
Remove the lid and reduce the heat to low after mashing or blending. Cook the jam uncovered for about twenty more minutes. Uncovered cooking allows water to evaporate and the jam to thicken. Stir occasionally at first, then more frequently as the jam thickens. Watch carefully toward the end to prevent burning on the bottom. The jam will darken slightly and become noticeably thicker. You should be able to draw a line through the jam with your spoon.
Performing the Cold Plate Test
Take one frozen plate from the freezer when you think the jam might be ready. Spoon a small amount of hot jam onto the cold plate. Wait thirty seconds for the jam to cool on the plate. Push the jam with your finger to see if it wrinkles and holds its shape. If the jam runs or looks watery, continue cooking and test again in five minutes. A properly set jam will form a skin and wrinkle when pushed. This test is more accurate than trying to judge consistency in the hot pot.
Sterilizing Jars
Wash your jars, lids, and bands in hot soapy water. Rinse them well and place them in a large pot of water. Bring the water to a boil and let the jars boil for ten minutes. Keep the jars in the hot water until you are ready to fill them. Sterilizing prevents bacteria from growing in your stored jam. You can also run jars through the dishwasher on the hottest cycle. Only use jars specifically designed for canning, not recycled food jars.
Filling Jars Safely
Remove one hot jar from the water using jar lifters or tongs. Pour out the water and place the jar on a towel-lined counter. Use a funnel to pour hot jam into the jar, leaving half an inch of space at the top. This space is called headspace and is necessary for proper sealing. Wipe the rim of the jar with a clean, damp cloth to remove any jam. Place a lid on top and screw on the band until it is fingertip tight. Repeat with remaining jars and jam.
Creating a Vacuum Seal
Flip the filled jars upside down immediately after sealing. The hot jam creates a vacuum as it cools, pulling the lid down tight. Leave the jars upside down at room temperature for about twelve hours. After twelve hours, flip the jars right-side up and press the center of each lid. A properly sealed lid will not pop or flex when pressed. Any jars that did not seal should be refrigerated and used within three weeks. Sealed jars can be stored in a cool, dark place.
Storage Options
Refrigerate opened jars and use the jam within three to four weeks. Unopened sealed jars can stay in the pantry for up to six months. You can freeze apple jam in freezer-safe containers for up to one year. Leave extra headspace in containers before freezing to allow for expansion. Thaw frozen jam in the refrigerator overnight before using. The texture may be slightly different after freezing but the flavor remains good. Always check for signs of spoilage before eating stored jam.
Using Water Bath Canning
For longer shelf life, process filled jars in a water bath canner. Place sealed jars in the canner and cover with at least one inch of water. Bring the water to a full rolling boil. Process half-pint or pint jars for ten minutes, adjusting for altitude. Remove jars and let them cool undisturbed for twenty-four hours. Water bath processing creates a stronger seal that lasts up to one year. This method is worth learning if you make jam regularly.
Trying Brown Sugar
Replace white sugar with brown sugar for a deeper, richer flavor. Brown sugar contains molasses that adds complexity to the jam. Light brown sugar creates a subtle difference while dark brown sugar is more noticeable. The jam will be darker in color when using brown sugar. The molasses flavor pairs especially well with warm spices like cinnamon. Use the same amount of brown sugar as you would white sugar. Brown sugar jam tastes wonderful on oatmeal or yogurt.
Serving Suggestions
Spread apple jam on toast, English muffins, or biscuits for breakfast. Swirl it into oatmeal or yogurt for added flavor. Use it as a filling for thumbprint cookies or sandwich cookies. Spread it between cake layers or use it to fill pastries. Mix a spoonful into barbecue sauce for a fruity twist. Apple jam also makes a great glaz
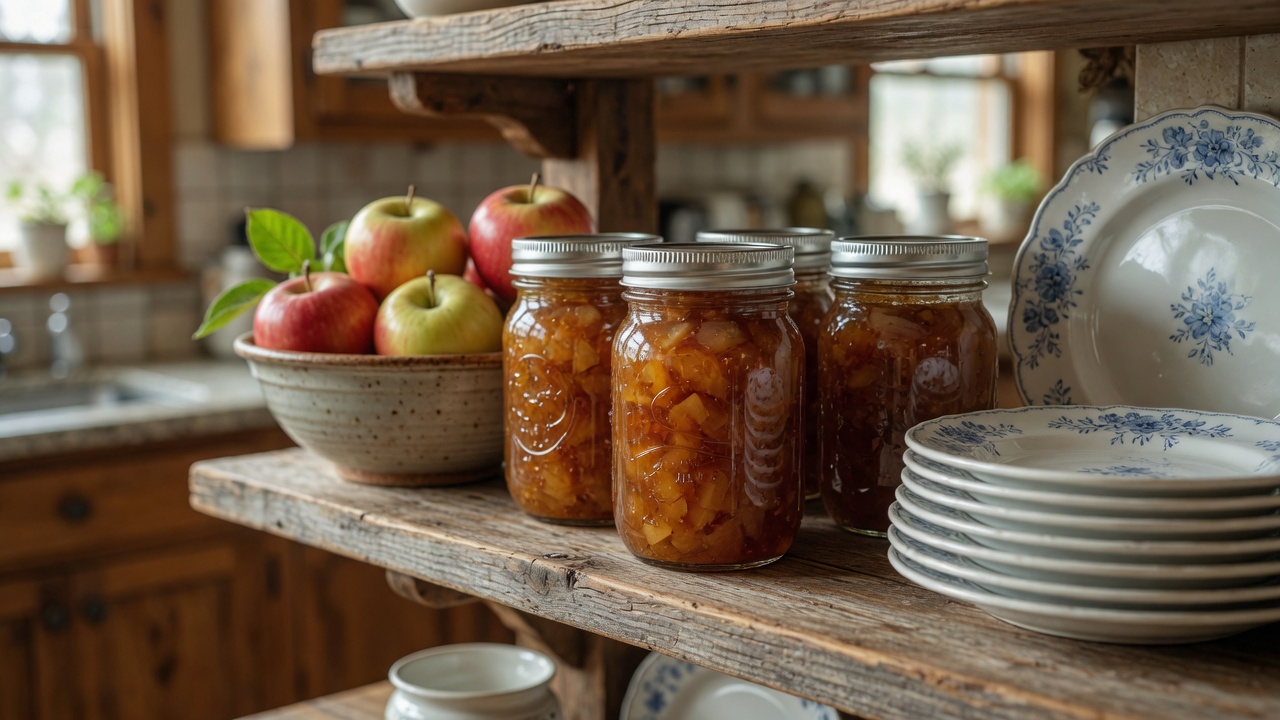
Caramel Apple Jam
If you’re looking for a fast and easy way to make apple jam, here’s a simplified version of the recipe:
10
minutes35
minutes57
kcal45
minutesIngredients
1 kg (2.2 pounds) apples, preferably Granny Smith
2 tablespoons lemon juice (more to taste)
¼ cup water
1½ cups sugar (or 1 cup for low-sugar jam)
2-inch cinnamon stick (or ¼ teaspoon cinnamon powder)
½ tablespoon grated ginger (optional)
Directions
- Prepare the Apples:
Peel, core, and slice the apples. Place them in a pot with water and lemon juice to prevent browning. - Cook the Apples:
Add sugar and your chosen spices. Cover and cook for 15 minutes on medium-low heat until the apples soften. - Mash or Blend:
For a smooth jam, blend with an immersion blender. For a chunky texture, mash lightly. - Cook Until Set:
Simmer uncovered for another 20 minutes, stirring frequently. Test for doneness using the cold plate test. - Store:
Pour the hot jam into sterilized jars, seal, and let cool upside down to create a vacuum seal.
Nutrition Facts
- Calories: 57kcal
- Carbohydrates: 15g
- Sugar: 13g
- Protein: 1g