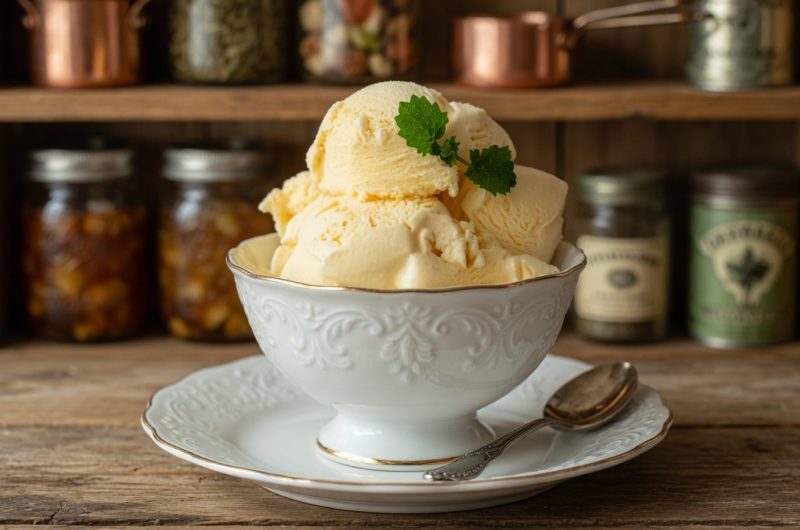
Carnivore ice cream contains only animal-based ingredients with no plant products or added sugars. This dessert fits perfectly into an animal-based diet that focuses on nutrient-dense foods from animal sources. Unlike regular ice cream that contains sugar, stabilizers, and artificial flavors, this version uses just heavy cream and egg yolks. The simplicity of the recipe means you know exactly what goes into your dessert. This ice cream provides rich flavor and creamy texture without compromising your dietary principles. The two-ingredient approach makes preparation straightforward even for beginners.
Understanding Heavy Cream’s Role
Heavy cream forms the foundation of this carnivore ice cream recipe. The high fat content in heavy cream creates the rich, smooth texture that makes ice cream so satisfying. Choose heavy cream from grass-fed cows whenever possible for the best nutritional profile. Grass-fed dairy contains higher levels of omega-3 fatty acids and conjugated linoleic acid compared to conventional dairy. The cream needs to be very cold before whipping to achieve the best volume. Full-fat heavy cream with at least thirty-six percent fat content works best for this recipe.
Why Egg Yolks Matter
Egg yolks contribute to both texture and nutrition in this ice cream. The yolks create a custard-like consistency that makes the ice cream smooth and creamy. Fresh egg yolks from pasture-raised chickens provide the best flavor and color. These yolks are rich in healthy fats, vitamins, and minerals including vitamin D and choline. The natural emulsifiers in egg yolks help bind the ingredients together. Using very fresh eggs from organic, pasture-raised sources gives the best results. Organic, pasture-raised eggs offer superior nutritional benefits compared to conventional eggs.
Whipping the Heavy Cream
Start the recipe by whipping one and a half cups of cold heavy cream. Use an electric mixer or hand whisk to beat the cream until stiff peaks form. Stiff peaks mean the cream holds its shape when you lift the beater or whisk. This process incorporates air into the cream, creating a light and fluffy texture. The whipping process usually takes three to five minutes with an electric mixer. Cold cream whips better than room temperature cream, so keep it refrigerated until ready to use. The whipped cream provides the airy texture that makes this ice cream enjoyable.
Beating the Egg Yolks
Separate four fresh egg yolks from the whites and place them in a clean bowl. Beat the yolks with an electric mixer or whisk until they become pale yellow and fluffy. This beating process takes several minutes and the yolks should roughly double in volume. The color will lighten from deep orange-yellow to a pale cream color. Beating incorporates air into the yolks, which contributes to the smooth texture of the finished ice cream. The yolks should form ribbons when you lift the beater, meaning they fall in thick streams. This step is crucial for creating the silky consistency in the final product.
Folding Ingredients Together
Gently fold the beaten egg yolks into the whipped cream using a rubber spatula. Use a folding motion rather than stirring to preserve the air you incorporated during whipping. Cut down through the center of the mixture, sweep across the bottom, and bring the spatula up the side. Rotate the bowl slightly and repeat this motion until the ingredients are just combined. The goal is to create a homogeneous mixture while keeping as much air as possible. Over-mixing will deflate the whipped cream and result in denser ice cream. The mixture should look smooth and uniform in color when properly combined.
Transferring to Container
Pour the combined mixture into a one-quart freezer-safe container with a lid. Use a spatula to scrape all the mixture from the bowl into the container. Smooth the surface with the spatula to create an even layer. An even surface helps the ice cream freeze uniformly throughout. Choose a container with an airtight lid to prevent ice crystals from forming. Metal or plastic containers both work well for freezing ice cream. Leave a small amount of space at the top of the container for expansion during freezing.
Freezing Process
Cover the container with plastic wrap or an airtight lid before placing it in the freezer. The ice cream needs at least six hours to freeze solid. Freezing overnight produces the best texture and ensures the ice cream is completely set. Place the container on a flat surface in your freezer to prevent uneven freezing. Avoid opening the freezer frequently during the first few hours of freezing. The temperature should remain consistently cold for proper freezing. The ice cream will become firm and scoopable after the full freezing time.
Serving at Right Temperature
Remove the ice cream from the freezer about thirty minutes before you plan to serve it. This resting time at room temperature allows the ice cream to soften slightly. Softened ice cream is easier to scoop and has a creamier texture in your mouth. Very hard ice cream straight from the freezer can be difficult to serve. The exact time needed depends on how warm your room is. In warmer environments, twenty minutes may be enough, while colder rooms may need the full thirty minutes. The ice cream should yield to a spoon without being melted.
Selecting Quality Ingredients
The quality of your ingredients directly affects the taste and nutrition of your ice cream. Look for heavy cream from grass-fed cows at health food stores or farmers markets. Grass-fed dairy products have a richer, more complex flavor than conventional dairy. Choose organic, pasture-raised eggs with deep orange yolks for the best results. These eggs come from chickens that eat a natural diet and spend time outdoors. The darker yolk color indicates higher levels of beneficial nutrients. Reading labels carefully helps you identify the highest quality products available in your area.
Adding Optional Flavors
While the basic recipe contains only cream and eggs, you can add carnivore-friendly flavorings. A small amount of pure vanilla extract enhances the natural sweetness of the cream. Use vanilla sparingly as even small amounts can affect some strict carnivore dieters. A pinch of sea salt brings out the richness of the cream and balances the flavors. Some people enjoy adding a small amount of honey, though this is not strictly carnivore. Experiment with different additions to find your preferred flavor profile. Always keep additions minimal to maintain the simplicity of the recipe.
Trying Carnivore Toppings
Crispy bacon bits make an interesting topping that adds salty, savory crunch. Cook bacon until very crispy, then crumble it over scoops of ice cream. A drizzle of melted butter adds extra richness and fat to the dessert. Some people enjoy a sprinkle of finely ground freeze-dried meat as a unique topping. Bone marrow can be roasted and added on top for an ultra-carnivore experience. These toppings transform simple ice cream into a more complex dessert. Not everyone will enjoy savory toppings on ice cream, so consider your preferences.
Proper Storage Methods
Store leftover ice cream in an airtight container to maintain quality and prevent freezer burn. Press a piece of plastic wrap directly onto the surface of the ice cream before sealing the lid. This extra layer prevents ice crystals from forming on the exposed surface. The ice cream keeps well in the freezer for up to one week. Beyond one week, the texture may become grainy as ice crystals develop. Label the container with the date you made it to track freshness. Homemade ice cream does not contain stabilizers, so it does not last as long as commercial versions.
Nutritional Benefits
This ice cream provides substantial amounts of healthy fats from both cream and egg yolks. These fats support energy production, hormone balance, and brain function. Egg yolks contain fat-soluble vitamins including A, D, E, and K. The cream provides calcium and other minerals important for bone health. Unlike regular ice cream, this version contains no added sugars or carbohydrates. The minimal ingredients mean fewer potential allergens or digestive irritants. This dessert can fit into ketogenic, low-carb, and carnivore eating patterns.
Understanding the Texture
The texture of this ice cream differs slightly from commercial ice cream. Without stabilizers and emulsifiers, homemade ice cream can be a bit icier. The whipping and folding process helps create a smoother texture by incorporating air. The egg yolks act as natural emulsifiers that improve creaminess. You may notice small ice crystals if the ice cream sits in the freezer for several days. Allowing it to soften before serving helps improve the mouthfeel. The texture is still rich and satisfying despite being different from store-bought varieties.
Scaling the Recipe
You can easily double or triple this recipe to make larger batches. Keep the ratio of cream to egg yolks consistent for best results. Larger batches may require a bigger container or multiple smaller containers. The freezing time remains the same regardless of how much you make. Making larger quantities saves time if you eat ice cream frequently. Divide large batches into smaller containers for easier serving and storage. Each container can be a single serving size for portion control.
Troubleshooting Common Issues
If your ice cream turns out too icy, you may have over-folded the mixture. Deflated whipped cream does not have enough air to create smoothness. Make sure your cream is very cold before whipping for best volume. Eggs that are not fresh enough may not beat to the proper fluffiness. If the ice cream is too soft after freezing, your freezer may not be cold enough. Check that your freezer maintains a temperature of zero degrees Fahrenheit or below. Proper technique and fresh ingredients solve most texture problems.
Adapting for Dietary Needs
This recipe naturally fits ketogenic and low-carb diets due to its lack of sugar. The high fat content makes it very satiating despite the small serving size. People following carnivore diets can enjoy this as an occasional treat. Those with dairy sensitivities may not tolerate this recipe well. The recipe cannot be made dairy-free while maintaining the carnivore approach. Egg allergies also make this recipe unsuitable without major modifications. Always consider your individual dietary needs and restrictions before trying new recipes.
Making Without Equipment
You can make this ice cream without an electric mixer using just a whisk. Whipping cream by hand takes longer and requires more effort. Use a large balloon whisk and a deep bowl to minimize splashing. The hand-whipping process can take ten to fifteen minutes for stiff peaks. Beat the egg yolks by hand until they are pale and fluffy. While more time-consuming, the manual method produces similar results. This makes the recipe accessible even without specialized kitchen equipment.
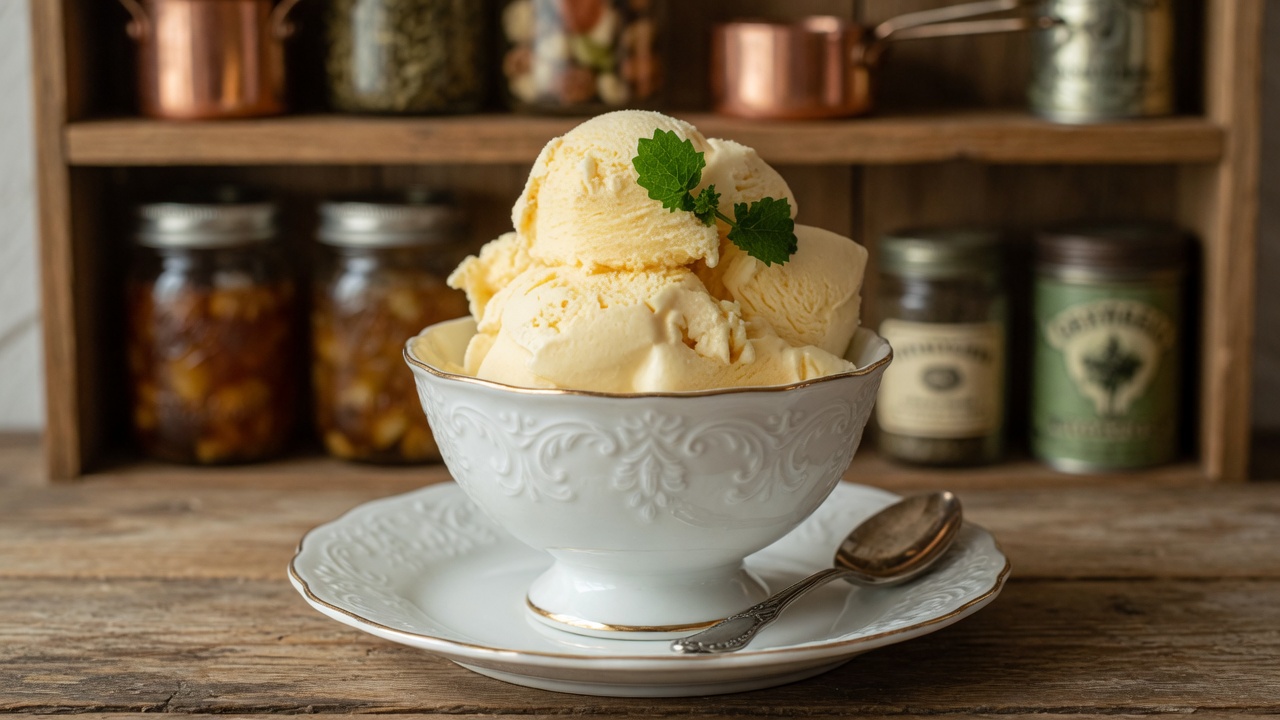
Carnivore Ice Cream
A simple carnivore-friendly ice cream made with only heavy cream and egg yolks for a rich, creamy dessert that fits animal-based diets.
15
minutes0
minutes6
hours6
hours15
minutesIngredients
1 ½ cups (350 ml) heavy cream
4 fresh yolks from organic, grass-fed eggs
Directions
- Whip heavy cream until stiff peaks form.
- In a separate bowl, beat egg yolks until pale and fluffy.
- Gently fold yolks into the whipped cream until smooth.
- Transfer to a container and level the surface.
- Freeze for at least 6 hours or overnight.
- Remove from freezer 30 minutes before serving and enjoy!