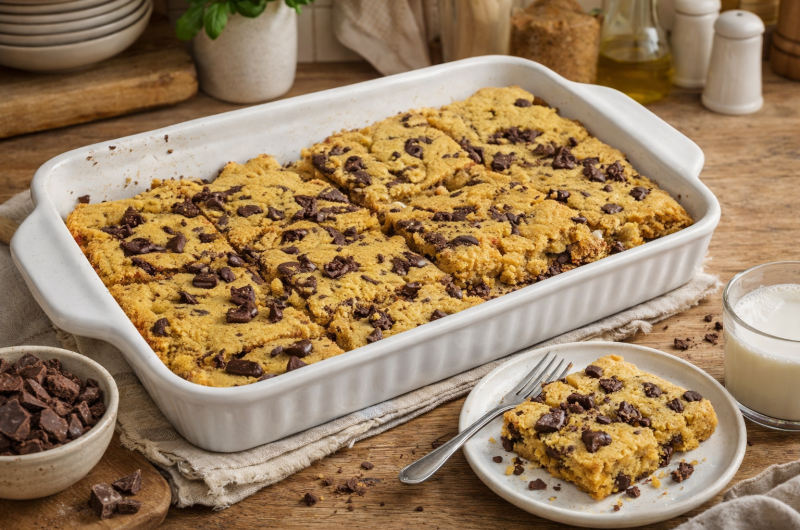
Sourdough chocolate chip cookie bars represent a delightful fusion of tangy fermented dough with the beloved comfort of chocolate chip cookies. These soft, chewy bars appeal to people seeking desserts that deliver impressive flavor while showcasing sourdough’s distinctive character. The fermentation from sourdough starter creates complex flavors impossible to achieve with standard cookie recipes using only commercial yeast or baking powder. The combination of tangy sourdough with sweet chocolate creates interesting flavor complexity that makes each bite memorable. These bars work beautifully for casual family desserts, special occasions, or as gifts for sourdough-loving friends. Understanding how sourdough fermentation affects dough development helps you appreciate why these bars taste noticeably better than versions made without fermentation.
Why Sourdough Starter Improves Cookie Bar Quality
Sourdough starter contains wild yeast and bacteria that ferment the dough, developing complex flavors impossible to achieve with commercial yeast alone. The fermentation process creates lactic acid that develops subtle tangy notes complementing chocolate beautifully without overpowering sweetness. The extended fermentation allows gluten to develop naturally, creating tender crumb structure without aggressive mixing. The enzymes in sourdough break down flour components, making them more digestible while improving the texture of the finished bars. The flavor compounds that develop during fermentation cannot be rushed—this is why using sourdough starter produces noticeably better results than quick-mix methods. Using both discard and fed starter works equally well, allowing flexibility in when you bake. The investment in maintaining a healthy starter pays dividends through superior flavor in all your sourdough creations.
Selecting Quality Butter for Rich Flavor
Softened butter at room temperature creams properly with sugar, creating the light, fluffy base essential for quality cookie bars. Using unsalted butter allows you to control salt content precisely while letting butter’s rich flavor shine. Quality butter with higher fat content produces superior results compared to margarine or butter substitutes. Softening butter to approximately seventy degrees Fahrenheit ensures proper creaming without becoming excessively soft or greasy. Some people soften butter by leaving it on the counter for thirty to forty minutes before baking. Proper softening ensures even distribution throughout the dough, creating consistent texture. The butter quality significantly impacts the final bars’ flavor and richness.
Understanding Sugar’s Role in Texture and Browning
Using both brown and granulated sugar creates the ideal balance of moisture, flavor, and browning. Brown sugar contributes molasses flavor that adds depth while retaining moisture that keeps the bars soft. Granulated sugar contributes crispness and helps with browning. The combination creates bars that are soft and chewy rather than cake-like. Properly packing brown sugar ensures you’re adding the intended amount—loose brown sugar measures differently than packed. The sugar ratio affects the final texture—more sugar creates sweeter, chewier bars while less sugar creates slightly drier results. The sugar interacts with eggs and butter during creaming, creating the foundation for proper texture.
Incorporating Sourdough Starter Successfully
Using sourdough starter that shows visible bubbles and has risen noticeably ensures successful fermentation and flavor development. Both discard and fed starter work equally well—choose based on what you have available. The amount of starter—one cup—provides substantial fermentation power for the bars. Mixing the starter evenly throughout the dough ensures even fermentation rather than concentrated areas. A healthy starter makes a pleasant sour smell and shows vigorous bubbling. The starter’s moisture content affects dough consistency—wetter starter requires slightly less additional liquid while thicker starter may require adjustments. Properly mixed starter distributes evenly without creating pockets of concentrated starter throughout the bars.
The Importance of Eggs in Binding and Moisture
Eggs bind the ingredients together while contributing moisture that creates tender bars. Room-temperature eggs mix more smoothly into the butter mixture without creating temperature shock. The eggs also provide structure that allows the bars to hold together during baking. Using the correct number of eggs—two—ensures proper binding without excessive richness that would create greasy bars. Beaten eggs incorporate air that contributes to the bars’ light texture. The fat in egg yolks contributes richness while the whites provide structure. Proper incorporation ensures eggs distribute evenly throughout the dough.
Creating the Right Flour Blend for Texture
Using both all-purpose and whole wheat flour creates the ideal balance of structure and nutrition. All-purpose flour provides the primary structure while whole wheat flour adds nutty flavor and nutrition. The combination of both flours creates more interesting texture than either alone. The protein content in flour affects how the bars develop—proper balance creates tender but structurally sound bars. All-purpose flour’s gluten creates structure while whole wheat flour’s fiber adds texture. The flour blend should be evenly mixed before folding into wet ingredients. Quality fresh flour produces better results than flour that’s been sitting for extended periods.
Understanding Baking Soda and Salt
Baking soda reacts with the sourdough’s acidity, creating lift and helping the bars rise during baking. The amount of baking soda is crucial—too much creates metallic flavor while too little provides insufficient lift. Salt enhances all flavors while preventing the bars from tasting bland or one-dimensional. Properly distributed baking soda and salt ensure consistent results throughout the batch. The combination of baking soda with sourdough’s natural acidity creates ideal leavening. These ingredients should be whisked evenly with flour to distribute them throughout.
Adding Oats for Texture and Nutrition
Old-fashioned rolled oats add chewy texture and hearty nutrition without making the bars dense. Using old-fashioned oats rather than quick oats ensures proper texture and appearance. The oats should be distributed evenly throughout the dough to ensure consistent texture in every bar. The amount of oats affects texture—more oats create chewier, more textured bars while less creates smoother texture. Roasting oats briefly enhances their nutty flavor though this step is optional. The oats add fiber and nutrition while contributing to the bars’ distinctive character.
Incorporating Chocolate Chips and Mix-Ins
Using three cups of chocolate chips—two mixed into the dough and one sprinkled on top—ensures every bite contains chocolate. Quality chocolate chips melt slightly during baking, distributing chocolate flavor throughout. Semi-sweet, dark, or milk chocolate chips all work beautifully depending on preference. Optional mix-ins like chopped nuts, raisins, or dried cranberries add variety and texture. Roasting nuts before adding them enhances their flavor significantly. Even distribution of mix-ins ensures consistent flavor in every bar. The chocolate and mix-ins should be stirred in gently to avoid crushing or overmixing.
Proper Baking Temperature and Time
Baking at the correct temperature ensures the bars bake through while remaining soft and chewy in the center. The exact baking time depends on oven characteristics and desired texture—slightly underbaked bars remain chewier while longer baking creates firmer texture. The bars should be just set with slight jiggle in the center when done. Overbaking creates hard, dry bars that lose the appealing chewy quality. Using an oven thermometer occasionally verifies your oven’s actual temperature. Checking the bars a few minutes before the recommended time prevents overbaking.
Cooling and Slicing for Perfect Presentation
Allowing the bars to cool in the pan before slicing prevents them from falling apart while remaining warm. Complete cooling typically takes one to two hours. Using a sharp knife creates clean cuts without squashing the bars. Some people prefer cutting while bars are still slightly warm while others wait for complete cooling. Cutting bars into uniform sizes creates professional appearance. Proper cooling ensures the structure sets adequately for clean slicing.
Storage Methods for Extended Enjoyment
Properly stored bars remain fresh at room temperature for three to five days in airtight containers. Including a slice of bread in the container helps maintain moisture. Refrigerating extends shelf life though cold temperatures may make bars slightly firmer. Freezing works beautifully for longer storage—frozen bars keep for up to three months. Thawing at room temperature restores bars to room-temperature texture remarkably well. Individual bars can be frozen separately for convenient grab-and-go snacking.
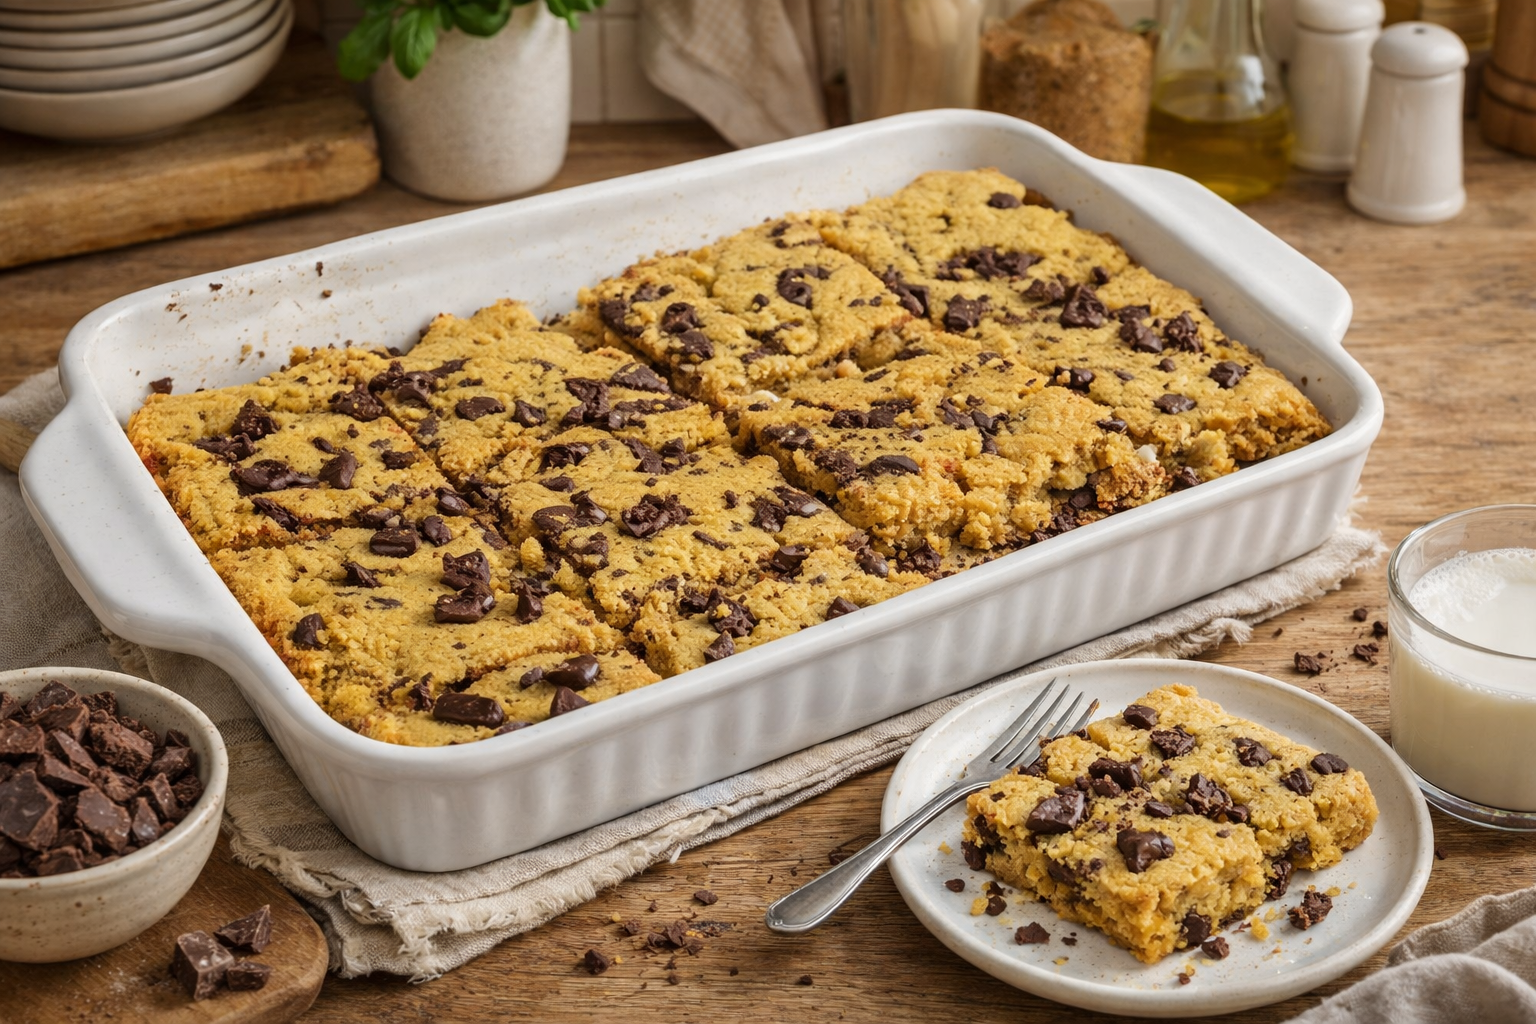
Sourdough Chocolate Chip Cookie Bars
Perfect for family desserts, special occasions, or as homemade gifts, these bars showcase sourdough’s versatility beyond bread. With proper storage, these bars maintain freshness for several days, making advance preparation convenient.
36
servings10
minutes25
minutes195
kcal35
minutesIngredients
1 cup softened butter
¾ cup brown sugar
¾ cup granulated sugar
1 cup sourdough starter (227 grams, discard or fed)
2 eggs
2 teaspoons vanilla extract
1 ¼ cups all-purpose flour
1 cup whole wheat flour
1 ½ teaspoons baking soda
½ teaspoon salt
½ cup old-fashioned oats (rolled oats), not quick oats
3 cups chocolate chips, divided
1 cup chopped nuts (optional), or raisins or dried cranberries
Directions
- Preheat the Oven: Preheat your oven to 350°F (175°C). Line a 9×13-inch baking pan with parchment paper or grease it lightly.
- Mix Wet Ingredients: In a mixing bowl, cream together the softened butter, brown sugar, and granulated sugar until smooth. Add the sourdough starter, eggs, and vanilla extract, mixing until well combined.
- Combine Dry Ingredients: In a separate bowl, whisk together the all-purpose flour, whole wheat flour, baking soda, and salt. Gradually add this dry mixture to the wet ingredients, mixing until a smooth dough form.
- Add Mix-Ins: Stir in the old-fashioned oats and 2 cups of chocolate chips until evenly distributed throughout the dough. Optionally, fold in the chopped nuts, raisins, or dried cranberries for extra flavor and texture.
- Bake: Spread the dough evenly into the prepared baking pan and sprinkle the remaining chocolate chips on top. Bake in the preheated oven for 20-35 minutes, or until the bars are just set in the center.
- Cool and Serve: Allow the bars to cool in the pan for a few minutes before slicing them into squares. Serve warm or at room temperature for a delightful treat.
Notes
- For even chewier bars, reduce the flour by ½ cup.
- To make individual cookies, drop heaping tablespoons of dough onto a parchment-lined baking tray and bake for 14-18 minutes, or until just set. Cool on the tray for 5 minutes before transferring to a cooling rack.
Nutrition Facts
- Calories: 195kcal
- Fat: 9g
- Sodium: 138mg
- Potassium: 32mg
- Carbohydrates: 27g
- Fiber: 1g
- Sugar: 18g
- Protein: 2g
- Calcium: 26mg
- Iron: 1mg