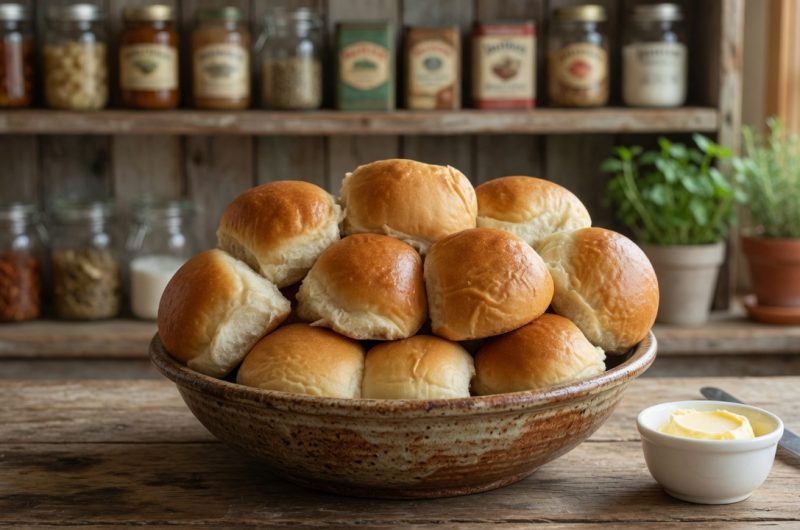
Sourdough dinner rolls represent a perfect combination of traditional fermentation techniques and modern baking convenience, creating rolls that are simultaneously soft, fluffy, and distinctly tangy. These rolls appeal to people seeking bread with deeper flavor than standard yeast rolls while enjoying the health benefits of slow fermentation. The distinctive sourdough tang develops through extended fermentation, where wild yeast and bacteria create complex flavors that cannot be achieved with commercial yeast alone. These rolls work equally well for everyday family dinners, holiday celebrations, or special occasions where homemade bread elevates the meal. The combination of a tender crumb with a slightly crispy exterior creates an eating experience that satisfies cravings while feeling elegant and special. Understanding what makes sourdough rolls unique helps you appreciate why the fermentation process and proper technique matter more than rushing through quick-rise methods.
Why Active Sourdough Starter Is the Foundation
Creating successful sourdough dinner rolls depends entirely on having an active, healthy sourdough starter that’s ready to work. An active starter should be bubbly and risen noticeably within four to twelve hours of feeding, indicating the yeast and bacteria are thriving. The starter creates the fermentation that develops flavor and provides the leavening that helps the rolls rise. Using a starter that’s not sufficiently active results in rolls that don’t rise properly or lack the characteristic sourdough tang. Maintaining your starter requires regular feeding with flour and water, typically once or twice daily depending on kitchen temperature and your feeding schedule. A starter kept at room temperature requires more frequent feeding than one refrigerated, which slows fermentation. If your starter seems sluggish, increasing feeding frequency for a few days or moving it to a warmer location revives it. The investment in maintaining a healthy starter pays dividends through superior flavor in all your sourdough creations.
Selecting Warm Water for Proper Fermentation
The temperature of water you use significantly affects how quickly fermentation occurs and the final flavor development. Warm water, approximately seventy to seventy-five degrees Fahrenheit, activates the yeast and bacteria in the starter immediately. Water that’s too hot, above one hundred ten degrees—kills the microorganisms and prevents fermentation entirely. Water that’s too cold slows fermentation to the point that the dough barely rises overnight. Using a kitchen thermometer ensures you achieve the right temperature rather than guessing. If your tap water is too cold, heating it briefly or mixing hot and cold water creates the ideal temperature. Room-temperature or slightly warm water works perfectly for overnight fermentation, which is actually preferable because slower fermentation develops more complex flavors than quick rising with very warm water. The specific water temperature you choose affects fermentation speed, so adjusting it based on your schedule allows flexibility in timing.
Understanding Melted Butter’s Role in Texture
Melted butter contributes richness and moisture to the dough while helping create the tender crumb that defines these rolls. Using melted butter rather than solid butter ensures even distribution throughout the dough without creating hard spots. The amount of butter, one-quarter cup, provides noticeable richness without making the rolls too heavy or greasy. Slightly cooled melted butter, rather than hot butter straight from the pan, prevents it from affecting yeast and bacteria in the starter. Some bakers prefer using butter for flavor while others substitute neutral oil for a cleaner taste that lets the sourdough tang shine. The choice between butter and oil affects richness—butter creates more indulgent rolls while oil creates lighter ones. Quality butter makes a difference—using real butter provides superior flavor to margarine or butter substitutes.
The Function of Granulated Sugar in Rising and Browning
Sugar serves multiple purposes in sourdough dinner rolls beyond simply adding sweetness. The sugar feeds the yeast and bacteria, promoting fermentation and rise. Sugar also contributes to browning during baking through the Maillard reaction, creating the golden exterior. The amount of sugar, one-quarter cup, provides enough food for fermentation without making the rolls noticeably sweet. Using granulated sugar rather than powdered sugar ensures it dissolves evenly without creating lumps. Some bakers experiment with honey or other sweeteners, which work but may slightly alter fermentation speed and final flavor. The sugar helps the dough retain moisture, contributing to the tender crumb. Reducing sugar creates less-sweet rolls that highlight the sourdough flavor, while increasing it creates sweeter rolls that some people prefer.
Kneading Technique and the Windowpane Test
Kneading develops gluten, which gives the dough structure to trap gas and rise properly. Using a stand mixer with a dough hook kneads the dough efficiently for ten to fifteen minutes, though hand kneading for about ten minutes works equally well. The finished dough should be smooth and elastic rather than sticky or stiff. The windowpane test, stretching a small piece of dough until translucent without tearing—confirms that gluten has developed sufficiently. A dough that tears before becoming translucent needs more kneading. A dough that’s transparent but falls apart lacks proper development. The goal is a dough that’s elastic and strong enough to rise and hold shape without being overly stiff. Kneading by hand involves repeatedly pushing the dough away with the heel of your hand, folding it back, rotating it, and repeating until it becomes smooth and elastic.
Understanding Overnight Fermentation and Its Benefits
Allowing the dough to ferment overnight, between eight and twenty-four hours—develops the sourdough flavor that defines these rolls. The extended fermentation allows wild yeast and bacteria to metabolize the flour, creating lactic acid that provides the characteristic tang. Longer fermentation also develops more complex flavors compared to quick-rise methods. The dough rises gradually at room temperature, roughly doubling in size over the fermentation period. Room temperature fermentation allows flexibility because the rise happens slowly, giving you a wider window to shape the rolls. Some bakers prefer refrigerating the dough after a few hours of room temperature rising, which slows fermentation further and allows baking the next day or even days later. Cold fermentation in the refrigerator allows even more flavor development while making the dough easier to shape because it’s stiffer.
Recognizing and Preventing Over-Fermentation
Over-fermentation occurs when the dough rises too much, causing the gluten structure to break down and lose strength. Signs of over-fermentation include the dough collapsing or becoming excessively slack and difficult to shape. The dough smells overly sour or alcoholic rather than pleasantly tangy. If you notice these signs, briefly refrigerating the dough slows fermentation and allows the gluten to rest. Over-fermented dough can still be shaped and baked, though the finished rolls may be denser or less fluffy. Preventing over-fermentation involves monitoring your dough, if it’s visibly doubled and puffed before eight hours, your kitchen is very warm, and you should either shape it earlier or move it to a cooler location. The ideal fermentation window provides flexibility, allowing you to shape the dough whenever convenient within the range without significantly affecting results.
Dividing and Shaping Dough for Uniform Rolls
Dividing the fermented dough into eight equal portions ensures uniform rolls that bake evenly. Weighing the dough and dividing by eight provides the most precise method, though visually dividing into equal pieces works reasonably well. Shaping each portion into a cohesive ball requires tension, rolling the dough against the countertop or using the thumb-and-pinch method creates surface tension that helps the roll retain its shape and rise upward rather than spreading. Proper shaping is crucial because poorly shaped dough spreads during proofing and baking rather than rising. Creating tension traps the surface slightly, causing surface tension that helps the roll rise. The shaped rolls should feel slightly firm with a smooth surface, not loose or saggy.
Choosing Between Different Baking Configurations
Selecting whether to use an eight-by-eight-inch or nine-by-thirteen-inch baking dish affects the rolls’ shape and how they cook. Eight-by-eight pans create pull-apart rolls because the eight portions nestle closely together and rise up rather than spreading. Nine-by-thirteen pans allow more space between rolls, creating individual rolls that develop crispy sides. The choice depends on personal preference, pull-apart rolls are convenient for sharing and create that signature connected appearance, while individual rolls offer distinct texture on all sides. Regardless of pan choice, greasing ensures the rolls release easily and don’t stick to the pan. The second rise in the pan takes approximately one to two hours at room temperature, depending on kitchen warmth.
Applying Egg Wash for Golden Appearance
Brushing the shaped rolls with egg wash before baking creates a shiny, golden-brown exterior that looks professionally made. Egg wash is simply one beaten egg mixed with one tablespoon of water or milk. Applying it just before baking ensures the best color development without the egg drying out. A pastry brush distributes egg wash evenly, though you can also use your fingers or the back of a spoon. Egg wash provides both visual appeal and helps toppings adhere, some people add salt crystals or seeds to the egg wash for extra flavor and texture. The golden color that develops signals proper baking and makes the rolls look appetizing and bakery-quality.
Baking at the Right Temperature for Golden Color
Baking at three hundred seventy-five degrees Fahrenheit provides the right balance between developing golden color and cooking the interior completely. Oven temperature that’s too high creates dark brown exteriors before the interior cooks, while too-low temperature results in pale rolls that take longer to bake. Baking for twenty-five to thirty minutes typically achieves golden color while ensuring the rolls are baked through. The rolls are done when the tops are golden brown and the internal temperature reaches about one hundred ninety degrees Fahrenheit. Smaller rolls bake faster than larger ones, so checking around twenty-five minutes and adjusting as needed ensures perfect results. Using an oven thermometer verifies your oven’s actual temperature, since many ovens run hotter or cooler than indicated.
Cooling Before Serving for Best Texture
Allowing the rolls to cool briefly after baking allows the crumb to set slightly before serving. Hot rolls are difficult to handle without tearing, and the texture continues setting as they cool. Cooling for five to ten minutes before serving is typically sufficient, longer cooling results in rolls that are no longer warm. Many people prefer rolls that are warm but cool enough to handle without burning their fingers. Serving rolls while still slightly warm allows you to enjoy them at their best while the butter you brush on top melts into the warm dough.
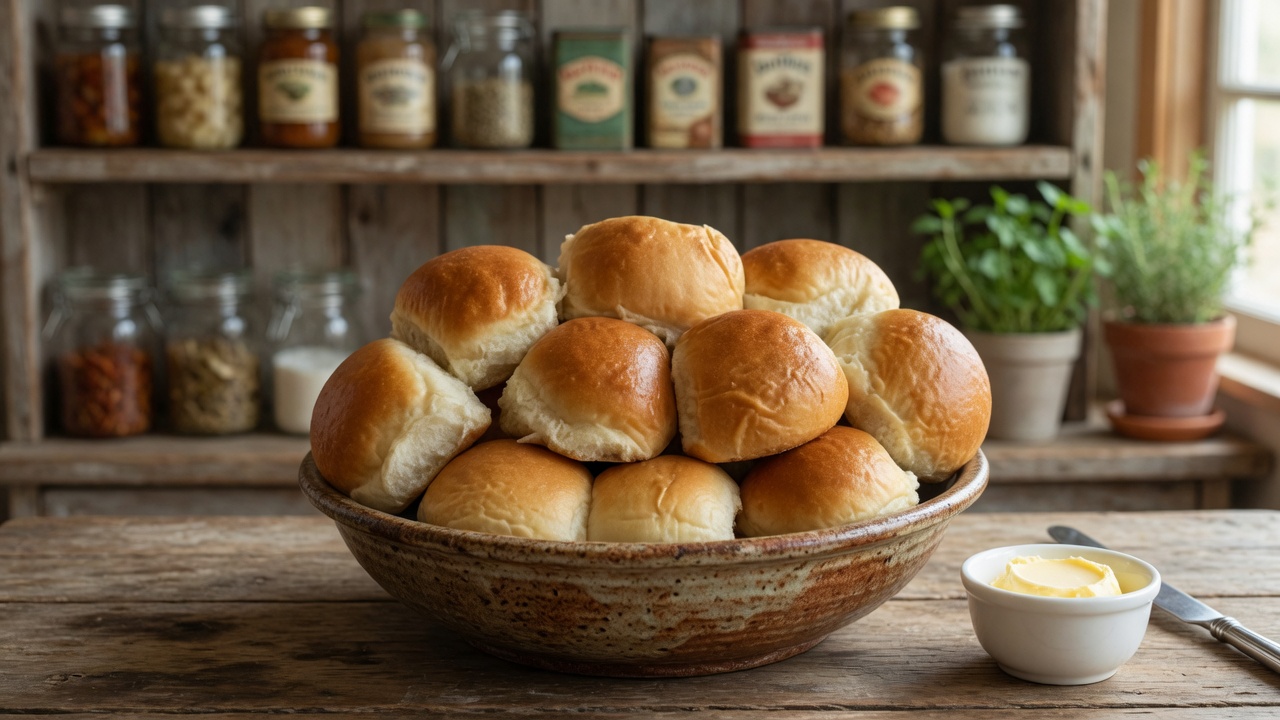
Sourdough Dinner Rolls
Embark on a culinary journey with this straightforward recipe for crafting delectable sourdough rolls. With minimal effort and a handful of pantry staples, you’ll be savoring these buttery delights in no time.
8
servings20
minutes25
minutes231
kcal12
hours45
minutesIngredients
1/2 cup active and bubbly sourdough starter (113 g)
1/4 cup granulated sugar (50 g)
3/4 cup warm water (177 g)
1/4 cup melted butter (56 g)
1/2 teaspoon sea salt (2 g)
2 1/2 cups all-purpose flour (350 g)
Egg wash (optional)
Melted butter for topping (optional)
Directions
- In a mixing bowl, combine the active sourdough starter, granulated sugar, warm water, melted butter, sea salt, and all-purpose flour.
- Knead the dough until smooth and elastic, either using a stand mixer or by hand on a floured surface. Aim for a consistency that passes the windowpane test. Transfer the dough to a greased bowl, cover it with a towel, and allow it to rise overnight for optimal flavor development.
- Divide the risen dough into eight equal portions and shape each into a ball, ensuring to create tension for a fluffy texture. Arrange the shaped rolls in a greased baking dish, covering them with a damp towel. Allow them to rise until doubled in size.
- Preheat the oven to 375°F (190°C). Optionally, brush the rolls with an egg wash for a golden finish. Bake the rolls for 25-30 minutes or until they turn golden brown. Optionally, top the warm rolls with melted butter for added richness.
- Allow the rolls to cool slightly before serving. Indulge in their soft, buttery goodness as a delightful accompaniment to any meal.
Nutrition Facts
- Calories: 231kcal
- Fat: 6g
- Sodium: 192mg
- Carbohydrates: 39g
- Protein: 5g