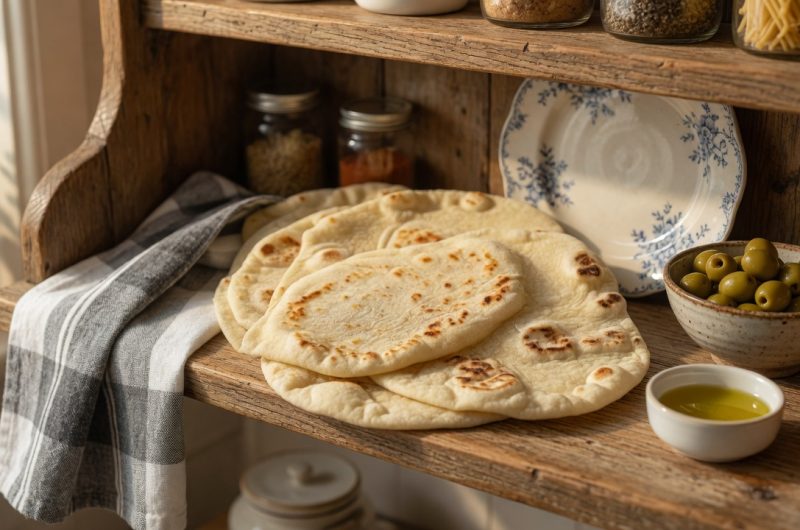
Making sourdough tortillas at home is a simple way to create fresh, flavorful flatbreads using ingredients you likely already have in your kitchen. Unlike store-bought versions that often contain preservatives and additives, homemade tortillas are made with basic pantry staples and your sourdough starter. These tortillas have a slightly tangy flavor that sets them apart from regular flour tortillas, and they can be customized to your preferred thickness and size. Whether you need soft wraps for lunch or sturdy tortillas for dinner tacos, this recipe delivers every time.
Benefits of Using Sourdough Starter in Tortilla Recipes
Using sourdough starter in your tortilla dough is a practical solution for bakers who maintain a starter and need ways to use the extra portions. When you feed your sourdough starter regularly, you often have leftover discard that would otherwise go to waste. This recipe allows you to transform that discard into something delicious instead of throwing it away. The sourdough starter adds a mild tangy flavor to the tortillas without requiring the long fermentation times needed for traditional sourdough bread, making this a quick and efficient recipe.
Understanding Different Types of Sourdough Starter for Tortillas
You can use various forms of sourdough starter in this tortilla recipe with equally good results. Sourdough discard that is one to three days old works perfectly fine as long as it has not developed any off colors or smells. Active starter that has been recently fed and is bubbly and doubled in size can also be used if you have more than you need for other baking projects. Even starter that has been fed but has collapsed after sitting too long will work well in this recipe. The flexibility with starter types makes this an accessible recipe for any sourdough baker.
What Makes These Tortillas Different from Regular Flour Tortillas
The addition of sourdough starter gives these tortillas a unique character compared to standard flour tortillas made with just flour, fat, and water. The starter contributes enzymes that help break down the flour slightly, creating a more tender texture in the finished tortillas. The tangy flavor is subtle rather than overwhelming because the dough only rests for a short time rather than fermenting for hours. These tortillas have a homemade quality with a slight chewiness that makes them perfect for holding fillings without tearing or becoming soggy when filled with wet ingredients.
Essential Ingredients for Sourdough Flour Tortillas
The ingredient list for sourdough flour tortillas is straightforward and requires only five basic components. Unbleached all-purpose flour provides the structure and creates the right texture without being too heavy or too light. Kosher salt seasons the dough and brings out the flavors of the other ingredients. Softened butter adds richness and creates tender layers within the tortillas while also contributing to browning when cooked. Room temperature water helps bring the dough together and activates the flour proteins. Your sourdough starter, whether discard or active, provides the signature flavor and helps create a pliable dough.
Kitchen Tools Needed for Making Sourdough Tortillas
Before starting this recipe, gather a few basic kitchen tools to make the process smoother. You will need a medium mixing bowl for combining the ingredients and a fork or pastry cutter for incorporating the butter into the flour. A sturdy spatula helps mix the wet and dry ingredients together initially. A rolling pin is necessary for flattening the dough balls into thin rounds, and a clean work surface dusted with flour prevents sticking. A heavy skillet, either cast iron or nonstick, provides the best cooking surface for achieving properly browned tortillas with characteristic spots.
How to Mix and Form the Tortilla Dough
Begin by combining the flour and salt in your mixing bowl, whisking them together to distribute the salt evenly throughout the flour. Add the softened butter to the flour mixture and use a fork to cut it into the flour until the mixture resembles coarse crumbs with no large butter chunks remaining. You can also use your fingertips to rub the butter into the flour if that feels more natural. Pour in the water and sourdough starter, then stir everything together with a spatula until a shaggy, rough dough begins to form in the bowl.
Kneading Techniques for Tender Tortillas
Once the dough comes together in a rough mass, turn it out onto a lightly floured surface to knead it briefly. Knead the dough gently for just one to two minutes, using the heel of your hand to push the dough away from you and then folding it back over itself. The goal is simply to bring the dough together into a smooth ball rather than developing strong gluten networks like you would for bread. When the dough no longer sticks to your hands or the work surface and feels smooth, it is ready to be divided and shaped.
Dividing and Shaping the Dough Portions
After kneading, divide the dough into equal portions depending on what size tortillas you want to make. For taco-sized tortillas that measure about six to eight inches across, divide the dough into twelve equal pieces. For burrito-sized tortillas that are ten to twelve inches in diameter, cut the dough into six portions instead. Shape each piece into a smooth ball by tucking the edges underneath and rolling it between your palms. Place the dough balls on a floured surface with some space between them so they do not stick together.
The Importance of Resting Time for Easy Rolling
Cover the shaped dough balls with a clean kitchen towel and allow them to rest at room temperature for at least thirty minutes and up to two hours. This resting period is important because it allows the gluten strands that formed during kneading to relax and become less elastic. Rested dough rolls out much more easily and stays flat instead of shrinking back when you try to make it thinner. The longer resting time within the two-hour window does not significantly change the flavor since there is not enough time for major fermentation to occur.
Rolling Techniques for Perfectly Thin Tortillas
When the dough has rested, lightly flour your work surface and rolling pin to prevent sticking. Take one dough ball at a time and flatten it slightly with your hand before beginning to roll. Roll from the center outward in all directions, rotating the dough frequently to maintain a round shape. Apply even pressure as you roll to create tortillas that are uniformly thin throughout, which helps them cook evenly. The thinner you can roll the tortillas, the more pliable and authentic they will be when cooked.
How to Store Rolled Tortillas Before Cooking
If you are rolling all the tortillas before cooking any of them, you need to prevent them from sticking together or drying out. Cut parchment paper into squares slightly larger than your tortillas and place one sheet between each rolled tortilla as you stack them. This allows you to roll all the tortillas efficiently and then cook them in succession without having to roll and cook simultaneously. Keep the stack of rolled tortillas covered with a towel if you are not cooking them immediately to prevent the exposed surfaces from forming a dry skin.
Cooking Methods for Golden Brown Tortillas
Heat your skillet over medium-high heat until it is very hot but not smoking. You should not add any oil or butter to the pan since the tortillas cook best on a dry surface. Place one tortilla in the hot skillet and watch for small bubbles to form on the surface after about twenty to thirty seconds. Flip the tortilla over and cook the second side for another twenty to thirty seconds until golden brown spots appear. The tortillas should puff up slightly during cooking, which indicates they are cooking at the right temperature.
Adjusting Heat for Perfect Cooking Results
Pay attention to how quickly the tortillas are browning and adjust your heat accordingly throughout the cooking process. If the tortillas are browning too quickly and developing dark spots within fifteen seconds, reduce the heat slightly to give the interior time to cook through. If the tortillas are taking more than forty-five seconds per side and not developing any color, increase the heat so they cook faster and develop the characteristic toasted spots. Finding the right temperature may take one or two tortillas, but once you establish the correct heat level, the rest will cook consistently.
Keeping Cooked Tortillas Warm and Soft
As you finish cooking each tortilla, transfer it to a plate and cover the stack with a clean kitchen towel to keep them warm and prevent them from drying out. The steam trapped under the towel helps keep the tortillas soft and pliable. If you are making a large batch, you can also wrap the cooked tortillas in aluminum foil and place them in a warm oven set to the lowest temperature. This keeps them at the perfect serving temperature while you finish cooking the remaining tortillas.
Storage Options for Fresh Homemade Tortillas
Allow the cooked tortillas to cool completely to room temperature before storing them to prevent condensation from forming inside the storage container. Once cooled, stack the tortillas and place them in an airtight container or resealable plastic bag, removing as much air as possible before sealing. Stored this way at room temperature, the tortillas will stay fresh and soft for up to five days. For longer storage, place the cooled tortillas in a freezer-safe bag with parchment paper between each one and freeze for up to three months.
Reheating Instructions for Stored Tortillas
To reheat refrigerated or room-temperature tortillas, warm them in a dry skillet over medium heat for about fifteen to twenty seconds per side until they are heated through and softened. You can also wrap a stack of tortillas in a damp paper towel and microwave them for twenty to thirty seconds until warm. For frozen tortillas, let them thaw at room temperature for about thirty minutes or microwave them directly from frozen using the defrost setting. Proper reheating restores the soft texture and makes the tortillas taste freshly made.
Common Problems and How to Fix Them
If your tortillas are turning out too thick and dense, you likely need to roll them thinner before cooking them in the skillet. Thick tortillas do not develop the right texture and can taste doughy rather than light. If the tortillas are cracking when you roll them out, the dough may be too dry and needs a small amount of additional water kneaded in. If the tortillas are sticking to your rolling pin or work surface, add a light dusting of flour to these surfaces. Tortillas that do not puff during cooking may not be rolled thin enough or the skillet may not be hot enough.
Creative Ways to Use Sourdough Tortillas
These versatile tortillas work well for countless meal ideas beyond traditional Mexican dishes. Use them as wraps for sandwich fillings like deli meat, cheese, lettuce, and tomatoes for an easy lunch option. Cut them into triangles and bake them to make homemade tortilla chips for dipping in salsa or guacamole. Spread them with pizza sauce and toppings, then bake for a quick flatbread pizza. Use them as a base for breakfast burritos filled with scrambled eggs, cheese, and vegetables. The mild sourdough flavor complements both savory and slightly sweet fillings without overwhelming other ingredients.
Flavor Variations to Try
While the basic sourdough tortilla recipe is delicious on its own, you can customize the flavor by adding herbs and spices to the dough. Mix in a teaspoon of garlic powder or onion powder for savory tortillas that pair well with meat fillings. Add chopped fresh cilantro or dried oregano for an herby flavor that works well with Mexican-inspired meals. For a slightly spicy kick, incorporate a pinch of cayenne pepper or chili powder into the flour mixture. You can also brush the cooked tortillas with melted butter and sprinkle them with sea salt for extra richness.
Nutritional Considerations
Homemade sourdough tortillas contain fewer additives and preservatives than commercial versions, giving you more control over what goes into your food. The sourdough starter contributes beneficial bacteria and enzymes that may make the tortillas easier to digest for some people compared to regular flour tortillas. Using butter instead of shortening or lard provides a different fat profile with a cleaner ingredient list. These tortillas do contain gluten from the all-purpose flour, so they are not suitable for people with celiac disease or gluten sensitivity.
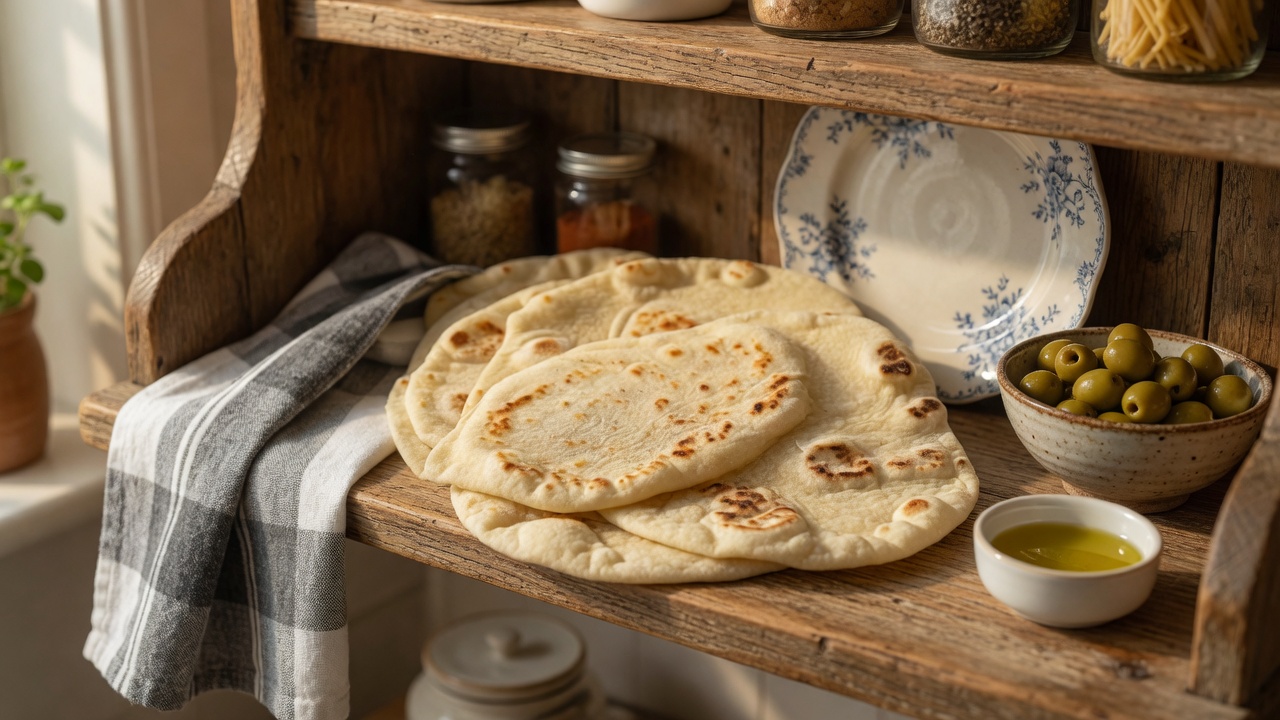
Sourdough Flour Tortillas
Soft, tender flour tortillas made with sourdough starter for a subtle tangy flavor. Perfect for tacos, burritos, wraps, and more.
4
servings30
minutes15
minutes45
minutesIngredients
210 g (1.5 heaping cups) unbleached all-purpose flour
7 g (1 1/4 teaspoons) kosher salt
56 g (1/4 cup) softened butter
100 g water (1/3 cup + 1 tablespoon)
100 g (1/2 cup) sourdough starter
Directions
- Mix Dry Ingredients: In a medium bowl, whisk flour and salt.
- Incorporate Butter: Use a fork or hands to mix softened butter into the flour until well combined.
- Combine Wet Ingredients: Stir in water and sourdough starter, mixing with a spatula until a shaggy dough form. Knead gently to form a rough ball.
- Knead Dough: Turn dough onto a floured surface and knead for 1-2 minutes until smooth.
- Divide Dough: Cut into 12 pieces for small tortillas or 6 pieces for large tortillas. Shape each piece into a ball.
- Rest Dough: Cover with a towel or plastic wrap. Let rest for 30 minutes to 2 hours.
- Roll Out: Roll each ball thinly to about 6-8 inches (small) or 10-12 inches (large) in diameter.
- Cook Tortillas: Cook each tortilla for about 30 seconds on each side until browned. Adjust heat as necessary.
Notes
- Store: Cool tortillas completely. Store in an airtight bag at room temperature for up to 5 days or freeze for up to 3 months.