Using unflavored collagen powder instead of pudding mix creates a smoother, creamier texture in protein ice cream. Collagen dissolves completely in liquid without leaving any grittiness or strange aftertaste that some protein powders can create. It also adds significant protein content, helping you reach thirty grams or more per serving. Unlike pudding mix which contains fillers and artificial ingredients, collagen powder is pure protein that supports skin, hair, joints, and muscles. The neutral flavor means you have complete control over the taste of your ice cream without fighting against unwanted flavors.
Understanding Collagen Protein Benefits
Collagen is a specific type of protein that your body uses to build connective tissues, skin, and bones. When you add it to ice cream, you get all the benefits of regular protein plus the unique advantages of collagen peptides. This includes improved skin elasticity, stronger hair and nails, and better joint health. Collagen protein is easily absorbed by the body and does not cause digestive issues that some people experience with whey protein. It mixes smoothly into liquids without clumping, which makes it perfect for frozen desserts where texture matters.
Choosing Your Liquid Base
The liquid you use as your base determines the final flavor and nutritional profile of your ice cream. Regular dairy milk creates a rich, traditional ice cream taste with added calcium and vitamins. Almond milk keeps calories lower and works well for dairy-free diets. Cashew milk makes the creamiest dairy-free version because of its higher fat content. Oat milk adds a subtle sweetness and thick texture. You can even use coconut milk for a tropical flavor. Pick whichever option fits your dietary needs and taste preferences, as they all work equally well in this recipe.
The Role of Additional Protein Powder
Adding regular protein powder along with collagen gives you an even higher protein count and adds flavor to the base. Vanilla protein powder is the most versatile choice because it pairs well with any mix-ins you might add later. Chocolate protein powder creates a rich chocolate ice cream base. Strawberry or other fruit flavors work great too. The protein powder also helps with texture by adding body to the mixture. Make sure to blend everything thoroughly so the protein powder dissolves completely and does not leave any chalky texture in the finished ice cream.
Sweetener Options for Lower Calories
Since this recipe focuses on high protein and lower sugar, choosing the right sweetener matters. Liquid sweeteners like stevia drops or monk fruit syrup blend more easily than granulated alternatives and prevent grittiness. Erythritol or allulose work well if you prefer granulated sweeteners, as they dissolve readily in liquids. Regular sugar works too if you are not concerned about keeping sugar low. Honey or maple syrup add natural sweetness but increase the calorie and sugar content. Start with less sweetener than you think you need, as you can always add more after tasting but cannot remove it.
Why Freezing Without the Lid Prevents Doming
When you freeze liquid in a sealed container, it expands as it turns to ice. This expansion pushes upward against the lid, creating a dome shape on top of your frozen base. Leaving the lid off during freezing allows the mixture to expand freely without creating this dome. A flat surface is important because it processes more evenly in the Ninja Creami machine. The blade needs to make contact with a level surface to properly shave and cream the frozen base. If there is a dome, the blade hits it first and can create uneven texture in the final product.
The Defrosting Step Explained
Letting your frozen base sit at room temperature for ten to fifteen minutes before processing makes a big difference in the final texture. A rock-hard frozen base is difficult for the machine to process and can put strain on the motor. Slight defrosting softens the outer edges just enough to make processing smoother and faster. The base should still be completely frozen solid in the center, just not quite as hard on the outside. This small step prevents the machine from struggling and helps you achieve that creamy consistency faster with fewer processing cycles.
Running Hot Water Over the Container
Running the outside of your frozen pint container under hot water for about thirty seconds serves two purposes. First, it helps release the container from the outer bowl more easily if it gets stuck. Second, it prevents icy buildup on the outside of the container that can interfere with how it fits in the machine. The hot water does not thaw your ice cream inside because you only run it over the outside for a brief time. Make sure to dry the container before placing it in the machine to prevent water from getting into the mechanism.
Using the Light Ice Cream Cycle
The Ninja Creami has different settings for different types of frozen treats, and the light ice cream setting works best for protein ice cream. This setting is designed for bases made with lighter liquids like milk or protein shakes rather than heavy cream. It processes the mixture at the right speed and duration to create smooth texture without over-churning. Running the full cycle completely is important rather than stopping it early. The machine knows exactly how long to process for optimal results. After the first cycle, you can check the texture and run it again if needed.
Scraping Down the Sides
After your first processing cycle, you may notice some frozen bits stuck to the sides of the container that did not get incorporated. Use a spoon or spatula to scrape these bits down toward the center before running another cycle. This ensures everything gets processed evenly and you do not have icy chunks in your otherwise smooth ice cream. Scraping down also helps you see the overall texture and consistency. If the center looks creamy but the edges are still icy, another cycle will blend everything together perfectly.
Adding Mix-Ins at the Right Time
Wait until your ice cream reaches a smooth, creamy consistency before adding any mix-ins. If you add them too early, they interfere with the processing and prevent the base from becoming creamy. Once your base is ready, create a well in the center and add your chosen mix-ins there. The Ninja Creami has a specific mix-in function that gently incorporates additions without over-processing the ice cream. Good mix-in options include sugar-free chocolate chips, nuts, freeze-dried fruit, cookie pieces, or sugar-free candies. Keep mix-ins to about one quarter cup total to avoid overwhelming the base.
Texture Expectations and Preferences
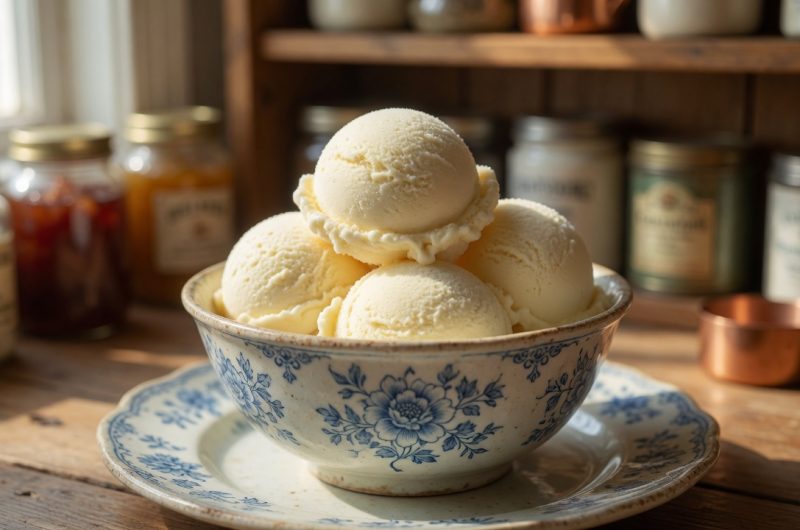
Protein ice cream made with collagen has a different texture than traditional ice cream, though it comes very close when made properly. It will be smooth and creamy, similar to soft serve when freshly made. The texture is light rather than dense and heavy. Some people prefer eating it immediately at this soft consistency, while others like to put it back in the freezer for an hour to firm up more. Either way works fine. The collagen helps prevent the ice cream from freezing rock hard, so it remains scoopable even after days in the freezer.
Storage and Re-Spinning
Store your finished protein ice cream in the same Ninja Creami container with the lid on. It keeps well for up to two weeks in the freezer. After several days, it may get harder and need a quick re-spin to restore the creamy texture. Just remove the lid and place the container back in the machine for one cycle on the light ice cream setting. This freshens up the texture and makes it creamy again. Having several containers prepared means you can always have protein ice cream ready. Just pull one out, re-spin if needed, and enjoy within minutes.
Flavor Variations to Try
Once you master the basic recipe, experiment with different flavors to keep things interesting. Add cocoa powder for chocolate ice cream. Mix in instant coffee granules for coffee flavor. Use fruit extracts like strawberry, banana, or coconut for fruity versions. Peanut butter powder creates a delicious peanut butter ice cream. Cinnamon and nutmeg make a chai-spiced version. The neutral base of collagen powder means you can take the flavor in any direction you want. Keep notes on what you try so you can recreate your favorite combinations.
Troubleshooting Common Issues
If your ice cream comes out icy rather than creamy, try adding a tablespoon more liquid before refreezing and re-spinning. Too icy can also mean your base was not completely frozen before processing. If it is too soft and does not hold shape, put it in the freezer for thirty minutes to firm up. Chalky texture means the protein powder did not dissolve completely, so blend your base mixture more thoroughly next time. Uneven texture with some parts creamy and others icy means you need to scrape down the sides and run another cycle.
Meeting Your Protein Goals
Each serving of this ice cream provides over thirty grams of protein from the combination of collagen powder and regular protein powder. This makes it an excellent post-workout snack that supports muscle recovery while satisfying sweet cravings. The high protein content also keeps you full and satisfied, preventing overeating later. For people trying to increase their daily protein intake, this ice cream makes reaching those goals more enjoyable. You get the nutritional benefits without feeling like you are eating something healthy rather than indulgent.
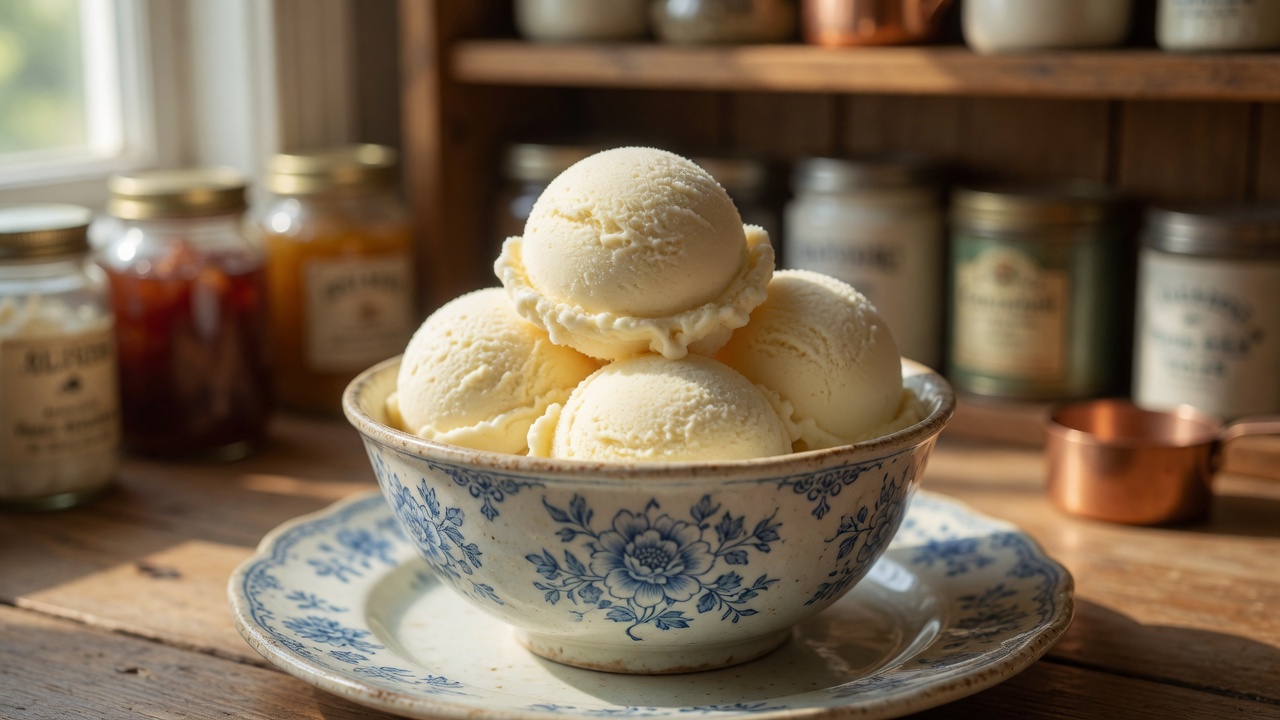
Ninja Creamy Protein VANILLA ICE CREAM
Creamy protein ice cream made with unflavored collagen powder and protein powder for over 30 grams of protein per serving. This Ninja Creami recipe creates a smooth, guilt-free frozen treat with customizable flavors and mix-ins. Lower in sugar and calories than regular ice cream.
10
minutes273
kcal12
hours12
hours10
minutesIngredients
- Protein Ice Cream:
1¾ cup (14 oz) whole milk or 2% milk
2 scoops (64 grams) Vanilla protein powder
1 scoop (10 grams) unflavored collagen (for added protein and creaminess)
2-3 Tbs. (40 grams) pure maple syrup, honey, or granulated monk fruit sweetener (optional but recommended)
- Mix-In Options:
2-3 Tbs. protein cookie dough
2-3 Tbs. gluten-free cookie dough
2-3 Tbs. creamy peanut butter
1 fresh banana or fruit of choice
2 Tbs. mini chocolate chips
Directions
- Combine all protein ice cream ingredients in a 24 oz Ninja Creami container and mix well.
- Freeze for at least 12 hours, ensuring a flat surface.
- Before churning, allow the container to sit at room temperature for 10 minutes and flatten any bulges.
- Run the outside of the container under hot water for 30 seconds, then dry completely.
- Place the container in the Ninja Creami Deluxe machine and run on a full-light ice cream cycle.
- Scrape down the sides and add desired mix-ins, then run a full mix-in cycle.
- Serve immediately and relish in the creamy delight!
Notes
- Leftovers? Opt for a “top” light ice cream cycle or store flattened in the freezer.
- Customize with your favorite mix-ins for endless flavor possibilities!
Nutrition Facts
- Calories: 273kcal
- Fat: 6.9g
- Carbohydrates: 20.9g
- Fiber: 1g
- Sugar: 12.6g
- Protein: 32.2g