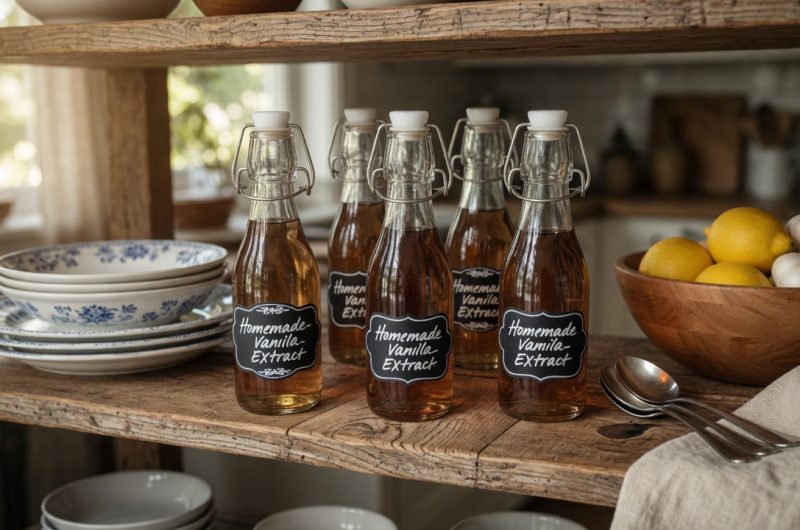
.Making vanilla extract at home costs less than buying premium brands from the store. You control exactly what goes into your extract, using only vanilla beans and alcohol with no additives. The process requires minimal effort but produces extract that tastes richer and more complex than most commercial versions. Homemade vanilla extract also makes thoughtful gifts for friends and family who enjoy baking. Once you start the steeping process, the vanilla beans continue working for months or even years. The initial time investment is small but the rewards last a long time.
Understanding Vanilla Bean Varieties
Madagascar vanilla beans are the most common type used for making extract. These beans have a rich, creamy flavor that most people recognize as classic vanilla. They work well in all types of baking from cookies to cakes. Tahitian vanilla beans offer a different flavor profile with floral and fruity notes. These beans create a lighter, more delicate extract that works beautifully in custards and ice cream. Mexican vanilla beans provide a smooth, bold taste with spicy undertones. Each variety creates a unique extract, so you can choose based on your flavor preferences.
Selecting Quality Vanilla Beans
Look for vanilla beans that feel soft and pliable rather than dry and brittle. Fresh, high-quality beans should have a strong vanilla aroma even before you open the package. The beans should look plump and moist with a slightly oily sheen on the surface. Avoid beans that appear shriveled or smell musty. You can find vanilla beans in the spice aisle of well-stocked grocery stores. Buying beans online often gives you better prices, especially when purchasing in bulk. Grade B vanilla beans work perfectly for making extract and cost less than the fancier Grade A beans.
Choosing Your Alcohol Base
Vodka is the most popular choice for vanilla extract because it has a neutral flavor. The vodka allows the vanilla flavor to shine without adding any competing tastes. Cheap vodka works just as well as expensive brands for this purpose. The vanilla beans provide all the flavor, so there is no need to spend extra money on premium vodka. Bourbon adds a warm, oaky flavor to your vanilla extract that works wonderfully in baking. Rum creates a slightly sweet extract with tropical notes. Brandy produces a rich, fruity extract that pairs well with chocolate desserts.
Avoiding Flavored Alcohols
Stay away from flavored vodkas or other alcohols when making vanilla extract. These products often contain artificial flavoring agents and additives. The artificial flavors can interfere with the pure vanilla taste you want to achieve. Flavored alcohols may also contain sugar that could cause cloudiness in your extract. Stick with plain, unflavored alcohol for the cleanest, purest vanilla extract. The goal is to taste only vanilla and alcohol, nothing else. Your homemade extract should be as natural and pure as possible.
Gathering Your Equipment
Glass bottles or jars with tight-sealing lids work best for making and storing vanilla extract. Eight-ounce bottles are a convenient size that holds enough extract for regular use. Swing-top bottles with wire bails and rubber gaskets create an excellent seal. Mason jars also work well if you already have them in your kitchen. Make sure whatever container you choose is completely clean and dry before using. Sterilizing your bottles in boiling water is ideal but not absolutely necessary. A funnel helps pour the alcohol into bottles without spilling.
Preparing the Vanilla Beans
Use a sharp paring knife to carefully split each vanilla bean lengthwise. Cut from one end to the other, opening the bean to expose the seeds inside. You do not need to cut the bean completely in half, just slit it open. This opening allows the alcohol to reach the flavorful seeds and inner pod. If your vanilla beans are longer than your bottle, cut them into pieces that fit. Some people prefer to leave beans whole if the bottle is tall enough. Either method works as long as the beans are split open to release their flavor.
Determining Bean Quantity
Use about three to five vanilla beans per eight ounces of alcohol. More beans create a stronger extract with deeper flavor. Fewer beans produce a milder extract that takes longer to develop full flavor. The ratio can be adjusted based on your taste preferences and budget. Starting with at least three beans per cup of alcohol ensures good results. You can always add more beans later if you want a more intense vanilla flavor. Remember that the extract continues to strengthen over time as it steeps.
Combining Beans and Alcohol
Place your prepared vanilla beans into the clean glass bottle. Push them down so they fit inside without sticking out of the top. Use a funnel to pour the alcohol over the beans slowly. Fill the bottle until the alcohol completely covers all the beans. Every part of each bean must be submerged in the alcohol. Beans that stick out above the liquid line can develop mold. Leave a little space at the top of the bottle but make sure the beans stay underwater. The alcohol extracts the vanilla flavor from the beans over the coming weeks.
Sealing and Initial Storage
Secure the bottle cap tightly to prevent evaporation and contamination. Place the sealed bottle in a cool, dark spot like a kitchen cupboard or pantry. Keep it away from direct sunlight, which can degrade the vanilla flavor. Room temperature is perfect for the steeping process. The bottle should stay in the same location for the entire steeping period. Moving it around too much is not necessary and could disturb the extraction process. Find a safe spot where the bottle can sit undisturbed but where you will remember to shake it.
Shaking for Even Distribution
Shake the bottle gently once a week to help distribute the vanilla flavor. This movement encourages the compounds in the beans to dissolve into the alcohol. Swirl the bottle for a few seconds until you see the liquid moving around the beans. Some people shake their vanilla extract more frequently, while others do it less often. Once a week is a good middle ground that produces consistent results. Write the start date on a piece of tape on the bottle so you can track how long it has been steeping. Set a reminder on your phone or calendar to shake it weekly.
Minimum Steeping Time
Vanilla extract becomes usable after about eight weeks of steeping. At this point, the alcohol will have taken on a light brown color and vanilla aroma. However, the flavor will still be relatively mild compared to a fully aged extract. Many people prefer to wait at least six months before using their homemade extract. The flavor continues to develop and deepen as the months pass. A year of steeping produces the richest, most complex vanilla extract. Patience pays off with significantly better flavor in your baking.
Monitoring Color Changes
Fresh vanilla extract starts out clear or very pale when you first combine the ingredients. Over the first few weeks, you will notice the liquid turning light amber or tan. The color continues to darken as the vanilla compounds dissolve into the alcohol. After several months, the extract should be a rich, dark brown color. This deep color indicates that plenty of vanilla flavor has been extracted. The liquid should be clear, not cloudy, even as it darkens. Cloudiness could indicate contamination or too much agitation of the beans.
Using Your Vanilla Extract
Start using your homemade extract once it reaches your preferred flavor strength. Pour out the amount you need directly from the bottle. Always shake the bottle before each use to redistribute the vanilla particles. Use homemade vanilla extract in the same quantities as commercial extract in any recipe. The flavor will likely be stronger than store-bought vanilla, so you might even use slightly less. Your baked goods will have a noticeable improvement in vanilla flavor. The extract works in everything from cookies and cakes to custards and ice cream.
Refilling as You Use It
As the liquid level drops from use, you can add more alcohol to keep the beans covered. Pour in fresh vodka or whatever alcohol you used originally until the beans are submerged again. Shake the bottle well after adding the new alcohol. The beans will continue to flavor the fresh alcohol over the next few weeks. This process can continue for many months as long as the beans remain in good condition. Each refill may take slightly longer to reach full strength than the original batch. Eventually, the beans will become exhausted and stop releasing significant flavor.
Knowing When to Replace Beans
Vanilla beans can flavor multiple batches of extract over a year or more. Eventually, the beans will lose their potency and stop contributing much flavor. You will notice the extract becomes lighter in color and weaker in aroma. The beans may become slimy or discolored after extended use. When you notice these signs, it is time to remove the old beans and add fresh ones. Strain out the spent beans through a fine-mesh strainer or cheesecloth. Add new beans to the existing extract or start fresh with new alcohol.
Preventing Mold Growth
Keeping the vanilla beans completely submerged prevents mold from forming. Mold needs exposure to air to grow, so beans underwater stay safe. Check your bottles occasionally to make sure the alcohol level has not dropped too low. Top off with fresh alcohol if needed to keep everything covered. Sterilizing your bottles before use also reduces the risk of contamination. If you see any fuzzy growth or off smells, discard that batch and start over. Proper storage and maintenance prevent problems in nearly all cases.
Long-Term Storage Guidelines
Vanilla extract with beans still inside can last for several years when stored properly. Keep the bottle sealed tightly and away from heat and light. The alcohol acts as a preservative that prevents spoilage. As long as the extract smells good, it remains safe to use. Once you remove the vanilla beans, the extract becomes shelf-stable indefinitely. The flavor may gradually fade over many years but the extract never truly goes bad. Store finished extract in a cool, dark cabinet just like the steeping extract.
Making Vanilla Sugar
Save your used vanilla beans to make vanilla sugar instead of throwing them away. Rinse the beans in water and let them dry completely on a towel. Once dry, bury the beans in a jar of granulated white sugar. The beans will flavor the sugar over the next few weeks. Use vanilla sugar in coffee, tea, or baking for an extra touch of vanilla. You can keep adding more sugar to the jar as you use it. The beans will continue flavoring sugar for many months. This process ensures nothing from your vanilla beans goes to waste.
Gifting Homemade Vanilla Extract
Homemade vanilla extract makes a wonderful gift for anyone who enjoys baking. Choose attractive bottles and create custom labels with the date and ingredients. Tie a ribbon around the neck of the bottle for a finished look. Include a small card explaining how to use and store the extract. Gifting extract that has already aged for several months gives the recipient a ready-to-use product. You can also give bottles with fresh beans and alcohol as a starter kit. Either option shows thought and effort that friends and family will appreciate.
Cost Comparison with Store-Bought
A bottle of premium vanilla extract at the store can cost anywhere from fifteen to thirty dollars. Making your own extract costs significantly less, especially when buying vanilla beans in bulk online. A single batch of homemade extract provides enough for months or even years of baking. The ability to refill the same beans multiple times adds even more value. The upfront cost of buying beans and alcohol pays for itself quickly. You get superior flavor at a fraction of the cost of high-quality commercial extracts.
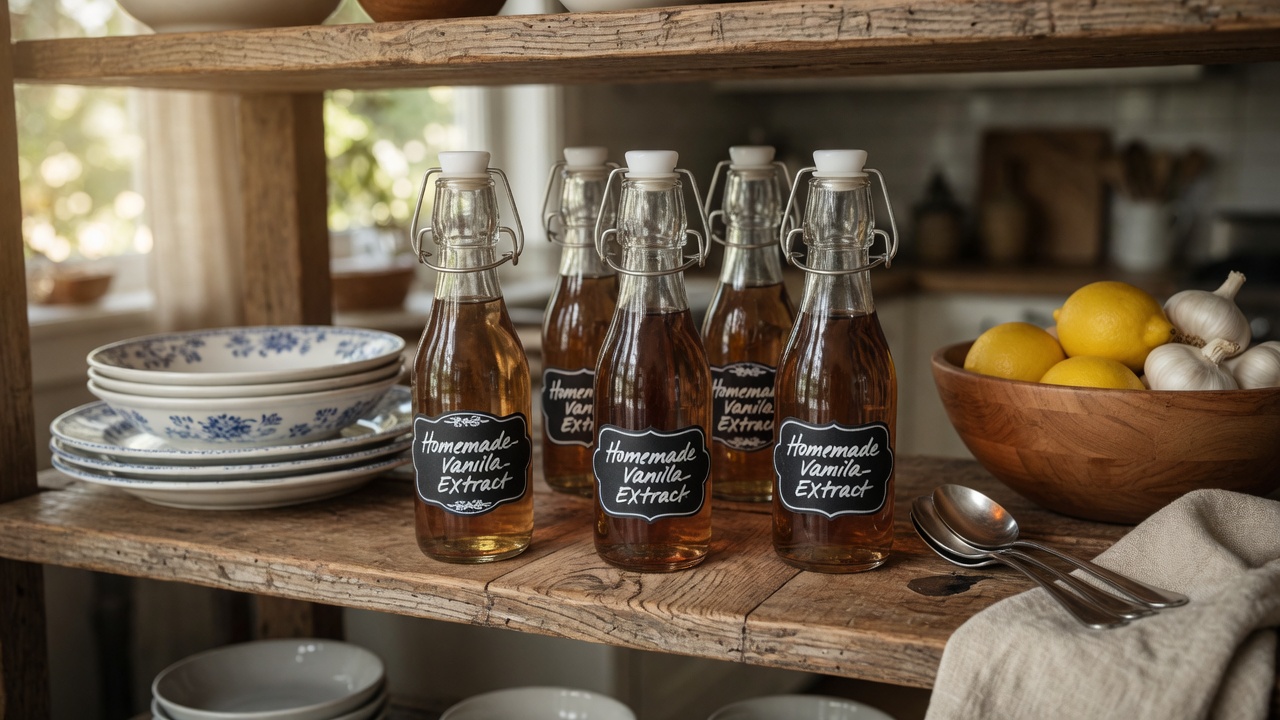
Homemade Vanilla Extract
A rich, pure vanilla extract made with just vanilla beans and alcohol that develops deep flavor over time for baking and cooking.
5
minutes0
minutes5
minutesIngredients
6 vanilla beans (approximately 1/2 ounce or 15g)
1 cup (8 ounces; 240ml) 80 proof vodka (or bourbon, brandy, rum)
8-ounce glass bottle or jar with a tight seal
Directions
- Prepare the Beans: Slit the vanilla beans lengthwise with a knife, exposing the seeds. Cut them to fit your bottle if necessary.
- Combine with Alcohol: Place the beans in the bottle, pour vodka over them, and ensure they are fully submerged.
- Seal and Store: Secure the bottle with a tight lid. Store in a cool, dark place and shake weekly.
- Wait and Enjoy: For best flavor, wait 6-12 months before using. Shake the bottle before each use and refill with alcohol as needed.