Biscuits are a cornerstone of Southern cuisine, offering a fluffy, tender texture and rich flavor that brings comfort and satisfaction to any meal. For generations, they have been served as a staple at breakfast tables, alongside savory dishes like fried chicken, or simply enjoyed fresh with butter and jam. While many recipes for biscuits can be complicated and time-consuming, a simple buttermilk biscuit made with the right ingredients can deliver exceptional results in under thirty minutes. The key to achieving perfect biscuits lies in understanding a few essential techniques combined with selecting high-quality ingredients that work together harmoniously. In this guide, we are going to explore how to make White Lily Buttermilk Biscuits, a delightful recipe that simplifies biscuit-making without compromising on flavor or texture.
Understanding What Makes These Biscuits Unique
The secret to these exceptional biscuits is in the use of White Lily Self-Rising Flour, which contains a carefully balanced blend of flour, salt, and baking powder, eliminating the need for additional leavening agents that complicate the recipe. The combination of cold butter and buttermilk enhances the texture beautifully, giving the biscuits their iconic light and airy feel that people crave. White Lily flour is specifically designed for soft baked goods and has a much lower protein content than all-purpose flour, which means it produces a more tender crumb. The self-rising aspect of the flour saves you from having to measure out and combine multiple leavening agents, making the recipe much simpler for home bakers. Understanding these unique qualities helps explain why this recipe produces such consistently excellent results compared to other biscuit recipes.
Recognizing Why White Lily Flour Is the Star Ingredient
White Lily Self-Rising Flour is known throughout the baking world for its soft texture and exceptionally fine grind that creates an almost silky appearance. This flour is preferred by bakers in the South who understand that great biscuits start with great flour. White Lily flour is designed specifically for biscuit-making and contains the precise combination of baking powder and salt that biscuits need. This thoughtful formulation ensures that your biscuits will rise perfectly without any extra fuss or complicated measurements. The lower protein content of White Lily compared to other flours means that less gluten develops, which results in a more tender, delicate crumb. Many experienced bakers swear by White Lily and will not use anything else when making biscuits because they understand the difference this flour makes in the final product.
Understanding the Critical Role of Cold Butter
Unsalted butter in this recipe is essential for both flavor and the specific texture that defines great biscuits. When butter is kept cold and cut into small pieces before mixing with flour, those tiny pockets of solid fat remain throughout the dough. As the biscuits bake, these pockets of butter create steam, which is what produces the flaky, tender layers that people love. Using unsalted butter allows you to control the salt content in your biscuits more precisely, ensuring the seasoning is exactly right. If you use salted butter, you may end up with overly salty biscuits depending on how much salt is already in your self-rising flour. The temperature of the butter is absolutely critical, and many biscuit failures result from using butter that was not cold enough when incorporated into the flour.
Appreciating the Importance of Buttermilk
Buttermilk is a crucial ingredient in many Southern recipes, and its tangy flavor complements the rich butter beautifully while adding complexity to the overall taste. The acidity in buttermilk helps activate the baking powder in the self-rising flour, resulting in a biscuit that rises beautifully and has excellent texture. The moisture that buttermilk provides helps keep the biscuits soft and tender even after they cool, preventing them from becoming dry and hard. If you do not have buttermilk available, you can make a substitute by adding lemon juice or vinegar to regular milk and allowing it to sit for five minutes before using. However, true buttermilk produces slightly better results because it has the ideal balance of acidity and fat for biscuit baking.
The Finishing Touch of Melted Butter
After baking, brushing the biscuits with melted butter adds a glossy finish and an extra layer of flavor that makes them even more irresistible. This final step is what takes biscuits from good to absolutely outstanding, and it only takes a few seconds to do. The melted butter soaks into the warm biscuits slightly while also creating a beautiful golden sheen on the outside. Some people prefer to brush the biscuits with melted butter right when they come out of the oven, while others let them cool slightly first. Either way, this step is essential for achieving the final result that tastes like genuine Southern homemade biscuits.
Preparing Your Butter Properly for the Best Results
Start by preparing your butter by slicing it into small cubes approximately one-quarter inch on each side, or grating it using a box grater for even smaller pieces. Place the prepared butter in the freezer for about fifteen to twenty minutes, allowing it to become very cold but not completely frozen solid. The cold butter is absolutely essential for achieving the desired flaky texture that defines excellent biscuits. The fat should remain solid as it is incorporated into the flour, which is what helps create distinct layers in the biscuits as they bake. Working with cold butter requires speed and efficiency, as warm hands will quickly soften it, so having everything else prepared before you begin mixing is important.
Preheating Your Oven to the Correct Temperature
While the butter chills, preheat your oven to four hundred seventy-five degrees Fahrenheit, which equals two hundred forty-six degrees Celsius. This high temperature is essential and ensures that the biscuits rise quickly, forming a golden crust on the outside while staying soft and fluffy on the inside. The high temperature also helps create the desirable slight crispness on the exterior that contrasts with the tender interior. Line a baking sheet with parchment paper to prevent the biscuits from sticking to the pan and to make cleanup easier when you are finished. Having the oven preheated and the baking sheet ready before you begin mixing means you can get the biscuits into the oven quickly once they are shaped.
Sifting the Flour to Create the Perfect Base
Sift the White Lily self-rising flour into a large mixing bowl, which helps aerate the flour and remove any lumps that may have formed during storage. Sifting ensures a smooth, even dough without any hard spots or clumps that could affect the biscuit texture. Adding the flour to the bowl after sifting creates a light, even base for the biscuit dough that mixes more easily with the other ingredients. The sifting process is particularly important with self-rising flour because the baking powder may have settled during storage, and sifting redistributes it evenly throughout the flour. This step takes only a few minutes but makes a noticeable difference in how evenly the biscuits rise.
Cutting Cold Butter Into the Flour Mixture
Once the butter has chilled sufficiently, add it to the flour mixture and use a pastry blender to cut the butter into the flour, breaking it down into pea-sized pieces. If you do not have a pastry blender, you can use two knives or even your fingertips, but be careful not to overwork the mixture. The goal is to create a crumbly texture with small bits of butter dispersed throughout the flour, not a smooth paste. These pockets of butter will create flakiness as the biscuits bake, so it is important to keep them intact and separate. Work quickly and efficiently, as the friction from mixing will warm the butter, and you want to keep it as cold as possible.
Incorporating Buttermilk With a Gentle Touch
Once your butter is cut into the flour, pour in the buttermilk and stir the mixture gently with a nonstick spatula, stirring just until the dough begins to come together. It is absolutely important not to overwork the dough at this stage, as overmixing will result in tough, dense biscuits. You should stop stirring when the dough has barely formed a cohesive mass, even if there are still a few small dry streaks visible. Some of the best biscuits are made from dough that looks slightly shaggy and rough, as this indicates minimal gluten development. The moisture from the buttermilk will continue to distribute throughout the dough as you work with it in the next steps, so there is no need to mix excessively.
Folding the Dough to Create Layers
Turn the sticky dough onto a lightly floured surface and pat or roll the dough into a rectangle about nine inches by five inches with a thickness of about three-quarters inch. Now comes the key step that sets these biscuits apart: folding. Fold one short end of the dough about one-third of the way toward the center, then fold the other side over the top, similar to how you would fold a business letter. Repeat this folding process five times total, rerolling the dough to the original dimensions between each fold. This creates distinct layers in the dough that will help the biscuits rise high and remain tender and flaky rather than dense.
Cutting the Biscuits With Proper Technique
After folding the dough, pat or roll it out to a thickness of about one-half inch, which is the ideal thickness for biscuits. Using a two and one-half inch round biscuit cutter, cut out circles from the dough by pressing straight down on the cutter, without twisting, to ensure clean cuts. Twisting the cutter seals the edges of the dough and prevents proper rising, so a straight downward motion is important. After cutting, gather the scraps gently, reshape the dough lightly, and continue cutting until all the dough is used. Place the cut biscuits on your prepared baking sheet with a small space between them, allowing room for them to expand as they bake.
Baking Your Biscuits to Golden Perfection
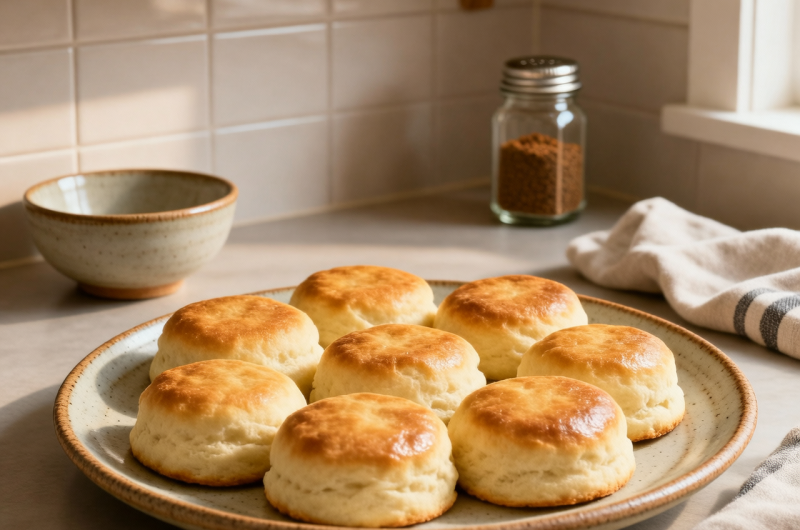
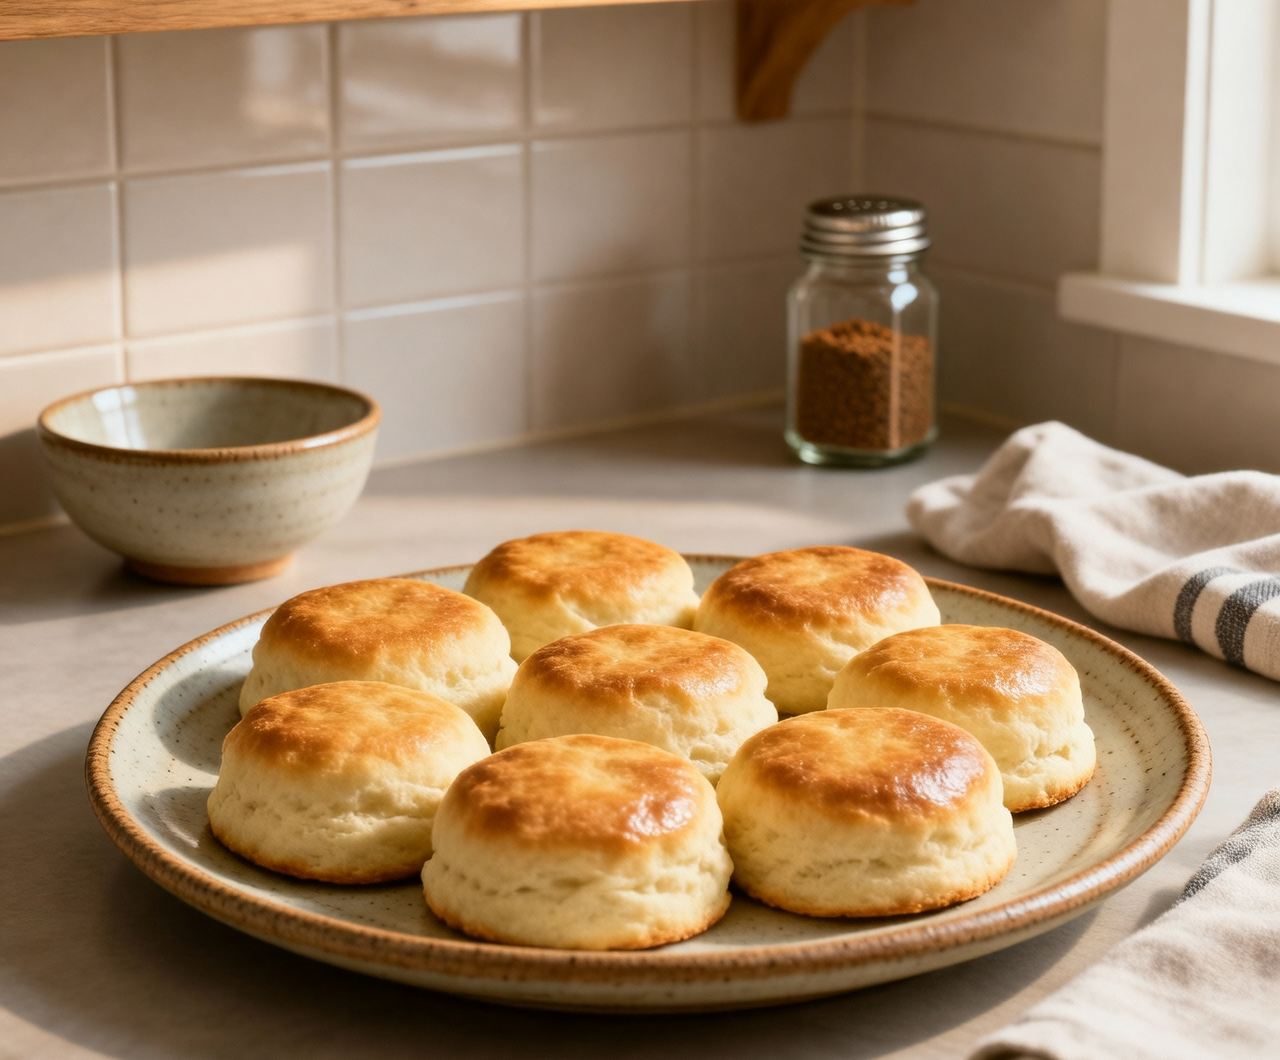
Arrange the biscuit rounds on the prepared baking sheet, leaving a little space between them for expansion during baking. Bake for about fifteen minutes, or until the tops are golden brown and the biscuits have risen nicely, with a height of approximately two inches. The biscuits should have a soft, flaky texture on the inside and a slightly crisp exterior. Watch the biscuits carefully during the last few minutes of baking, as ovens vary and you want to catch them at the perfect moment before they brown too much. The color should be a light to medium golden brown, not dark brown, for the best texture and flavor.
Finishing With Melted Butter
Once the biscuits are out of the oven, brush them generously with melted butter while they are still warm from the oven. This adds extra flavor and helps keep the tops soft while enhancing the overall appearance of the biscuits. The butter will be absorbed slightly by the warm biscuits, creating a richer flavor throughout. Serve the biscuits warm for the absolute best experience, as warm biscuits are tender and soft, while cooled biscuits become firmer. Many people enjoy biscuits with butter and jam, but they are equally delicious served alongside eggs for breakfast or alongside fried chicken for dinner.
Keeping Ingredients Cold for Optimal Results
For the best texture and flakiest biscuits, keep your butter and buttermilk chilled throughout the process. Cold butter will create flaky layers, and cold buttermilk will prevent the dough from becoming too warm and sticky. Some bakers even chill their mixing bowl and flour before starting, which helps keep everything as cold as possible. If your kitchen is particularly warm, you may want to work quickly or chill the dough briefly if it becomes too warm and sticky. The temperature control during preparation is just as important as the technique you use.
Avoiding Common Mistakes When Making Biscuits
Do not overmix the dough because biscuits are best when the dough is handled as little as possible. Overmixing or overworking the dough can lead to dense, tough biscuits that do not have the light, airy texture you want. Use a light touch when rolling and folding the dough, as too much pressure will flatten the dough and prevent the biscuits from rising as well. The baking temperature is crucial for getting biscuits that are both fluffy and golden brown, so do not reduce the oven temperature or your biscuits may not rise properly. Do not skip the folding step, as this is what creates the layers that make these biscuits special and flaky.
Buttermilk Biscuits with White Lily Flour
White Lily Buttermilk Biscuits are so easy and bake up in a flash! Enjoy hot, tasty biscuits in under 30 minutes today!
14
servings15
minutes15
minutes160
kcal30
minutesIngredients
1/2 cup (113 g) unsalted butter (1 stick, 8 tablespoons)
2 1/2 cups (282.5 g) White Lily self-rising flour
1 cup (237 ml) buttermilk, cold
1 1/2 tablespoons (21 g) butter, melted (for brushing)
Directions
- Slice the stick of butter into cubes or grate it with a box grater, then place it in the freezer for 15-20 minutes to chill.
- While the butter chills, preheat your oven to 475°F (246°C). Line a baking sheet with parchment paper.
- Sift the White Lily self-rising flour into a large mixing bowl.
- Add the chilled butter to the flour. Use a pastry blender or your fingers to cut the butter into pea-sized pieces.
- Pour in the cold buttermilk and stir gently until the dough just starts to come together.
- Turn the dough onto a floured surface. Pat it into a rectangle, then fold it like a letter. Repeat this process five times, lightly flouring as needed.
- Roll the dough to about ½ inch thick and cut out biscuit rounds using a 2 1/2-inch cutter. Reshape the scraps as needed to cut more biscuits.
- Place the biscuit rounds on the prepared baking sheet and bake for about 15 minutes, until golden brown on top.
- Brush the baked biscuits with melted butter for extra flavor.
Nutrition Facts
- Total number of serves: 14
- Calories: 160kcal
- Fat: 8.74g
- Saturated Fat: 5.31g
- Cholesterol: 22.55mg
- Sodium: 28.99mg
- Carbohydrates: 17.4g
- Fiber: 0.54g
- Sugar: 0.92g
- Protein: 3.3g