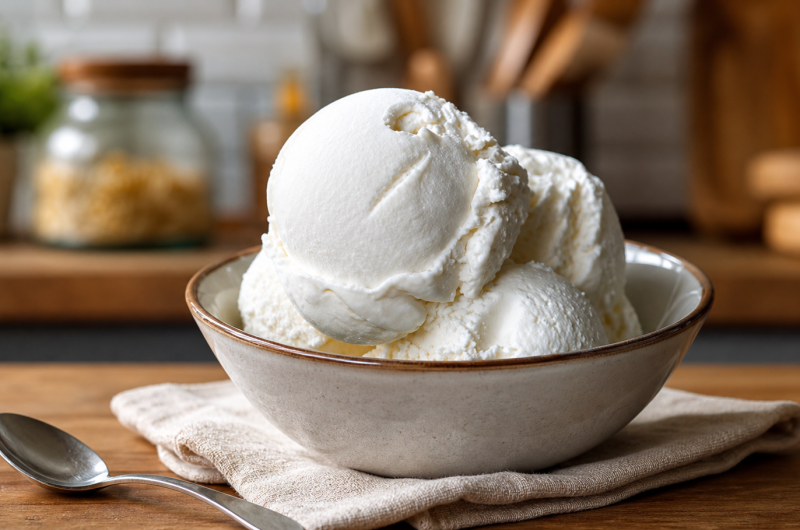
If you are searching for a healthy protein ice cream recipe that tastes indulgent but supports your fitness goals, this Homemade Coconut Protein Ice Cream is exactly what you need. Designed specifically for the Ninja Creami, this creamy frozen treat delivers tropical coconut flavor with an impressive protein boost. It uses simple ingredients like Fairlife 2% milk, whey protein isolate, low-carb coconut yogurt, sweetener, and coconut extract to create a smooth and satisfying dessert that fits into balanced eating plans.
Unlike traditional ice cream packed with added sugars and heavy cream, this high-protein coconut ice cream is lighter while still delivering rich flavor and creamy texture. It is ideal for anyone following a high-protein diet, weight management plan, or simply looking for a healthier dessert alternative.
Why Coconut Protein Ice Cream Is Trending
High-protein desserts have become increasingly popular as more people look for ways to meet daily protein goals without sacrificing taste. Protein ice cream made in the Ninja Creami is especially trending because it transforms frozen mixtures into creamy, scoopable textures without the need for churning or traditional ice cream makers.
Coconut-flavored variations are especially appealing because they provide a naturally sweet and refreshing taste reminiscent of tropical desserts. When paired with whey protein isolate and low-carb yogurt, coconut protein ice cream becomes both indulgent and functional.
The Benefits of a High-Protein Ice Cream
Protein plays a crucial role in muscle recovery, satiety, and overall nutrition. This coconut protein ice cream contains approximately 50 grams of protein per serving, making it suitable as a post-workout dessert or a satisfying snack.
Using whey protein isolate ensures high-quality amino acids while maintaining a smooth texture. The inclusion of Fairlife milk increases protein content further, while low-carb coconut yogurt enhances creaminess and flavor depth.
Why the Ninja Creami Makes a Difference
The Ninja Creami allows you to freeze a mixture solid and then transform it into creamy ice cream using its specialized spinning blades. Unlike traditional freezing methods, which can create icy textures, the Creami’s re-spin function smooths out crystals and produces a velvety finish.
Using the Lite Ice Cream setting helps maintain consistency while keeping calories moderate. Re-spinning twice ensures optimal smoothness and prevents grainy texture.
Ingredient Breakdown and Their Purpose
Each ingredient in this coconut protein ice cream serves a clear purpose. Fairlife 2% milk provides protein and smooth base texture. Whey protein isolate contributes concentrated protein while thickening the mixture slightly.
Low-carb coconut yogurt introduces tanginess and creaminess. Stevia or preferred sweetener adjusts sweetness without adding sugar. Coconut extract enhances the tropical aroma and intensifies flavor.
These five ingredients combine to produce a balanced, creamy dessert without heavy fats or refined sugar.
Step 1 – Blending the Base
Add Fairlife 2% milk, whey protein isolate, coconut yogurt, sweetener, and coconut extract into a blender. Blend until completely smooth.
Ensure no lumps remain, especially from protein powder. Smooth blending ensures even freezing and consistent Creami processing.
Step 2 – Freezing the Mixture
Pour the blended mixture into a Ninja Creami pint container. Secure the lid tightly and place it flat in the freezer for at least 24 hours.
Freezing completely solid is essential for proper processing in the Ninja Creami. Avoid shaking or tilting the container during freezing.
Step 3 – Processing in the Ninja Creami
Insert the frozen pint into the Ninja Creami. Select the Lite Ice Cream setting and allow the machine to process.
After the first cycle, use the re-spin function twice. This step ensures ultra-creamy texture and removes any remaining icy particles.
Step 4 – Serving Immediately
Once the mixture reaches smooth consistency, scoop and serve immediately. The texture should resemble traditional soft ice cream with a creamy mouthfeel.
If storing leftovers, refreeze and re-spin before serving again.
Notes for Best Results
Taste the mixture before freezing and adjust sweetener or coconut extract as needed. Always freeze for a full 24 hours. Use the re-spin function twice for maximum creaminess. Store leftovers in the freezer and reprocess before eating.
These steps guarantee consistent texture and flavor.
Optional Texture Enhancements
Although not required, adding a small amount of coconut cream before blending can increase richness. However, the base recipe already achieves creamy consistency through protein and yogurt.
You may also fold in unsweetened shredded coconut after spinning for added texture.
Storage Guidelines
Store processed ice cream in the freezer with the lid secured. If the texture becomes firm, use the Ninja Creami re-spin function before serving.
Consume within one week for best taste and texture quality.
Nutritional Highlights
Each serving contains approximately 315 calories, 13.5 grams of carbohydrates, 50 grams of protein, and 6.8 grams of fat.
This balance makes it a suitable option for high-protein diets and moderate-carb meal plans.
Why This Recipe Fits Modern Fitness Goals
Search interest in “protein ice cream,” “Ninja Creami recipes,” and “healthy coconut dessert” continues to rise. This recipe aligns perfectly with those trends by offering convenience, flavor, and nutritional value.
It allows individuals to enjoy dessert while maintaining dietary consistency.
A Practical and Flavorful Frozen Treat
This Homemade Coconut Protein Ice Cream proves that healthy desserts can be creamy and satisfying. With only five ingredients and a Ninja Creami, you can create a tropical-inspired frozen treat that supports your nutrition goals without sacrificing taste.
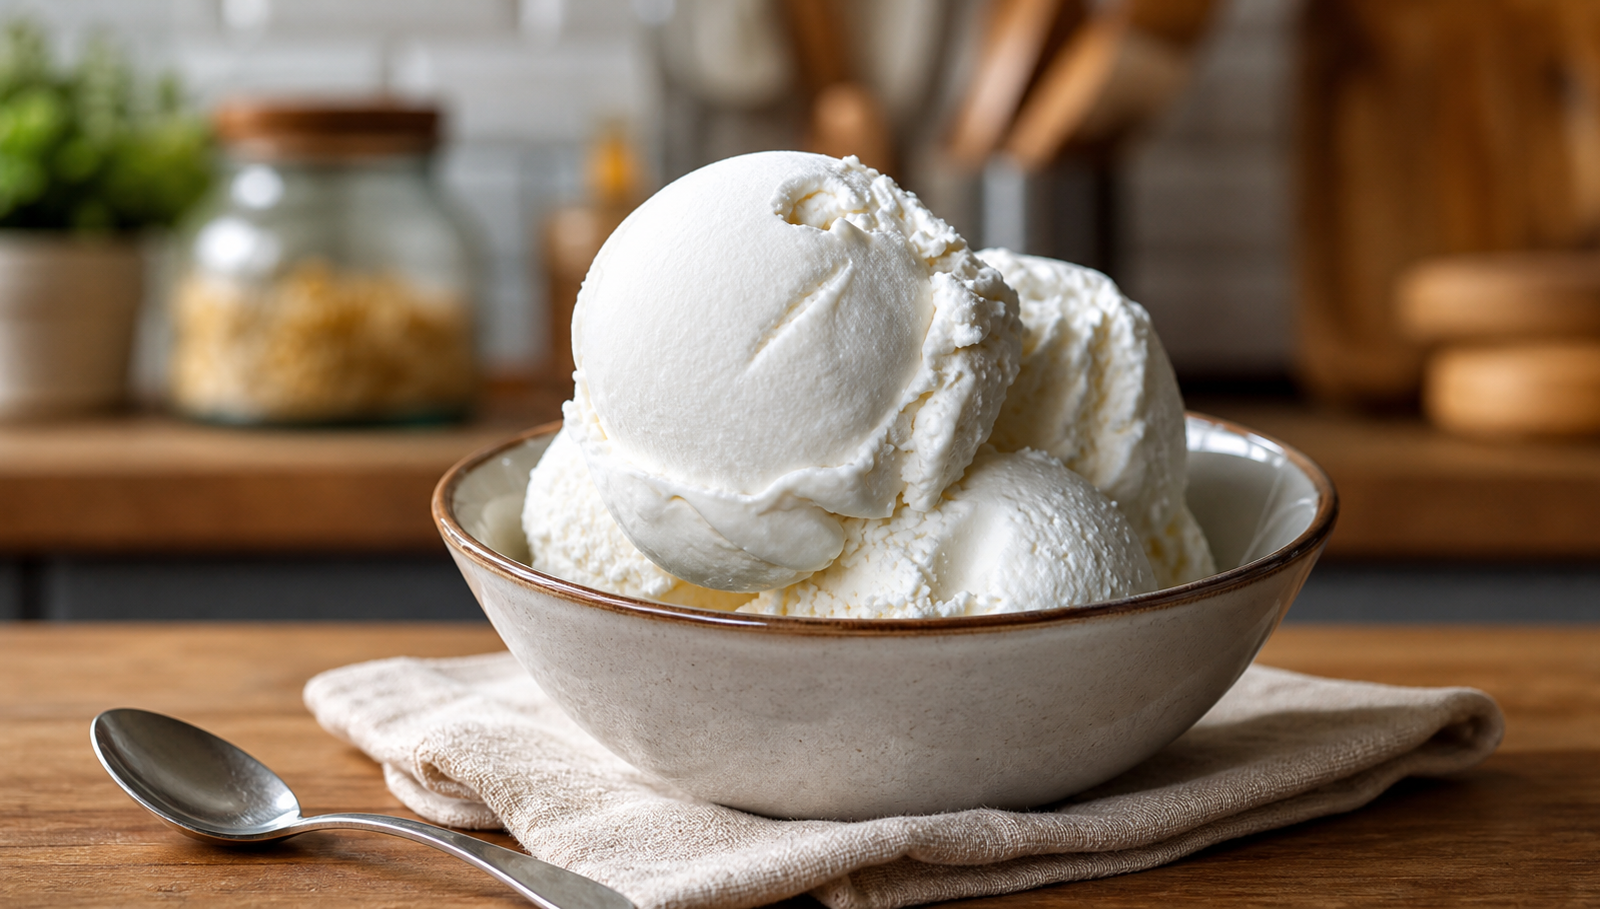
Homemade Coconut Protein Ice Cream (Ninja Creami Friendly!)
Super creamy and deliciously refreshing, you’ll love this Ninja Creami Coconut Ice Cream. It has just 5 ingredients, and is packed full of protein.
1
servings5
minutes315
kcalIngredients
1 cup 2% Fairlife Milk
1 scoop Now Foods Whey Protein Isolate
5.3 oz Low Carb coconut yogurt I used Too Good & Co
2 packets stevia or sweetener of choice
2-3 drops coconut extract
Directions
- Add all ingredients to a blender. Blend until smooth.
- Next, transfer the mixture into the Ninja Creami pint and place the lid on.
- Transfer the pint to the freezer and freeze for at least 24 hours.
- After 24 hours, remove the lid and place the pint into the pint holder. Place the lid with the blade on top and lock it into place.
- Run the Ninja Creami on the lite ice cream function. You will need to respin twice for the best texture.
- Enjoy!
Notes
- Notes – I tasted the base after I had already mixed and taken a picture of the ingredients. It didn’t taste enough of coconut for me so I added a little bit of coconut extract. If the base isn’t sweet enough for you, add more of your desired sweetener.
Nutrition Facts
- Serving Size: 1 g
- Total number of serves: 1
- Calories: 315kcal
- Fat: 6.8g
- Carbohydrates: 13.5g
- Protein: 50g

)